


was finally able to do dry ice cooling for the first time last weekend. second hardest part was insulating the board to prevent condensation on the mobo and proc. hardest part was tweaking and overclocking under subzero conditions which is very different from air/water cooling. still have much to learn there.
creating this thread to show pics, share info/pointers, etc. etc. will update this first post later to include links from the places i used as reference to do the insulation work and oc tips (may miss out some). pointers on how to do things better are especially welcome (just go easy on the noob :-).
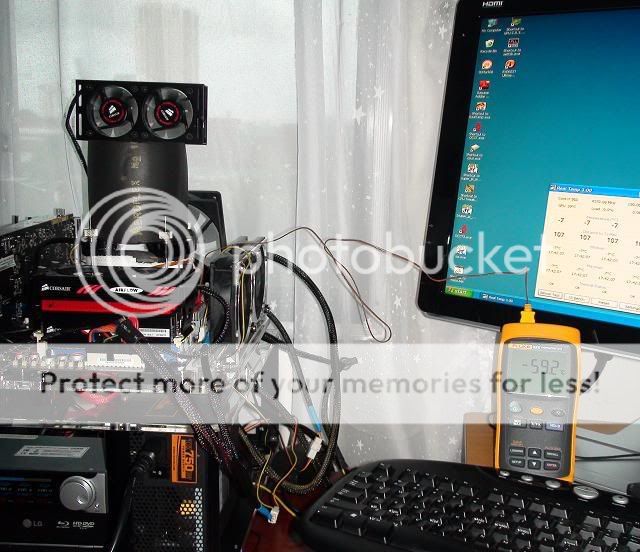
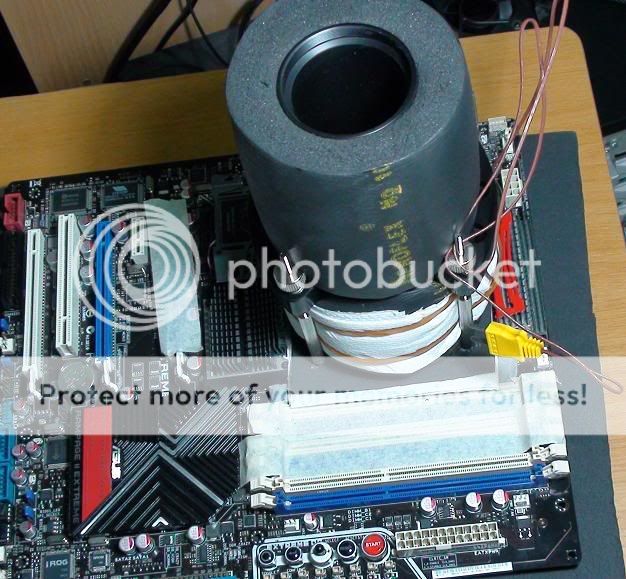
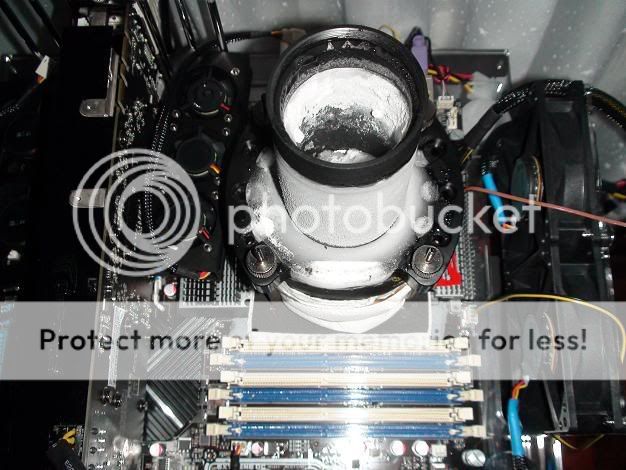
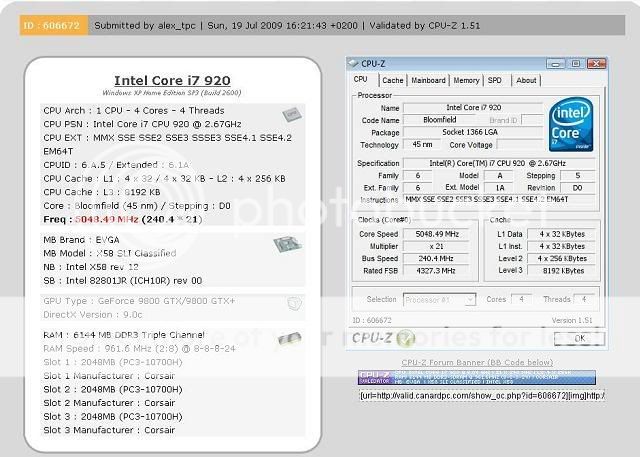
to start with, here's the rig running the first time under dry ice cooling:
(real-temp is only able to show up to -7 or -8. actual temp at the base of the pot is -59c).
System specs and main materials:
- CPU: i7 965 (will try the 920 / 950 next time round)
- Mobo: Asus rampage 2 extreme (will try the evga classified next time round; did it on the r2e first as was having issues with the classified that's all sorted out).
- Dice/ln2 pot: Koolance cpu-ln2 pot. a nice review showing it's a very good dice pot but not as good ln2 pot can be found here http://www.legitreviews.com/article/987/1/
- Pot insulation: aeroflex pipe/tube insulation 1 7/8" diameter, 1" thick. check your yellow pages under insulation for where to find this or something similar. the size you need depends on your pot. the koolance pot is around 2.5" diameter. i aimed for the smallest foam diameter that can still fit (not sure if that's the proper way but that seemed to work).
- Digital thermometer: Fluke 50 series ii with 80PK-1 bead probe. get it used on ebay or somewhere for a good price. the bead probe specs show -40 to 260C but it can actually show much lower as long as the thermometer itself is spec'ed to go lower (seen it used for ln2 temps). others swear by the cheaper uei dt-200 digital thermometer but couldn't find it where i'm at. the fluke is quite sturdy though. dropped it once already (when i removed the pot with the probe still hooked---ouch---still ticking
).
Other materials needed (inserted on top for easier reference---see more info within this guide later):
- dry ice (duh) or ln2. regarding dry ice, here's a warning I'm citing from an article in madshrimps.be (a guide on how to build your own dice pot):
Before we proceed I would like to tell dry ice can be dangerous. The super-cold surface temperature can easily damage your skin if you touch it directly. For the same reason you never want to taste or swallow dry ice either. So wear hand gloves if you touch Dry Ice
Another important concern with dry ice is ventilation. You want to make sure the area is well-ventilated.
Carbon dioxide is heavier than air and it can concentrate in low areas or in enclosed spaces (like a car or a room where dry ice is sublimating). Normal air is 78% Nitrogen, 21% Oxygen and only 0.035% Carbon Dioxide. If the concentration of carbon dioxide in the air rises above 5%, carbon dioxide can become toxic.
Be sure to ventilate any area that contains dry ice, and do not transport it in a closed vehicle.- acetone for sublimating the dry ice (acetone is flammable---keep away from heat/sparks)
- kneaded eraser for board insulation (from art supplies store or even bookstore)
- optional petroleum jelly (a.k.a. vaseline from grocery---discretely; don't buy a big tub ;-) or dielectric grease (from auto shop) for socket insulation. said to be essential only for 24/7 phase change setups, not necessary for DI/LN2 setups which you dismantle after each session (but i used it anyway first time just in case)
- optional hair dryer to soften up the eraser (or to remove the vaseline from the socket if you need to RMA). can also be used to heat-up the cpu-area after a subzero bench session (see section on disassembly).
- shop towels for extra condensation protection. don't know if these are different from standard paper towels as i can't find "shop towels" where i'm at. might try those chamois cloths next time.
- lint-free cloth for final prepping of the pot and cpu. coffee filters are nice substitutes
- thermal grease. most swear by AS Ceramique versus MX2 for subzero cooling. Ceramique's what i used. am wondering though if this is needed for the shiny nickel plated koolance pot.
- optional neoprene board to put on top of the eraser and gaps in the socket if not using vaseline. insulation stores in the yellow pages will usually have an equivalent (e.g., armaflex, aeroflex, etc...)
- yellow pages phone book (they're not extinct where you're at are they?). let your fingers do the walking when shopping around for the dice (usually has its own section under "dry ice")/ln2 (found some listed under "Gas" selling it)/insulation.
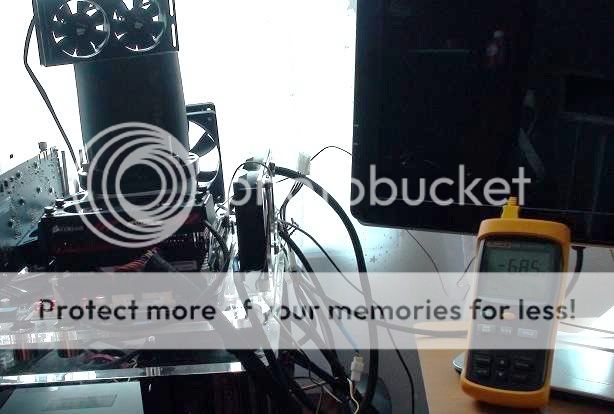
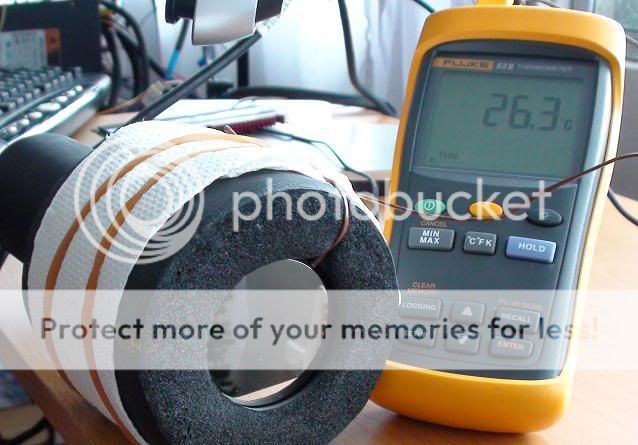
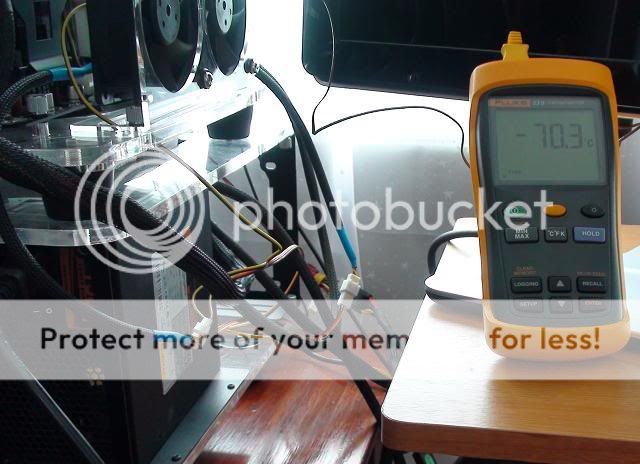
here's the temp with the system off:
disclaimer: not responsible for mishaps arising from trying out what's in this thread/guide. do so at your own risk.
now to show how i prepped the board ...
Insulation 1
first thing to do to prep the board for subzero cooling is to prevent condensation from reaching the electronics. first step is the cpu socket. the pros actually say they don't bother with the socket (if it's not for a 24/7 setup). am not a pro, so didn't want to take chances.
was deciding on whether to use petroleum jelly (aka vaseline) or dielectric grease. both are said too work well and the decision boils down to which one is easier to get rid off if you need to RMA the board. Vaseline needs to be heated (e.g. using blow dryer to make it flow) while dielectric grease comes out with contact cleaner (or so says some postings in the web somewhere). i decided to use vaseline.
[insert later: URL of where i saw how to do this originally]
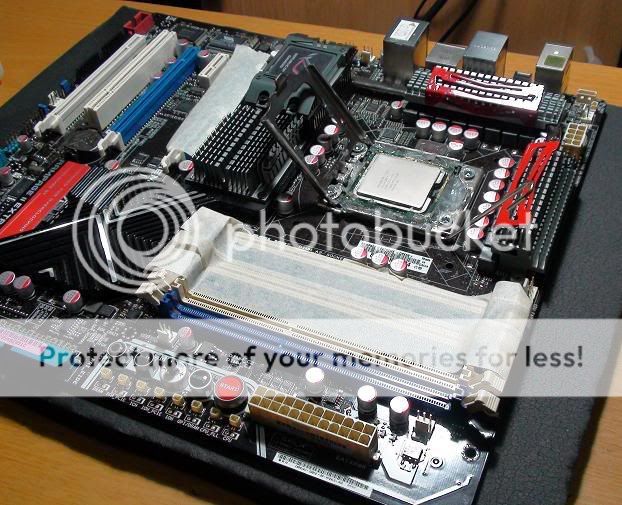
here's the pic after spreading it liberally in the socket. be careful not to break/bend pins:
heating it up with hair dryer, low heat 3-4 inches away, so it gets through the pins and make it easier to spread:
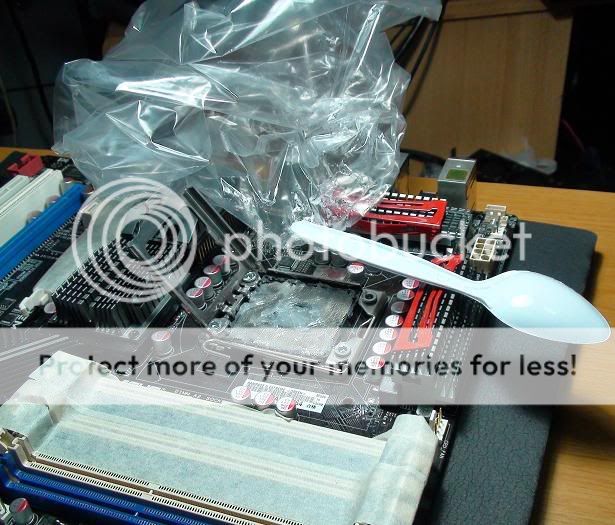
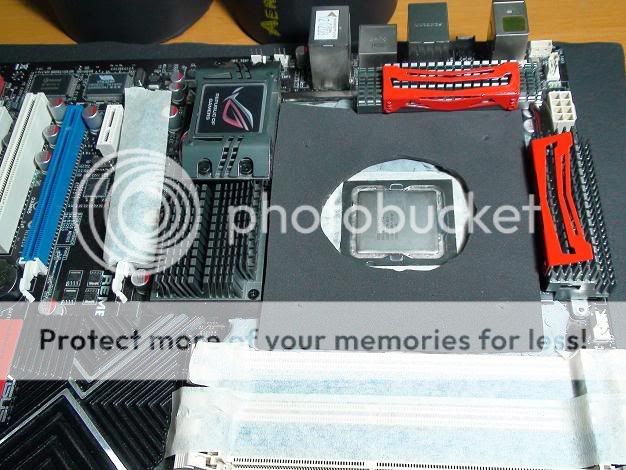
Insulation 2
CPU is then mounted and then p/j spread on hard to reach spots :-) in the socket. others put neoprene here (can't seal everything) while others put kneaded eraser (hard to take out of the hard to reach spots). i do use kneaded eraser for the mobo (see below).
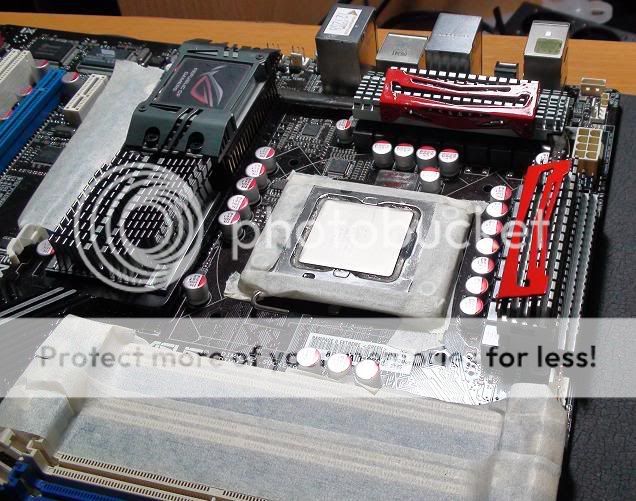
pressure from the hold down bracket will squeeze out excess p/j and ensure contact with the pins is maintained. here's the pic after finishing the cpu mount and taping up the sides to prevent kneaded eraser from getting into those tight spots.
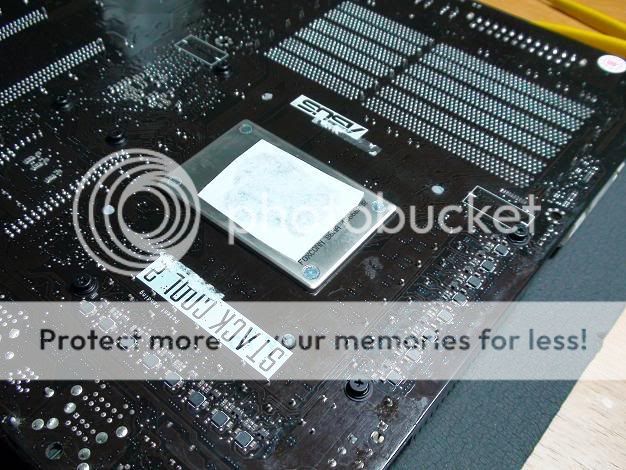
btw, see the serial number markings below the cpu area? i covered that with a thin film of paper before putting the kneaded eraser. otherwise, those markings may disappear when the eraser is removed (it's not called an eraser for nothing).
Insulation 3
next step is to insulate the mobo. there are several ways suggested in the net (e.g., nail polish or conformal coating with neoprene/frost king paddings). the one i used is based on kneaded eraser as seen here: http://www.xtremesystems.org/forums/...d.php?t=201916
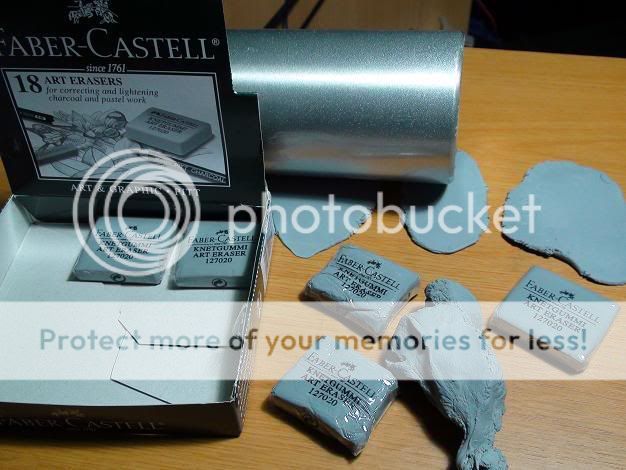
this is what i used (can be found in your local bookstore/art supplies store):
i used 7 of these on the mobo. you might need more or less depending on how thick and wide you want to apply it. get one or two extra if you don't want to risk running out. it costs around US 55 cents where i'm at. they're reusable.
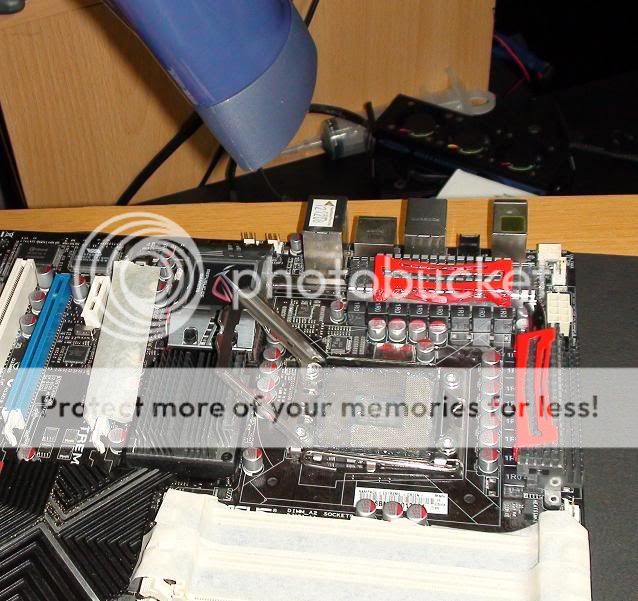
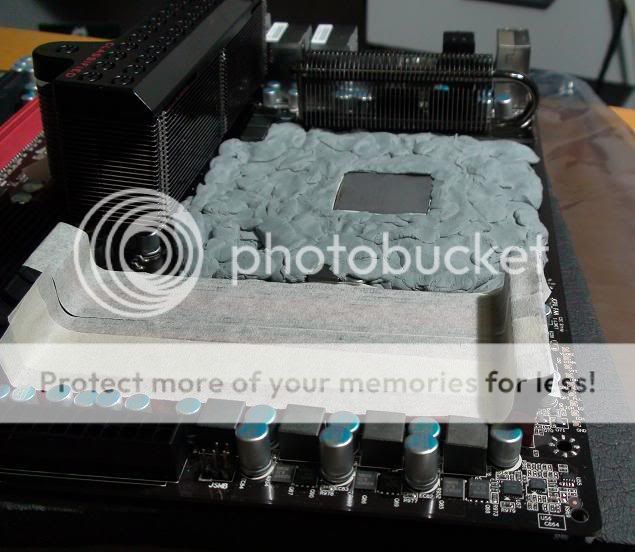
here it is being applied:
note the tape on the nearby memory/pci slots to prevent accidentally getting the stuff into the slots.
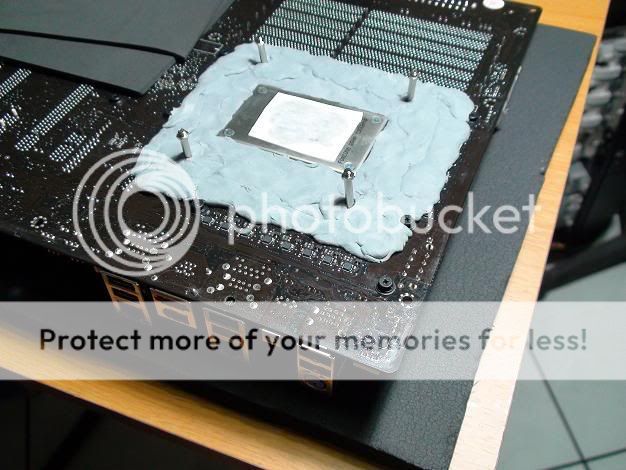
Insulation 4
working the bottom of the board: p/j covered with coffee filter in the slot directly below the cpu to seal out air and prevent condensation.
(old tape from GTZ mounting hardware can be seen lol)
bottom of board with kneaded eraser:
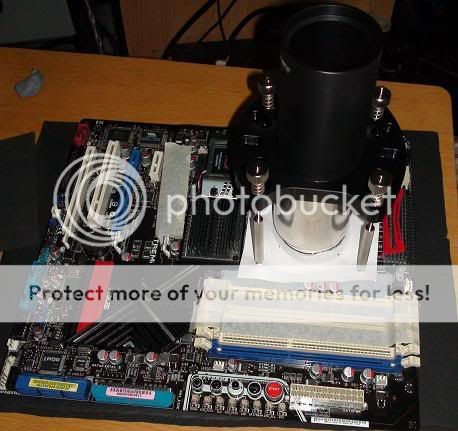
Mounting the LN2 POT 1
next step is to prep the mounting hardware. here's a pic dry fitting the pot to take measurements and templates:
some neoprene between the pot and eraser as suggested by the eraser-insulation guide:
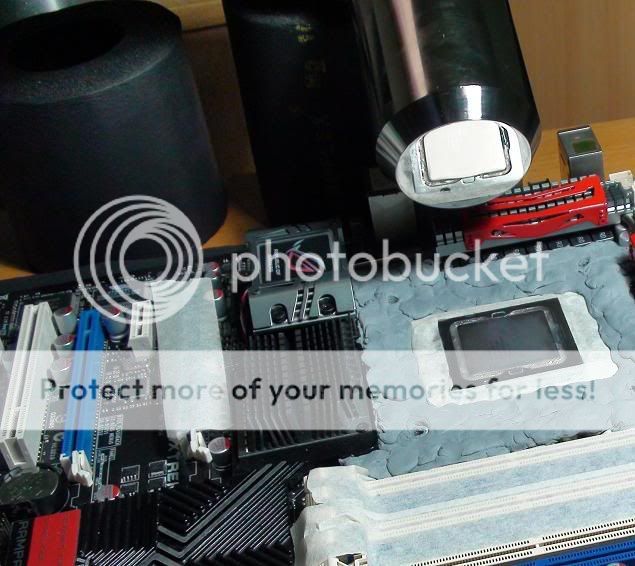
Mounting the LN2 POT 2
a pic of the ln2 pots "heatsink". see how shiny it is.
the pot mounted with foam, probe (this pot has a hole drilled near the base for you to place the probe), and towels around as suggested in the old k|ngp|n guide at http://www.xtremesystems.org/forums/...d.php?t=125155.
Final prep
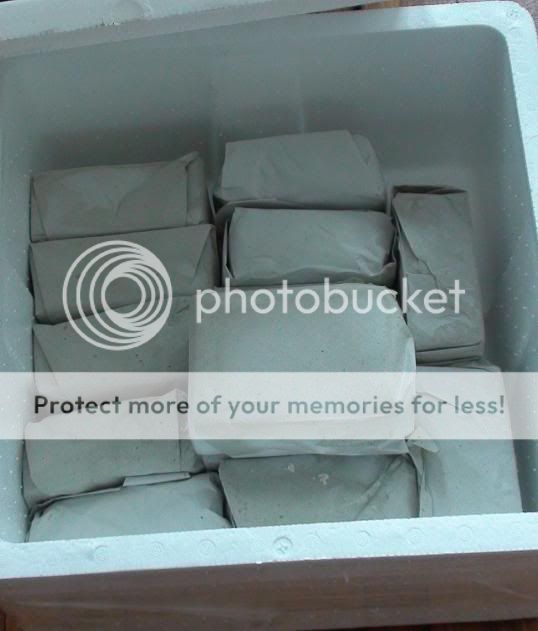
in order to do dry ice cooling you need dice (look up dry ice under the yellow pages or get them from a local ice cream factory):
five to 10 kilos can get you by a few hours to a day of benching.
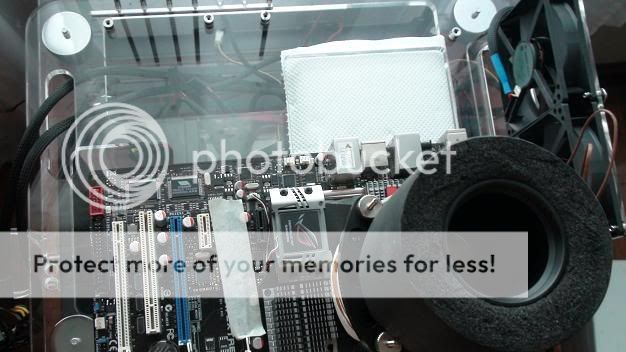
prepping the banchetto case. the slot below the cpu is just right to fit this pot's backplate. i placed neoprene wrapped in paper towels to catch any condensation that might occur below the backplate:
Done
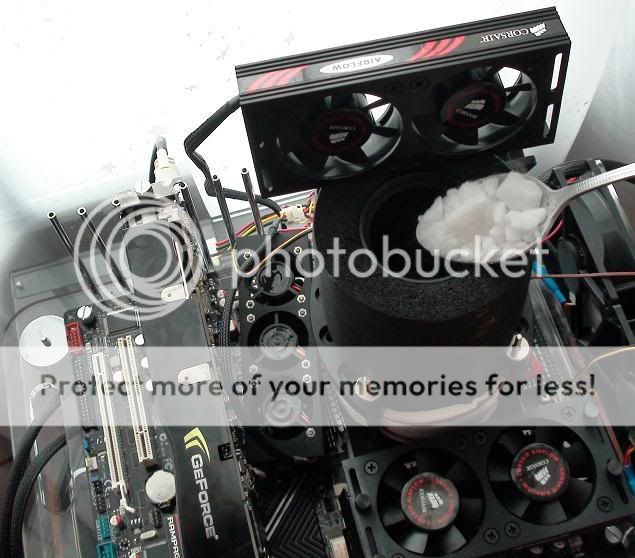
and we're done... photo in the first pic shows the rig running on dry ice. here's a pic of "refill" portion of the bench ... refill ... bench process. not sure if this is the proper way to refill - lol.
btw, needed to crush the block of dice in an old shirt with a hammer. ruined the shirt.
speaking of crushing the d-ice, here's a tip and more from Stapler:
btw2: notice i'm doing the benching near a window with fans blowing out on top. need ventilation when doing this.Originally Posted by Stapler

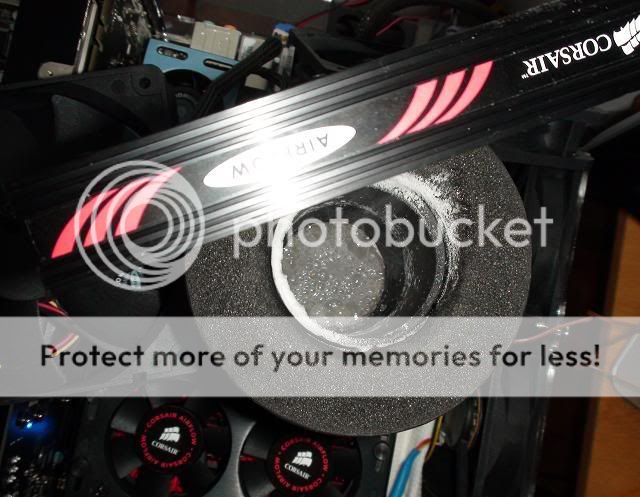
here's a pic of the acetone in the pot sublimating the dry ice (you won't see it bubbling---it's not a video):
did i mention acetone (or similar liquid) is needed to better cool the pot with dry ice? well now i did. found that one shot glass seems to work fine and lasts a couple of hours or so. some recommend isopropyl alcohol. could only get 70% alcohol which probably isn't good enough so i used acetone instead.
Disassembly and cool-down (heat-up?)
how it looks after benching:
notice the frozen condensation near the bracket area where the foam had to be split up. fortunately none on the mobo...looks like all that prepping worked.
note that when you remove the pot from the mount, the cpu area will still be at subzero temps. as the temperature rises to ambient, there will be a time window when the temperature is above freezing but below ambient: perfect conditions for moisture to form. this is when the vaseline in the sockets help especially if you're in a humid area. here's a tip from der8auer if you're not insulating inside the socket:
In any case, not advisable to immediately boot it up with just air/water cooling soon after removing the cold pot as that will risk shorting something out as the temp goes from subzero to sub-ambient. Some let it dry overnight and blow it dry after besides. read others who put in in the oven (not the microwave!) but i probably won't go that far.
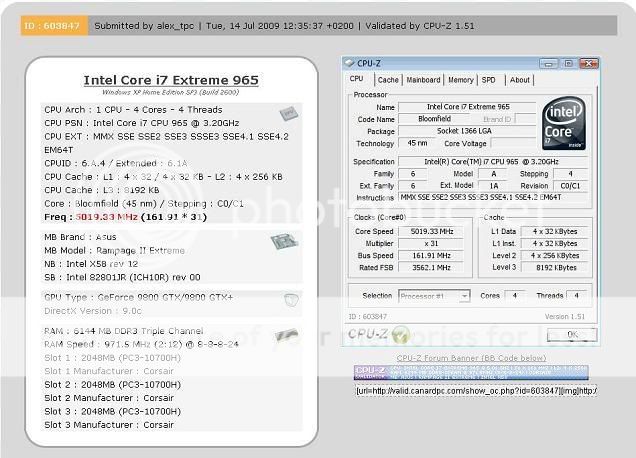
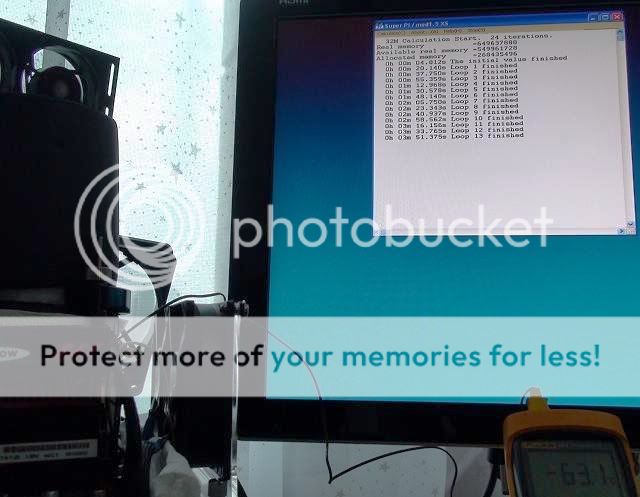
first time results
was only able to bench for a few hours as prepping the board almost took the whole day (should be faster next time as now have practice). didn't get first time lucky on overclocking though. soon found out that tweaking under cold is very different from overclocking on air/water. only got this result to show for after a few hours benching:
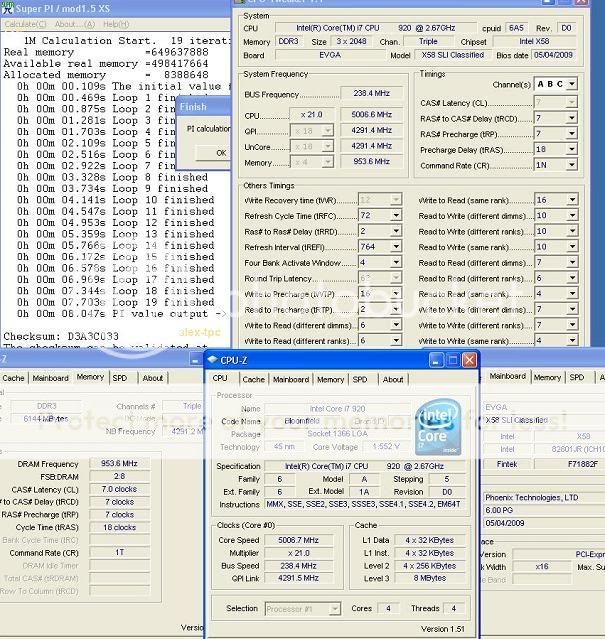
don't have any spi/3D benches yet as getting above 5ghz on the 965 took most of the time i had. hope to get luckier next time on the classified and D0 procs (and more time benching and more time researching cold tweaks/techniques) ...


 Reply With Quote


Bookmarks