CPU: Core2Quad q6600 G0 3.5GHz@1.4v (highest so far 4.2GHz)
GPU: XFX 9800GTX @ 850/1230
Ram: Samsung 4GB (4x1GB) 700MHz PC5300
Mobo: EVGA-NF68-A1 680i (P32)
PSU: Enermax Galaxy 850Watt DxX
HDD:WD5001AALS, ST3250410AS, ST3500410AS, ST3500320AS - 1.75TB
DVD: LG H26N,LG GH20LS10 both sata
LCD: Samsung 32" LN32A450, Samsung 226BW 22" wide
Sound: Logtiech Z 5500/Razor Barracuda HP-1 / AC-1
CPU & GPU: 3x Swiftech MCR320, 2x MCP655, MCW60 R2, Dtek Fuzion V2, 18 high speed yates @ 5v
3Dmark06:17,814 AquaMark:190,865


 Reply With Quote


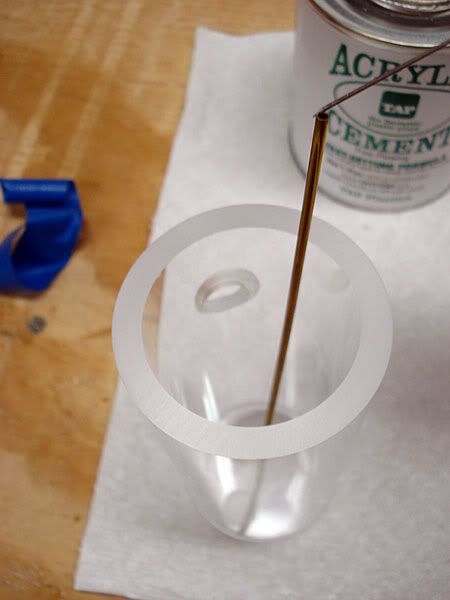
 I call it a acrylap


Bookmarks