


Updates
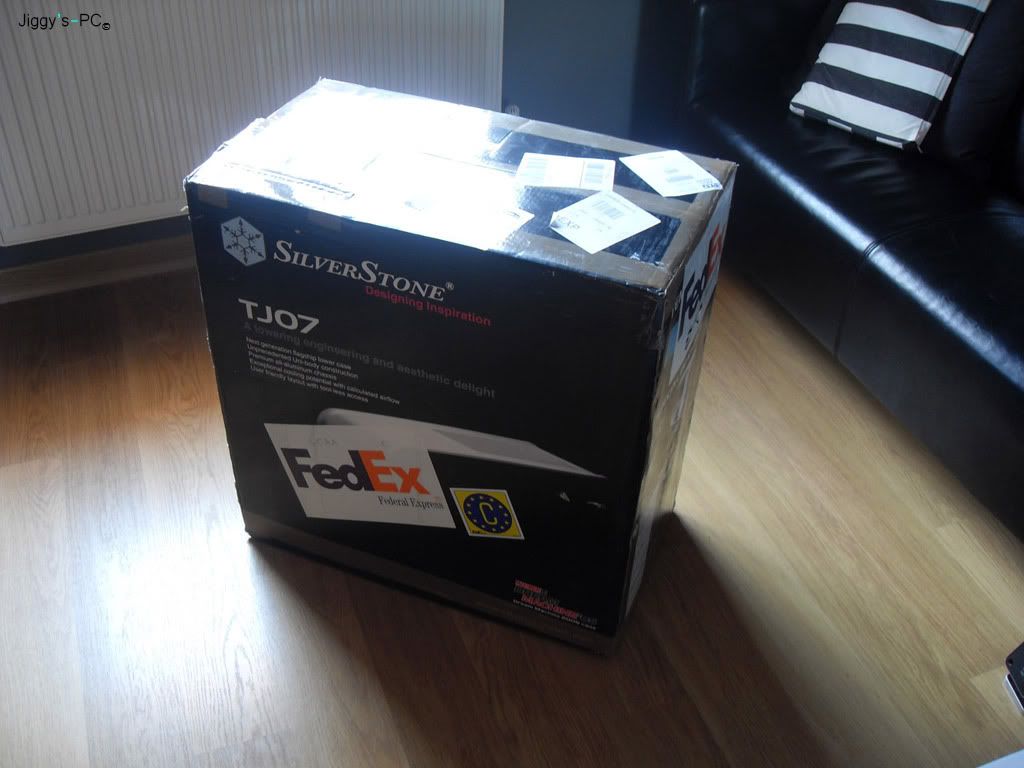
Was woken up at 7.30 this morning (on my day off after going to bed at 4.00 in the morning) by some person at FedEx saying they have a really large amounts of booksand could i come and collect them. I hadn't ordered any books, but... well went off down, when i got there i just saw my Tj07 case and was pleasantly surprised. God knows how they thought it was books.. But o well, it weighed a ton
Here is the size of the box
In the box came,
-Tj07 case
-Swiftech 360 rad
-Some compression fittings and 90c fittings
-LED's (Blue and UV)
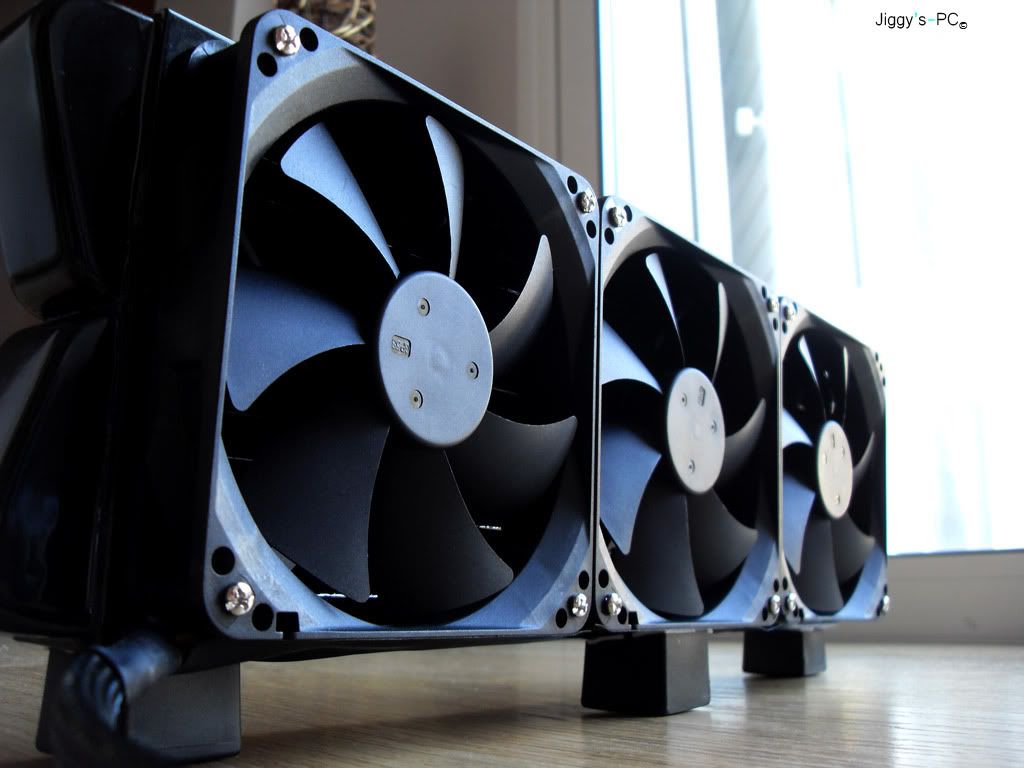
-3 x 120mm yate fans
-UV cathodes
-More sleaving and heatshrink
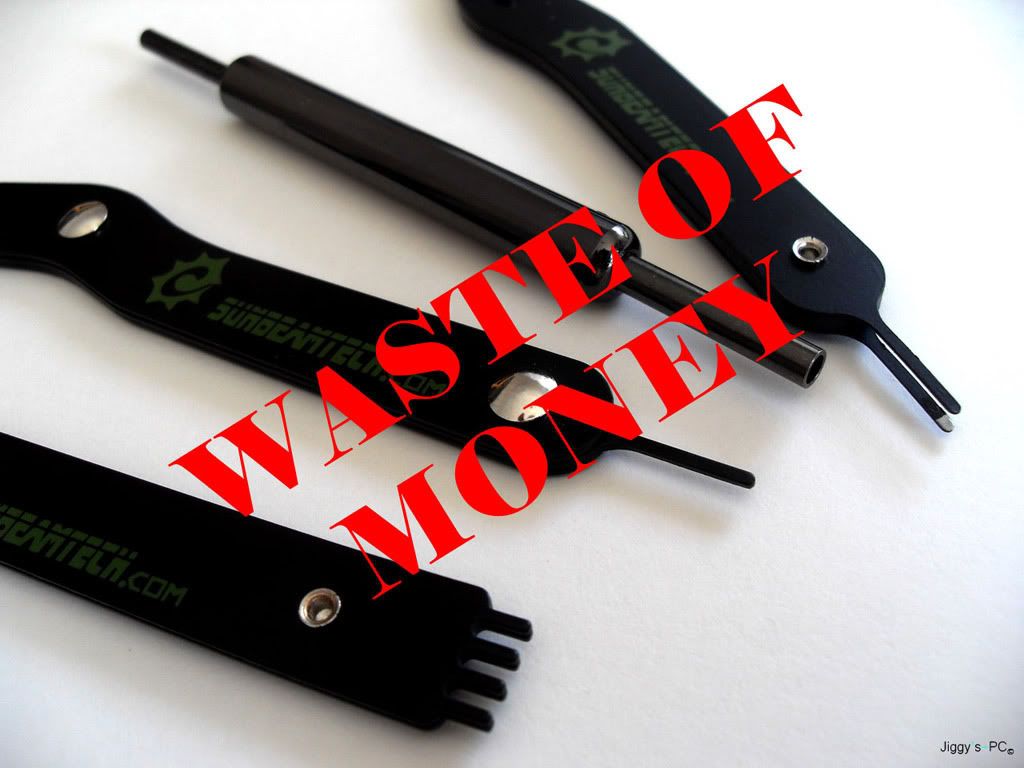
-PSU modding kit (fail)
-Few more bits and bobs i cant think of off the top of my head
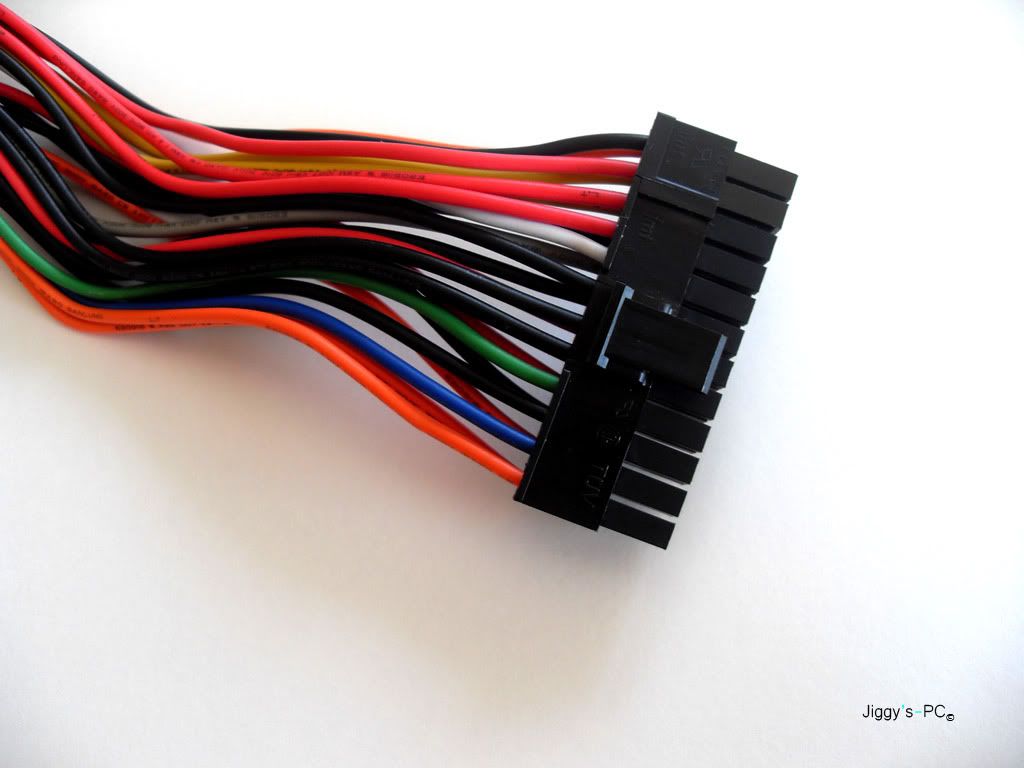
In the Tj07 box came a 24pin ATX extender, so i decided to sleave that instead of doing my PSU (don't want to break my 100w corsair)
Didn't like the modding kit, was useless and it they broke, waste of $25. Getting two pins do the job 100% better
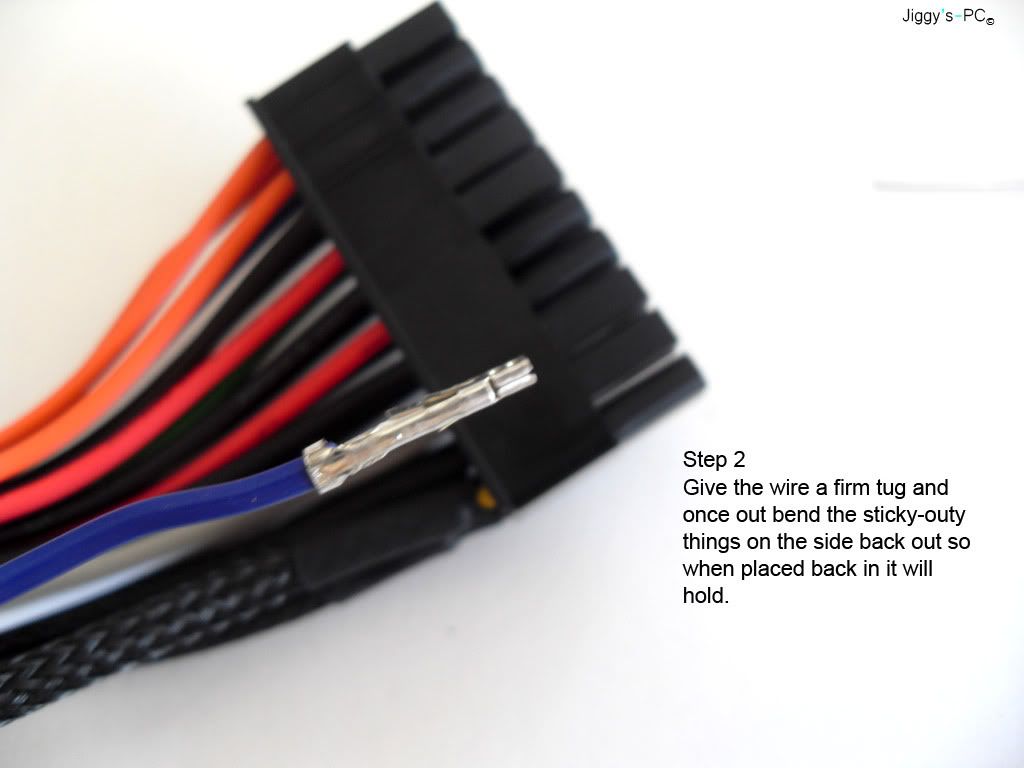
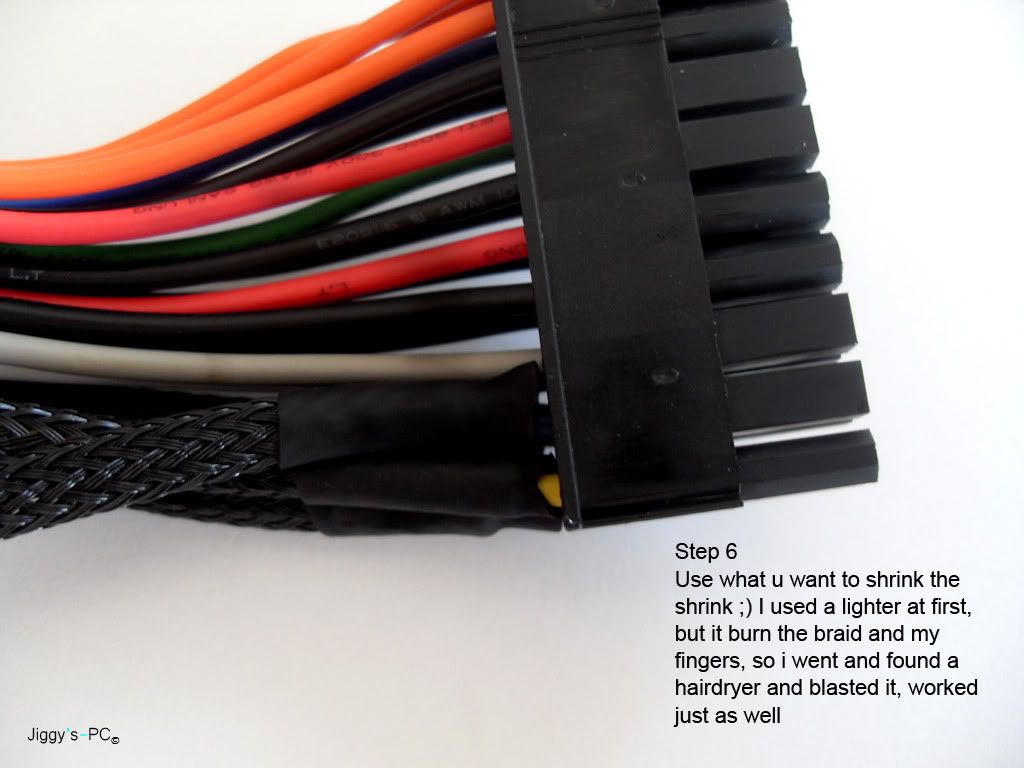
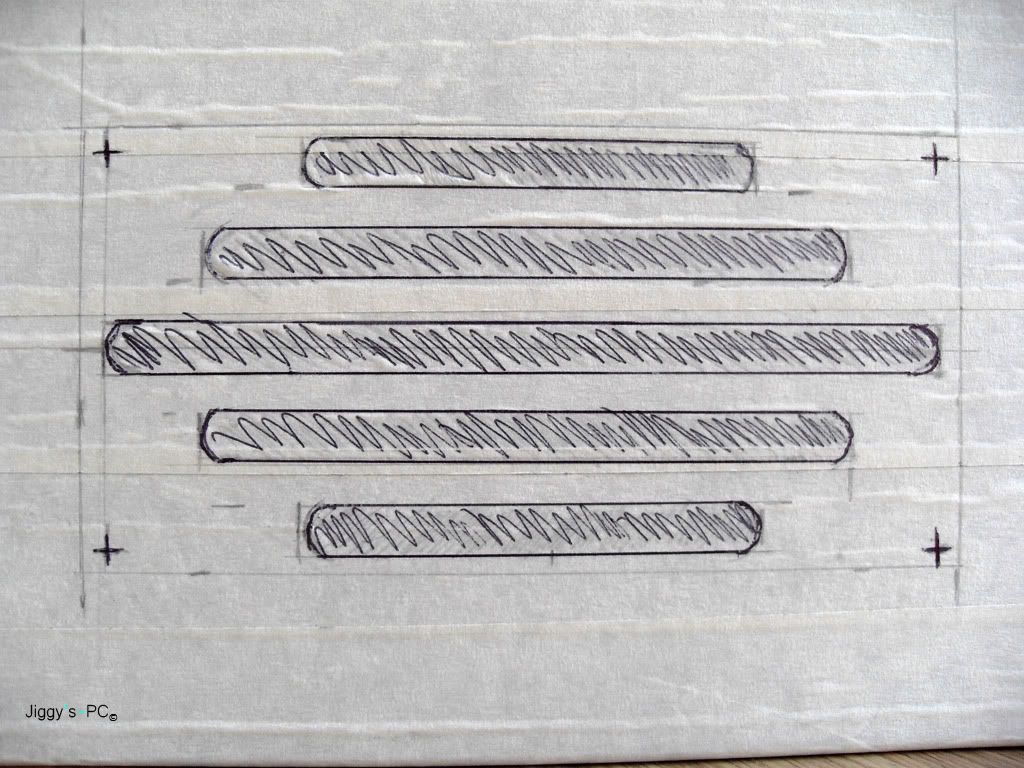
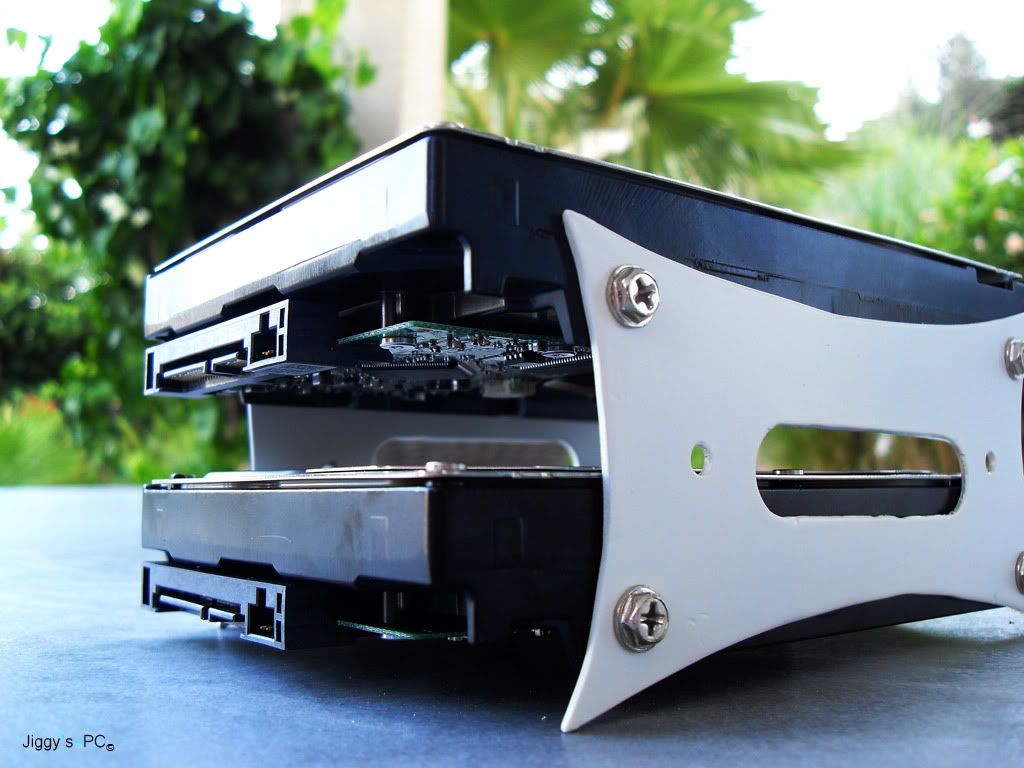
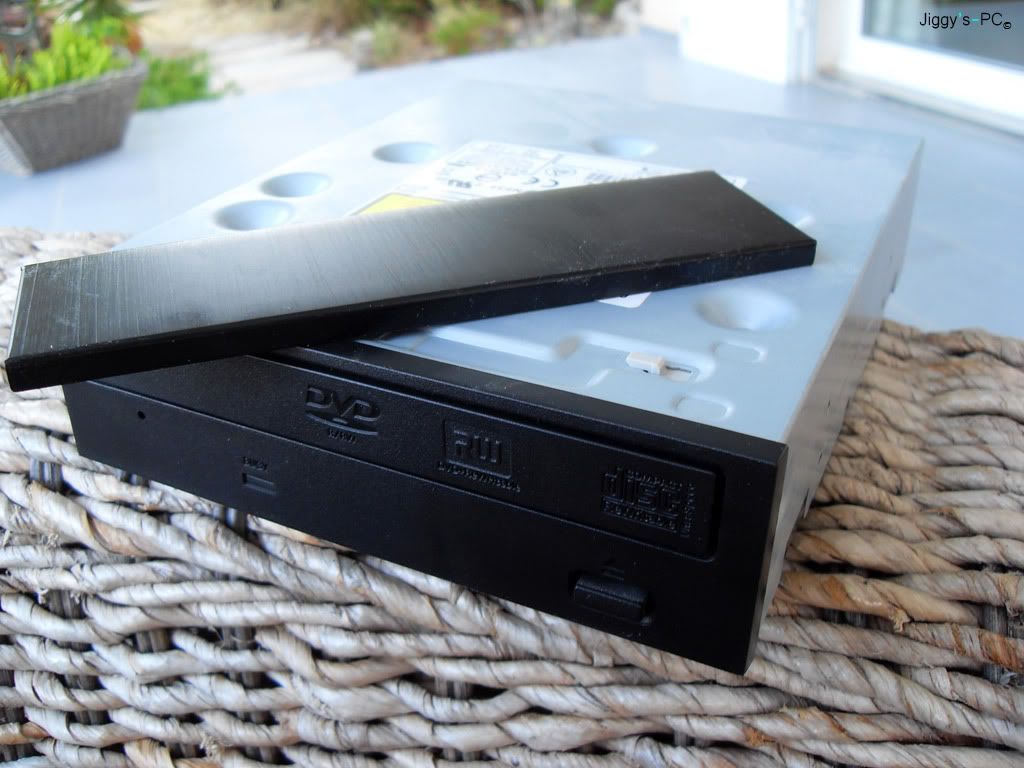
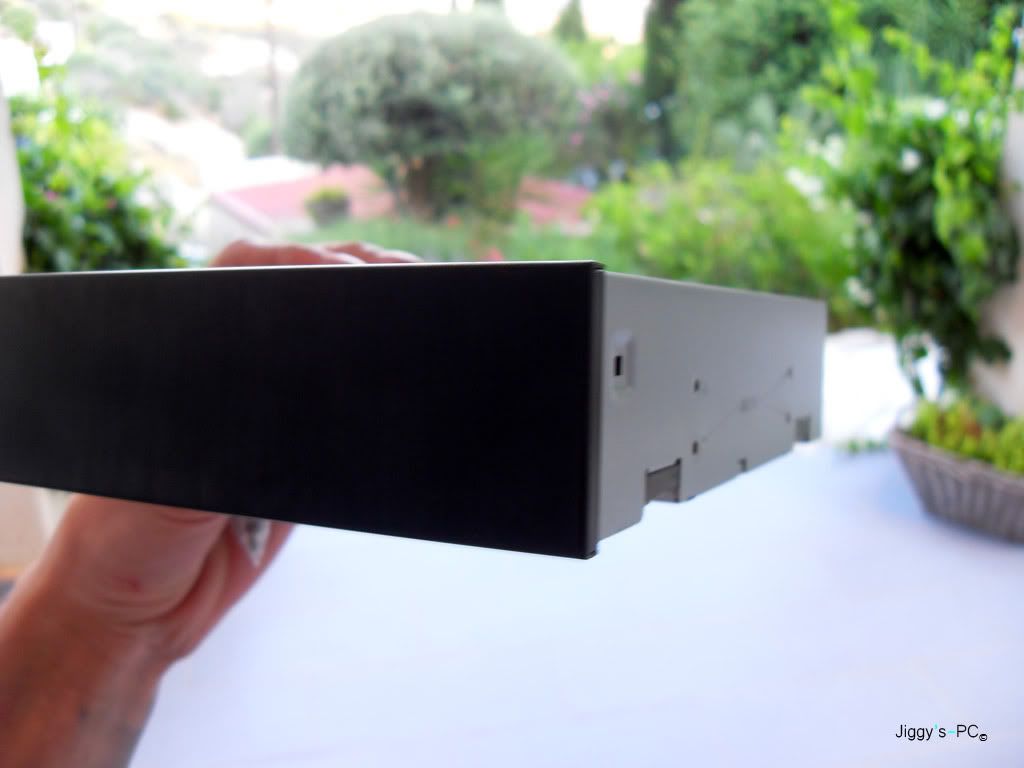
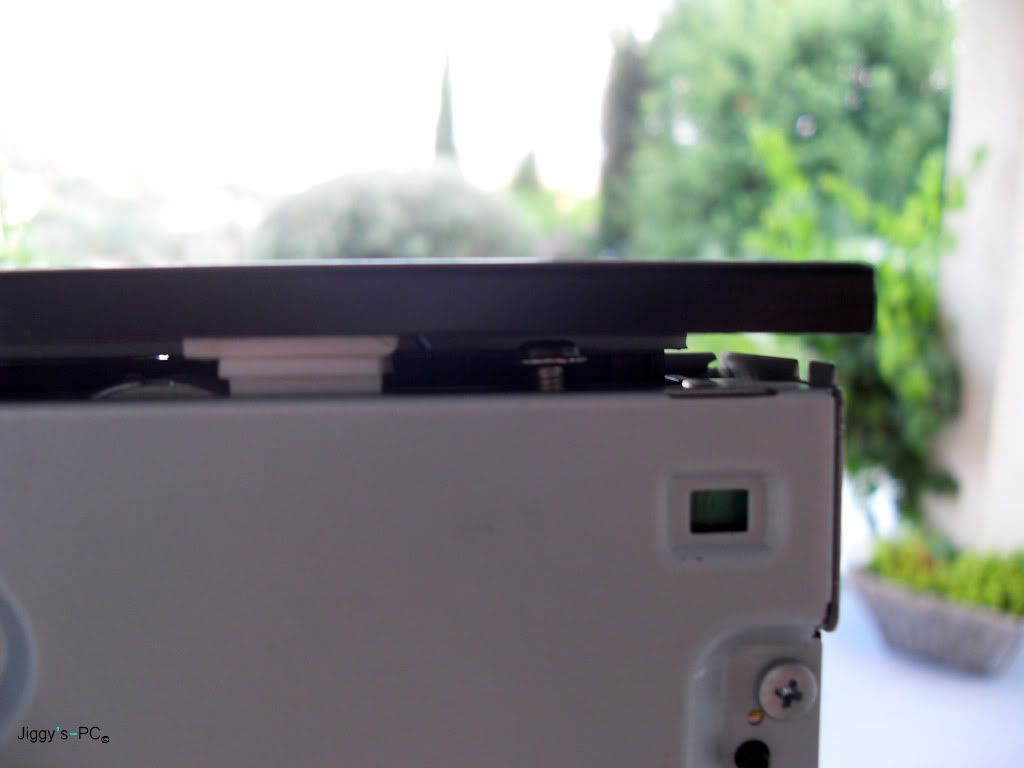
I couldn't find a proper guide around so i thought i would have a got at showing how to do this simple but nice mod.
Before
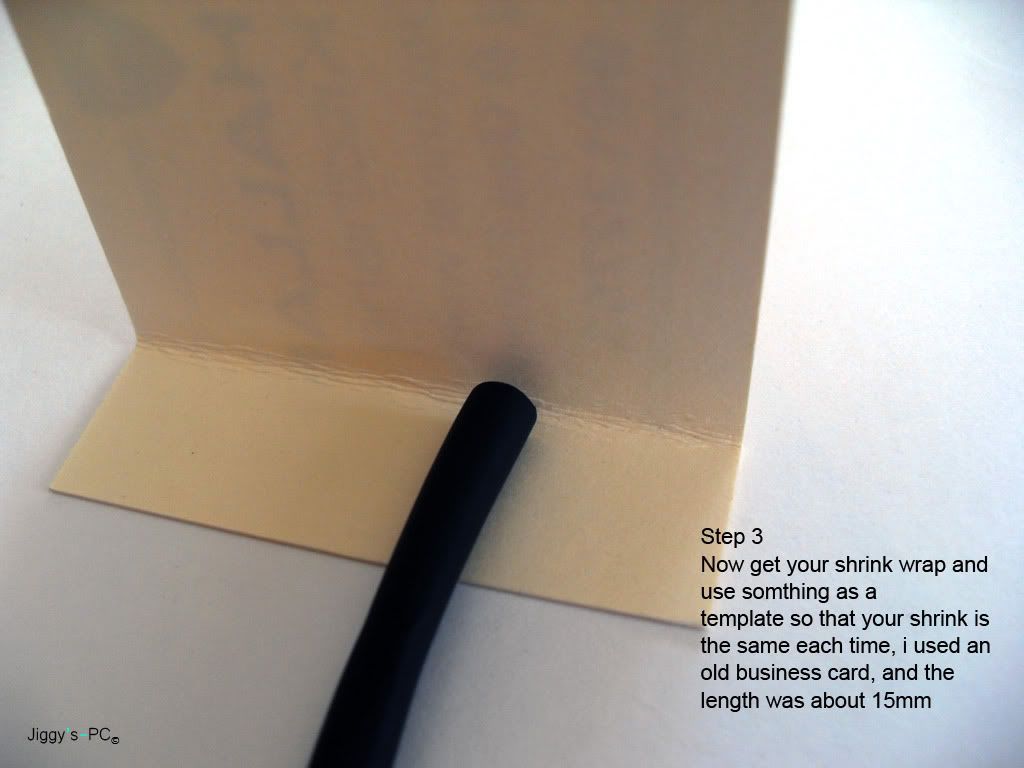
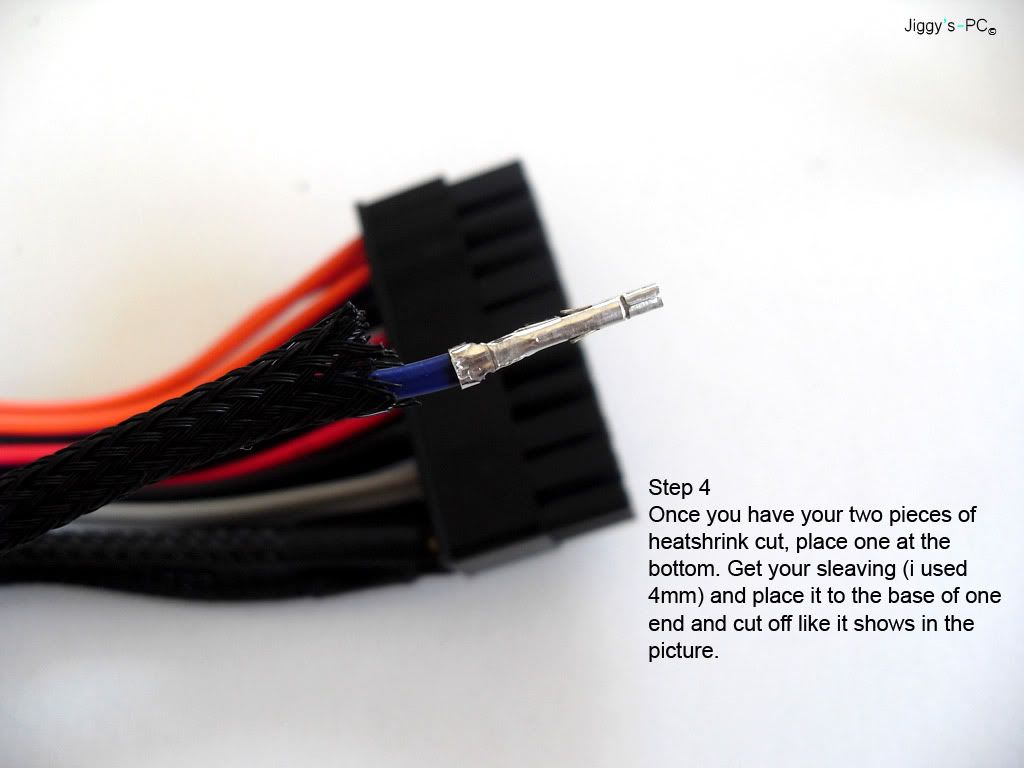
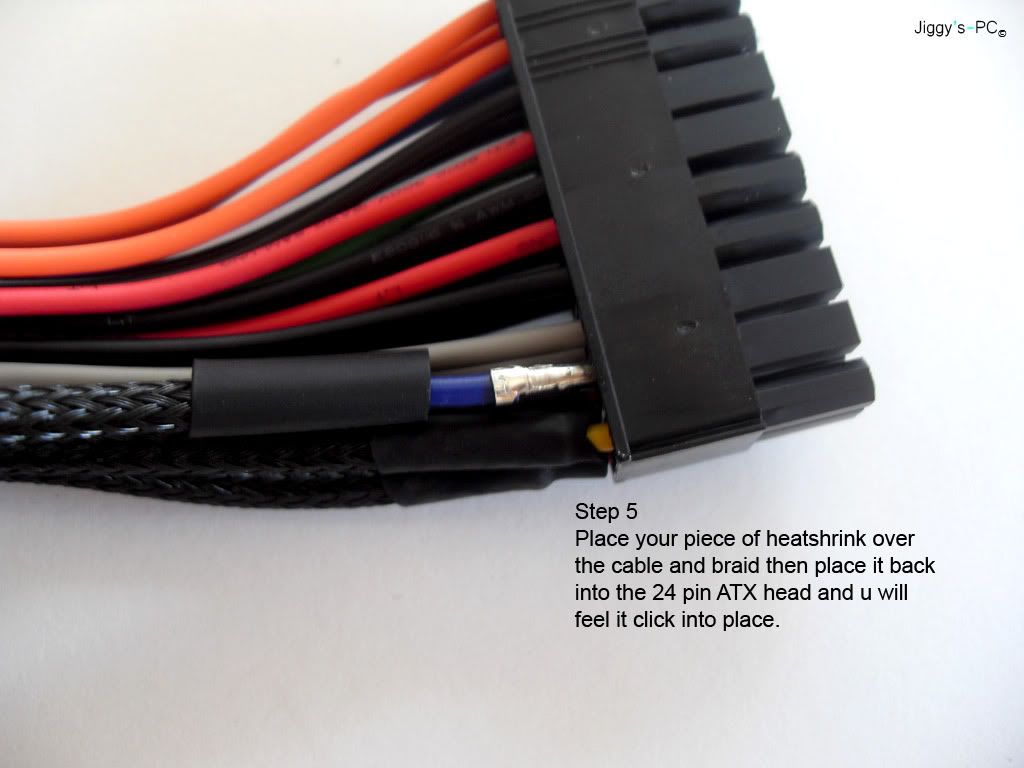
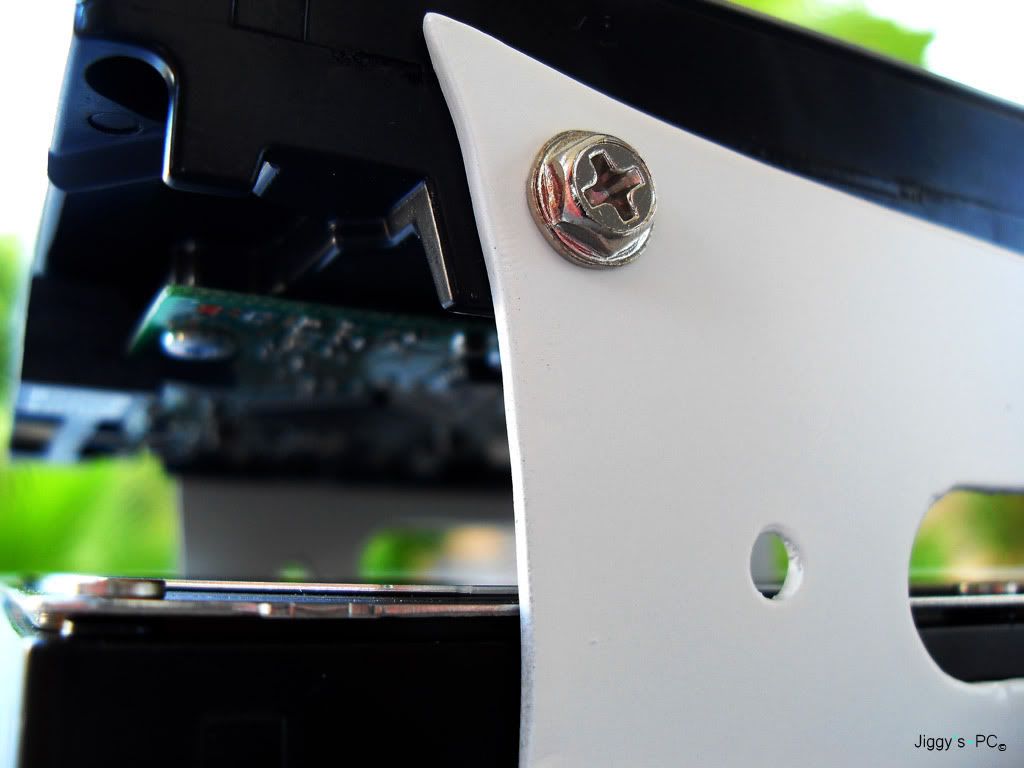
Steps
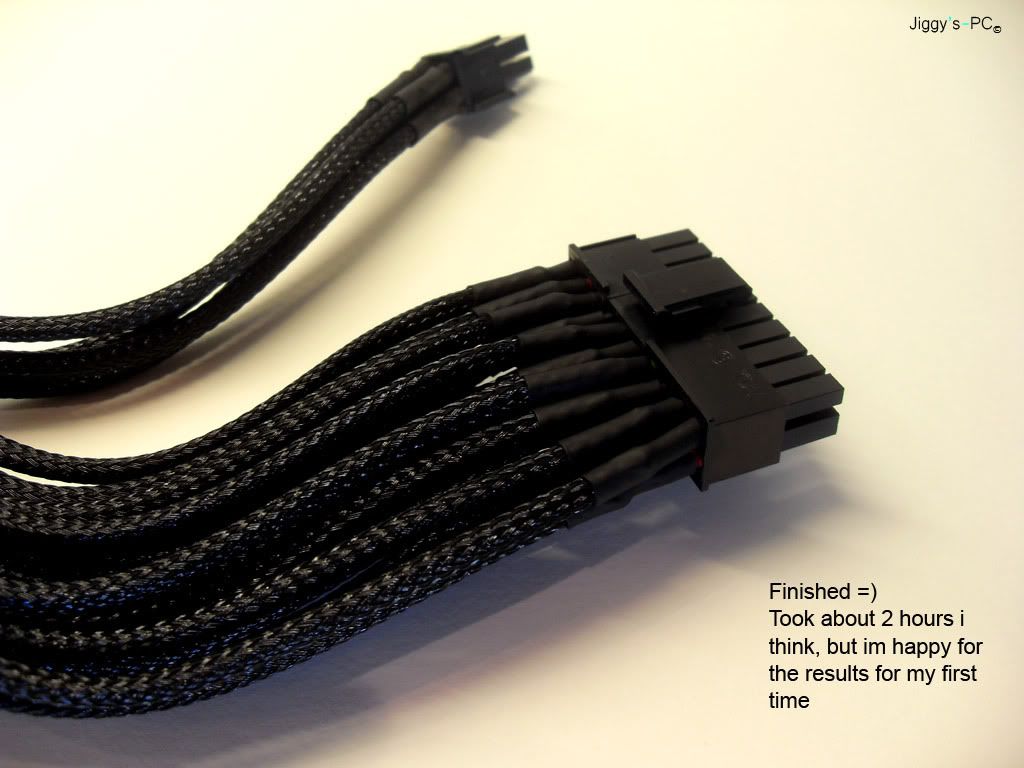
After
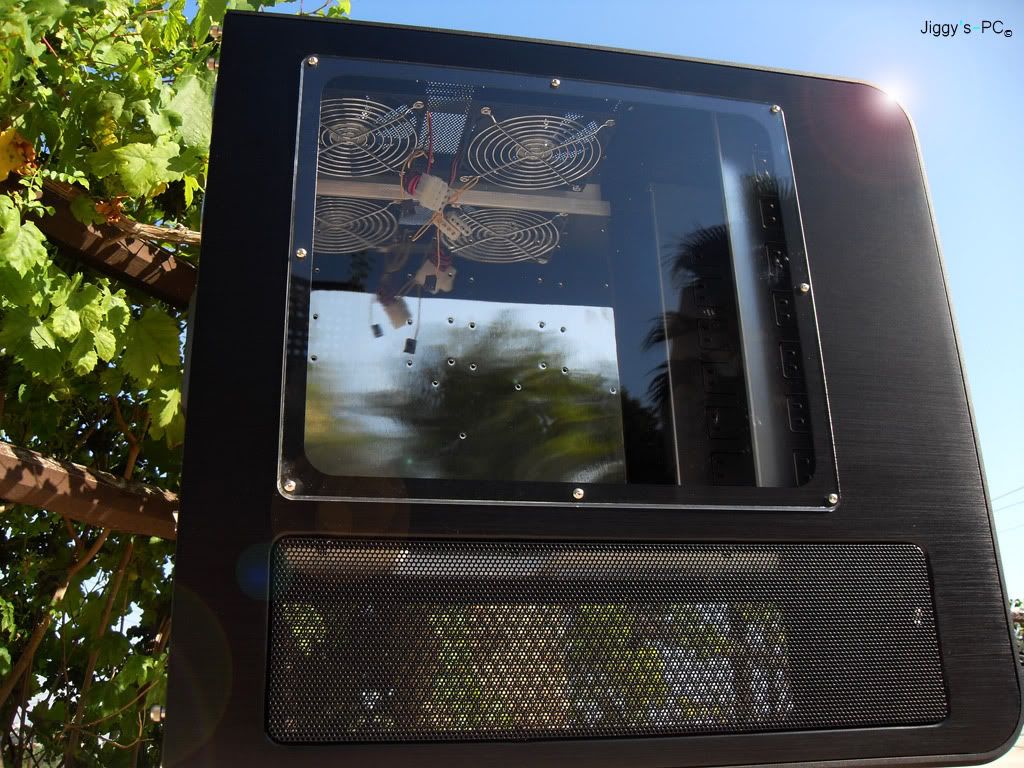
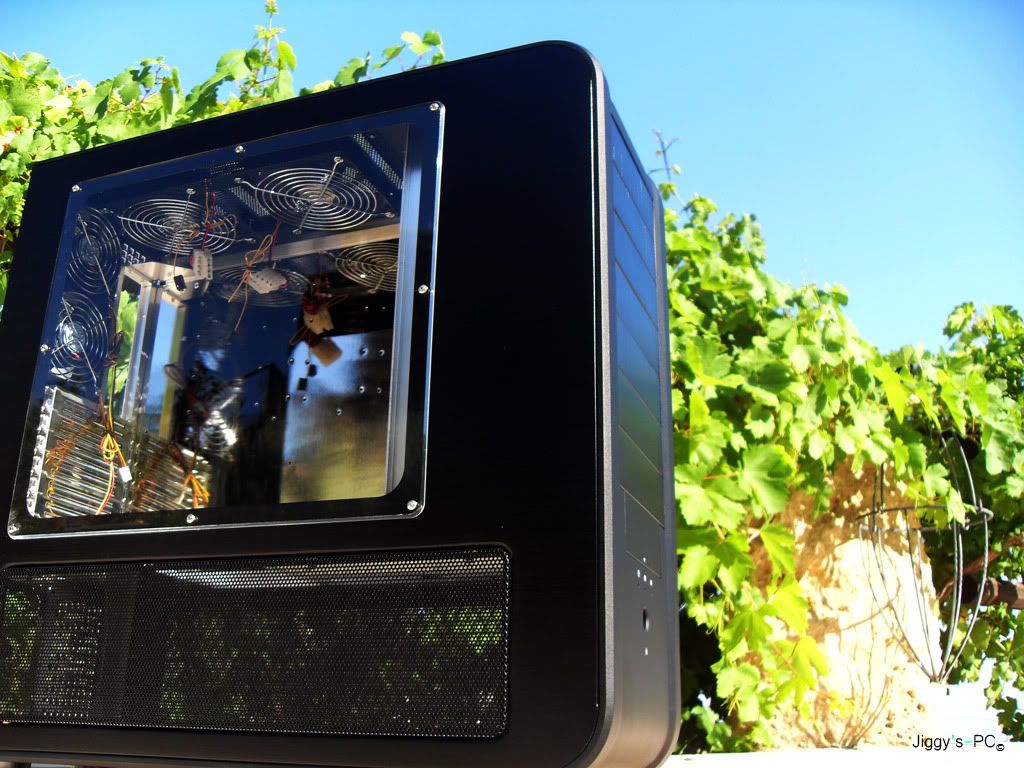
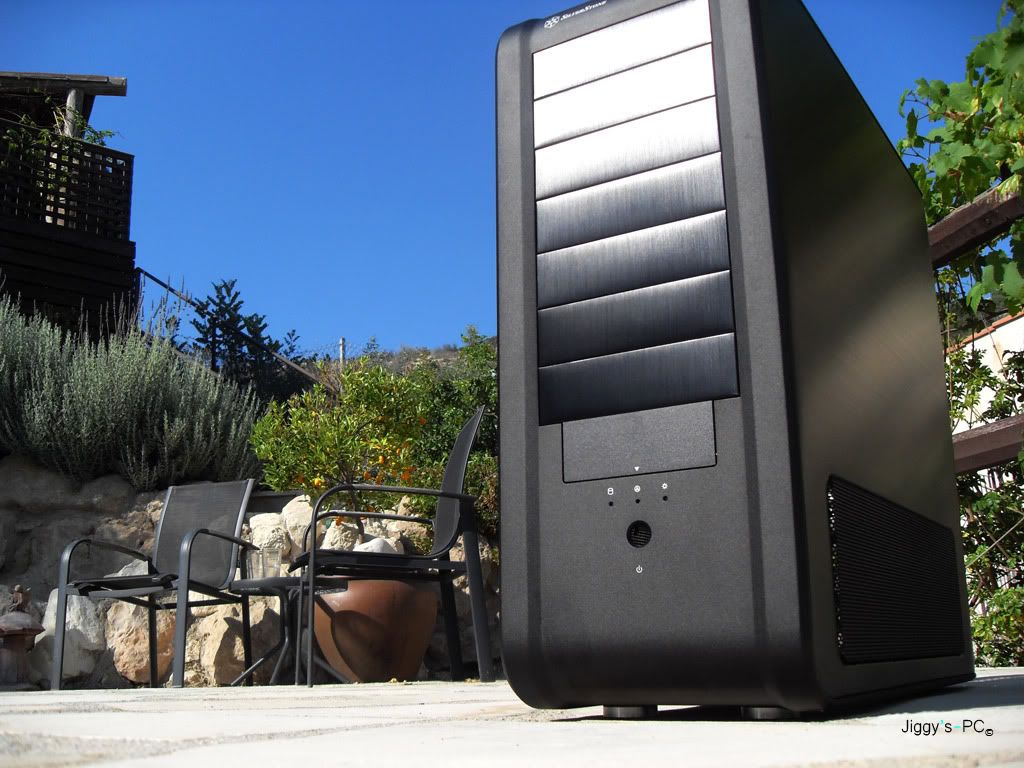
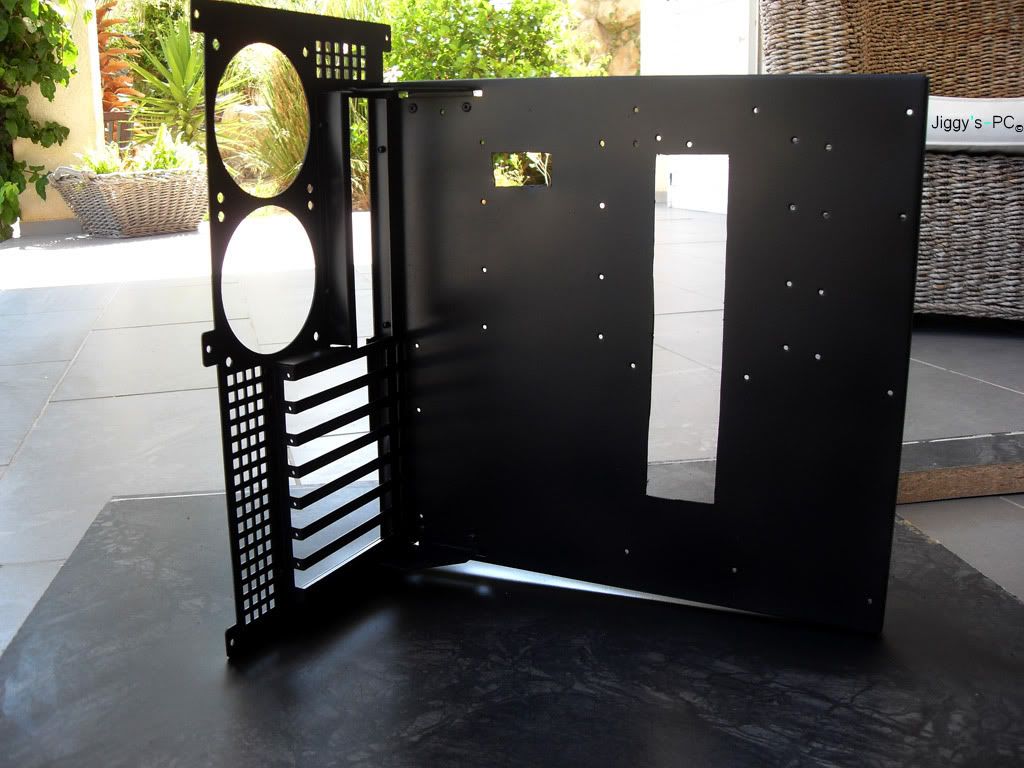
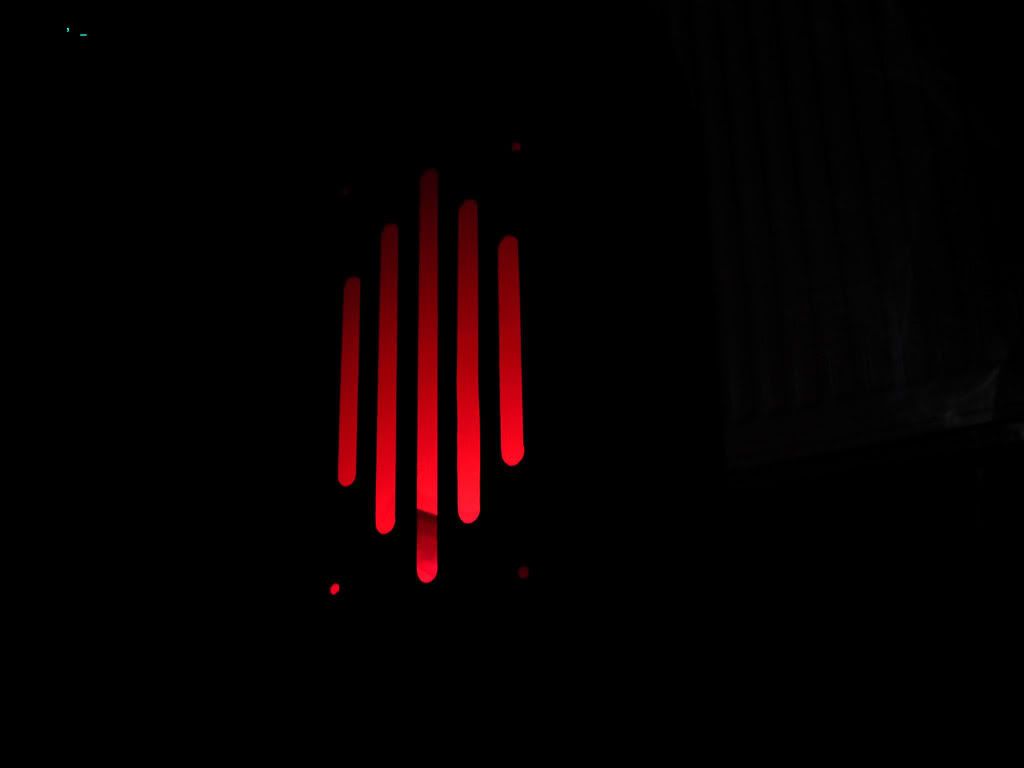
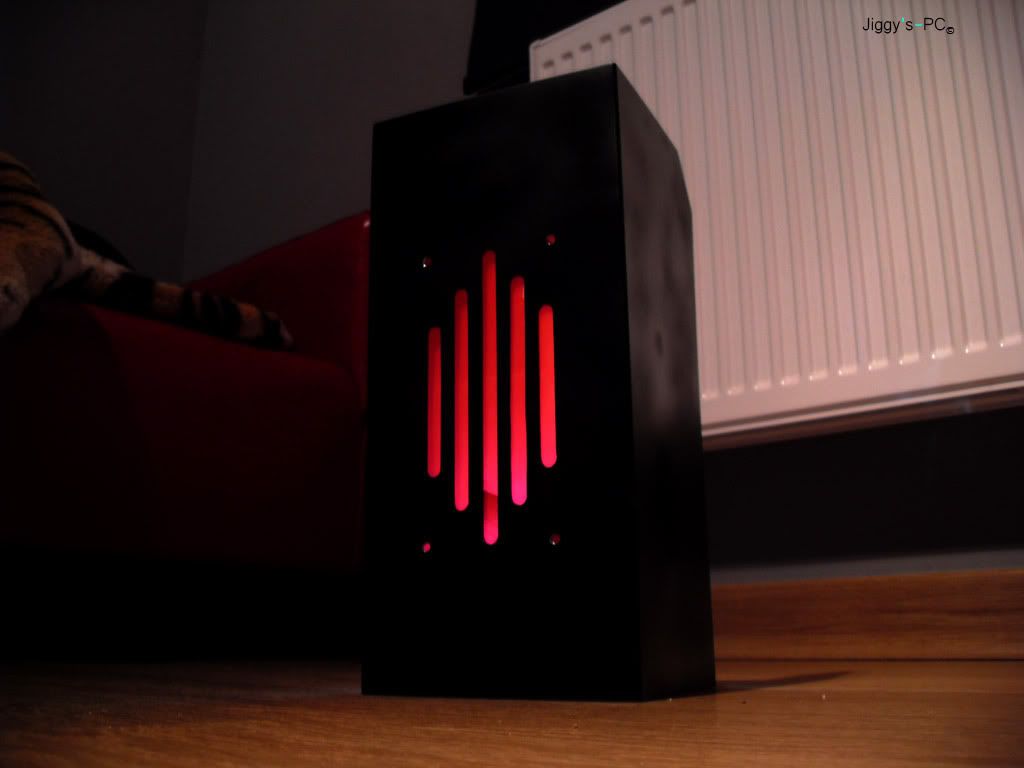
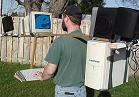
Here are some pron shots of my Tj07, i think my neighbors thought i was a bit weird by taking pics of my PC case by the pool but o well
(A bit to much adding contrast on that one soz)
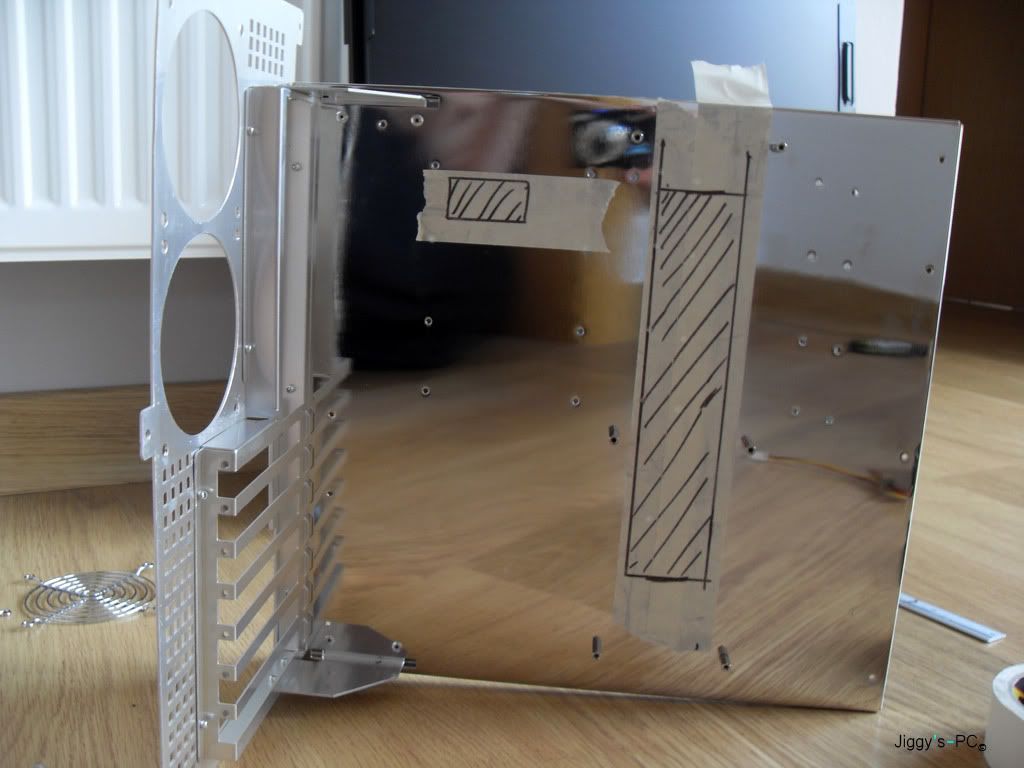
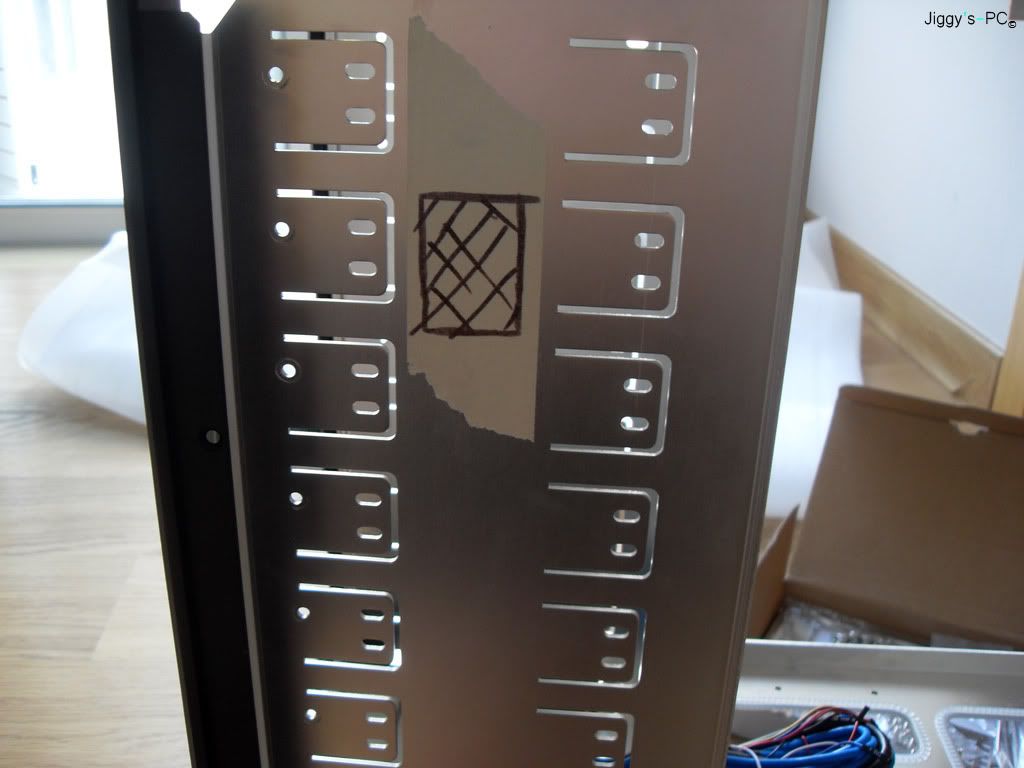
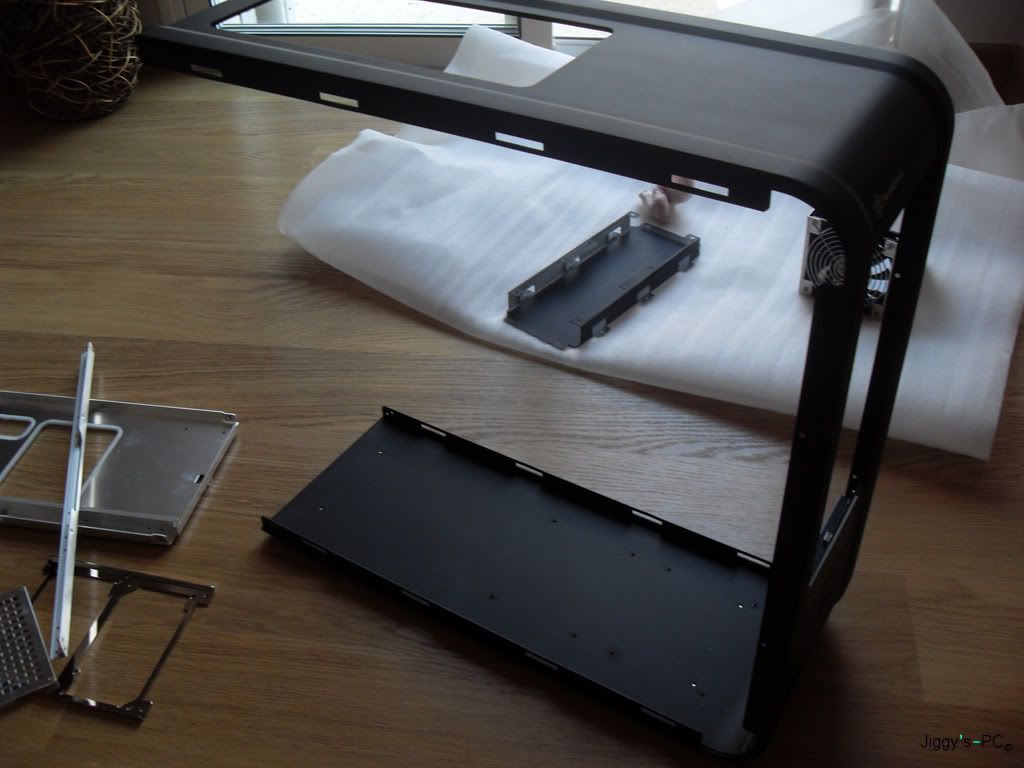
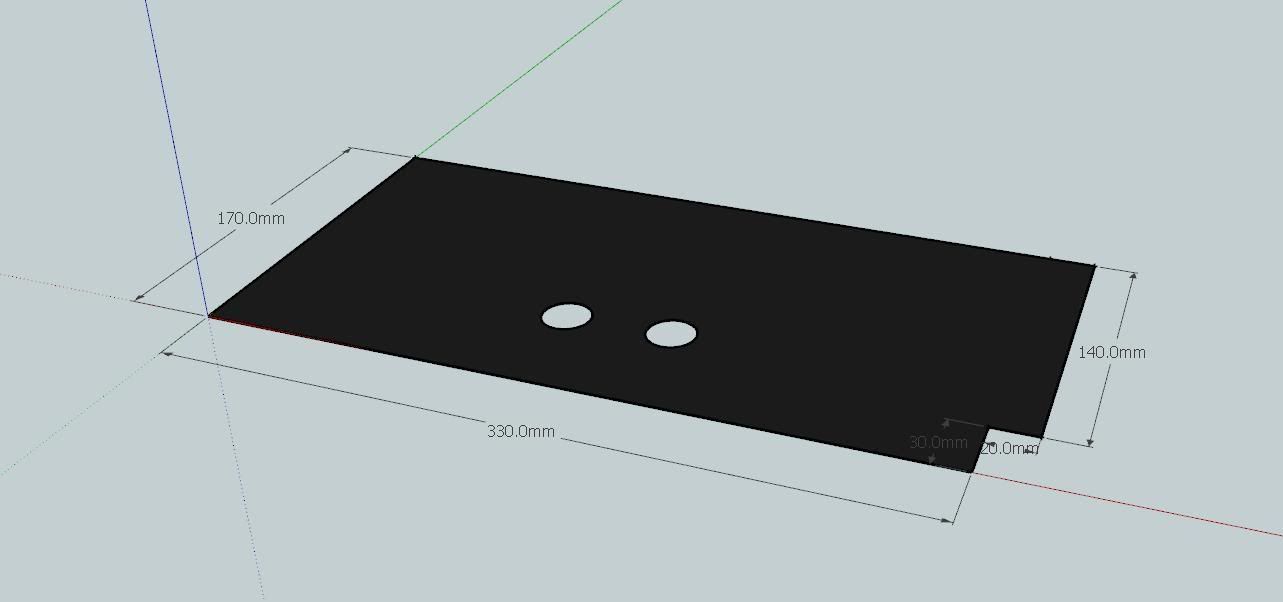
Once i finished my photo shoot, i started to take it to pieces and mark where i need to cut holes tomorrow.
For the cables to run behind the MOBO tray
So i can fit my cables from the PSU to the rest of the PC out of site
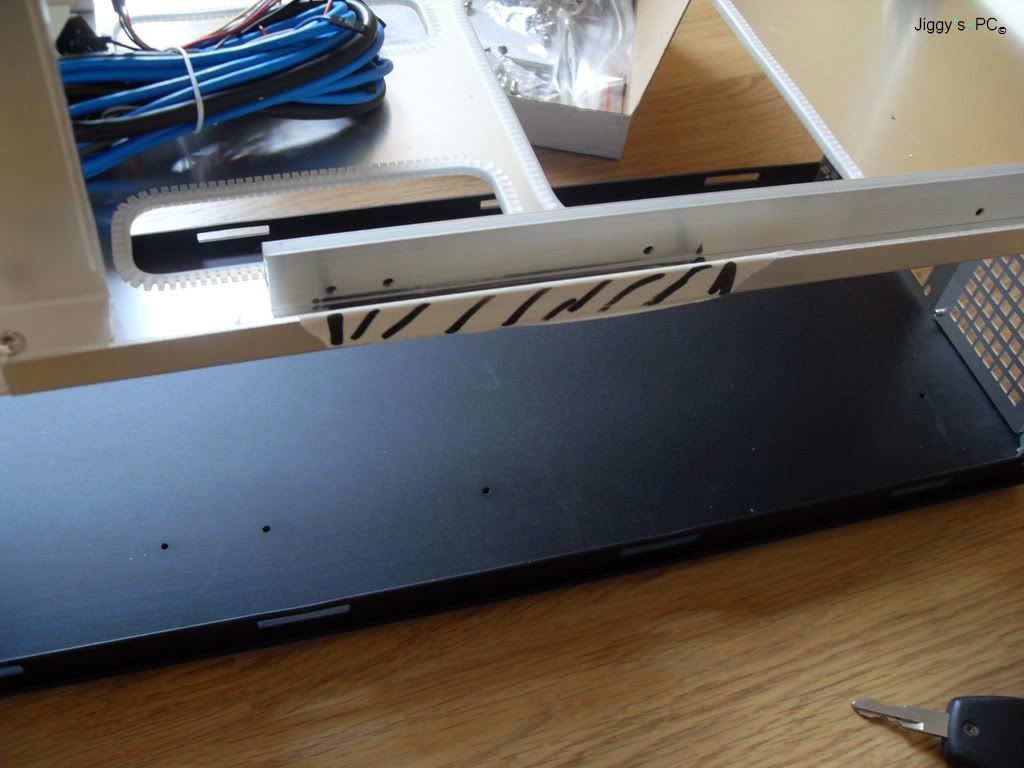
I ordered 50cm SATA cables not 75cm (another blond moment) so i decided would be easier to cut a hole there and root them directly to my HDD, SSD and DVD drives (will explain my storage drives are going later and the layout)
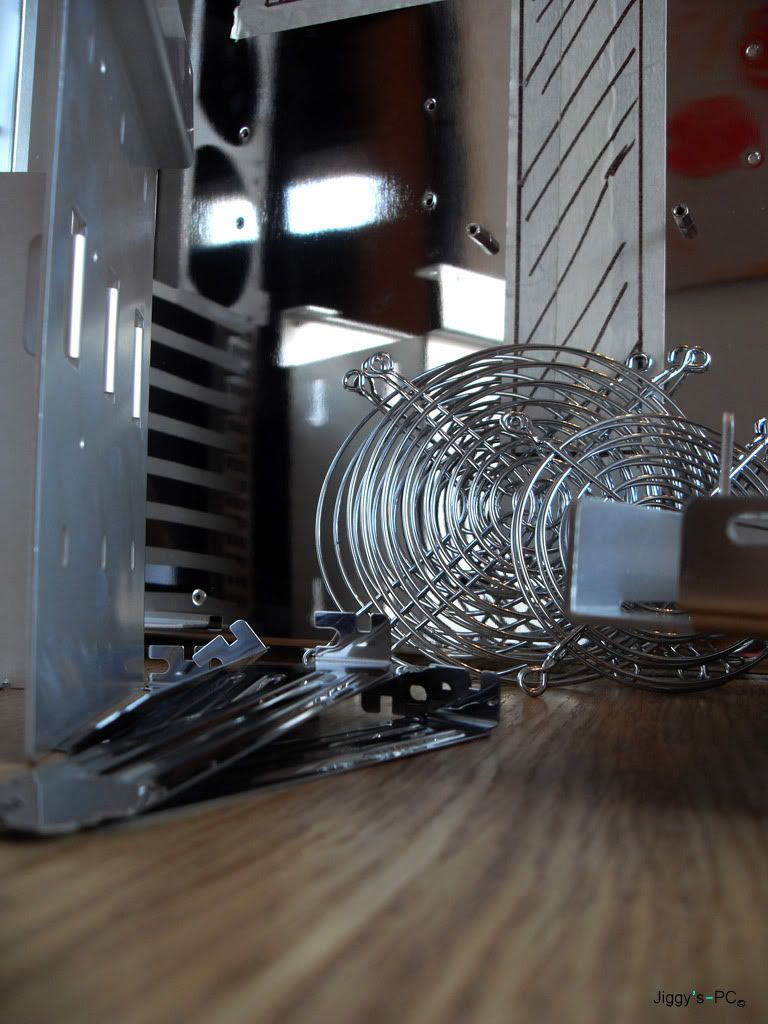
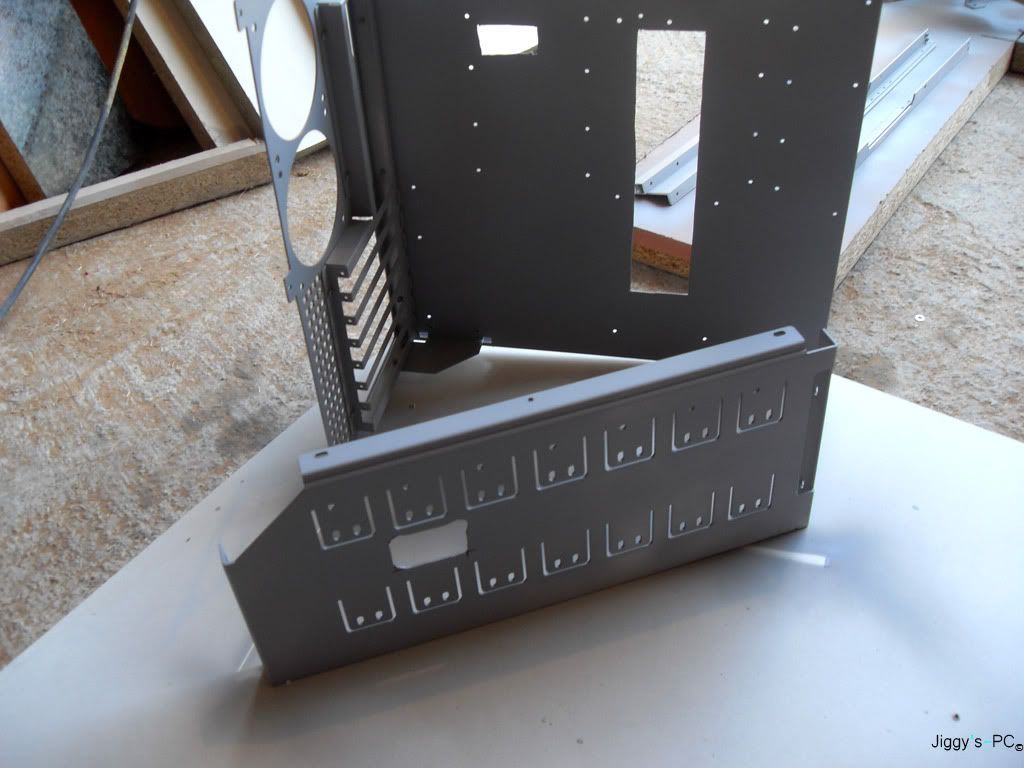
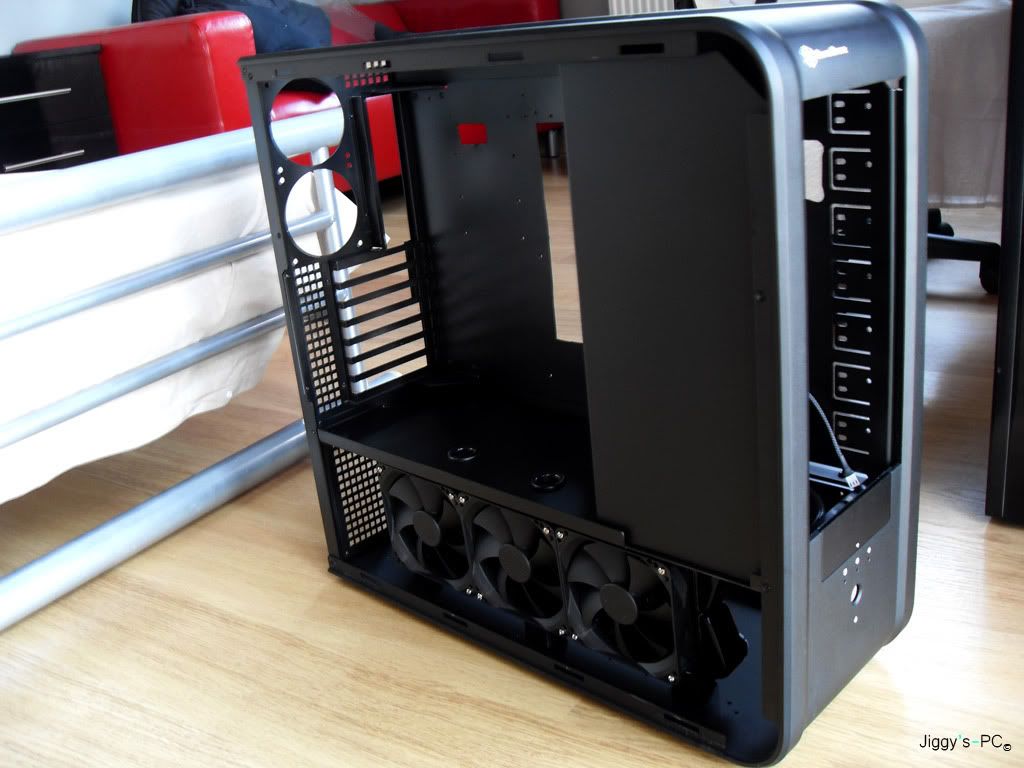
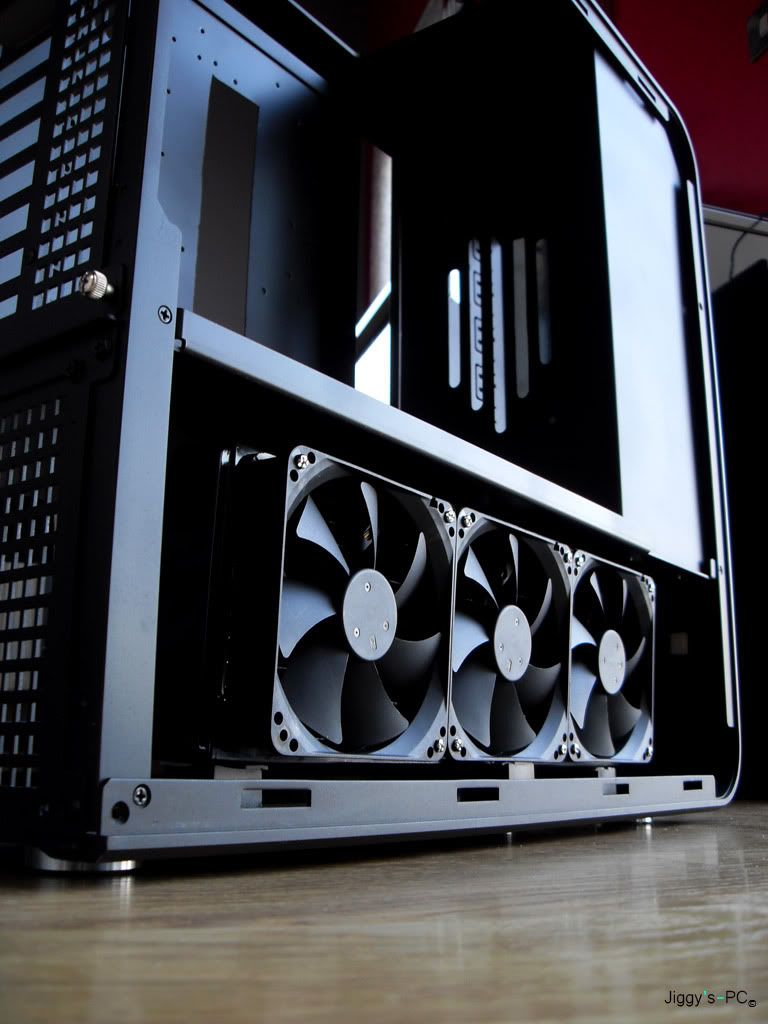
A naked Tj07
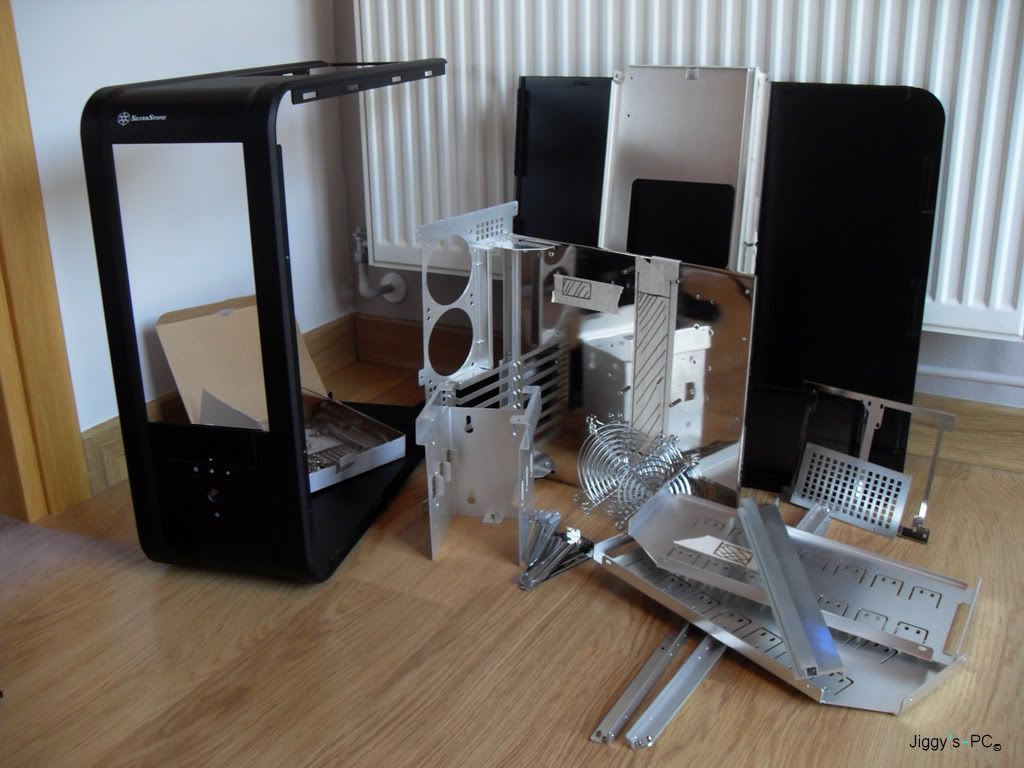
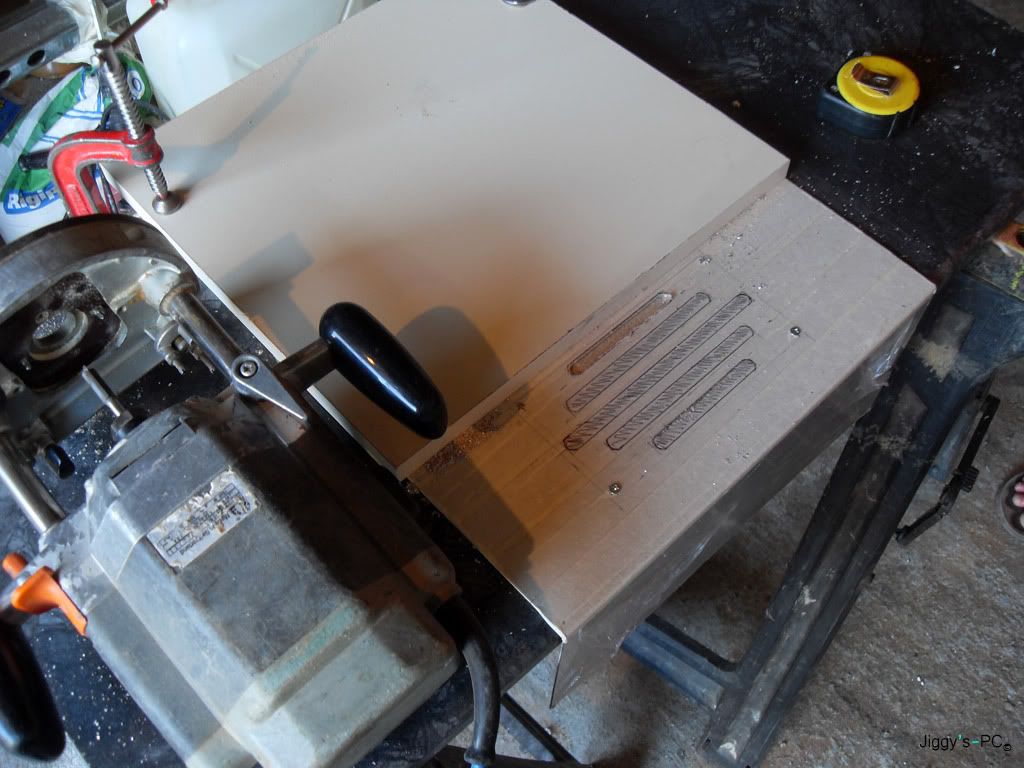
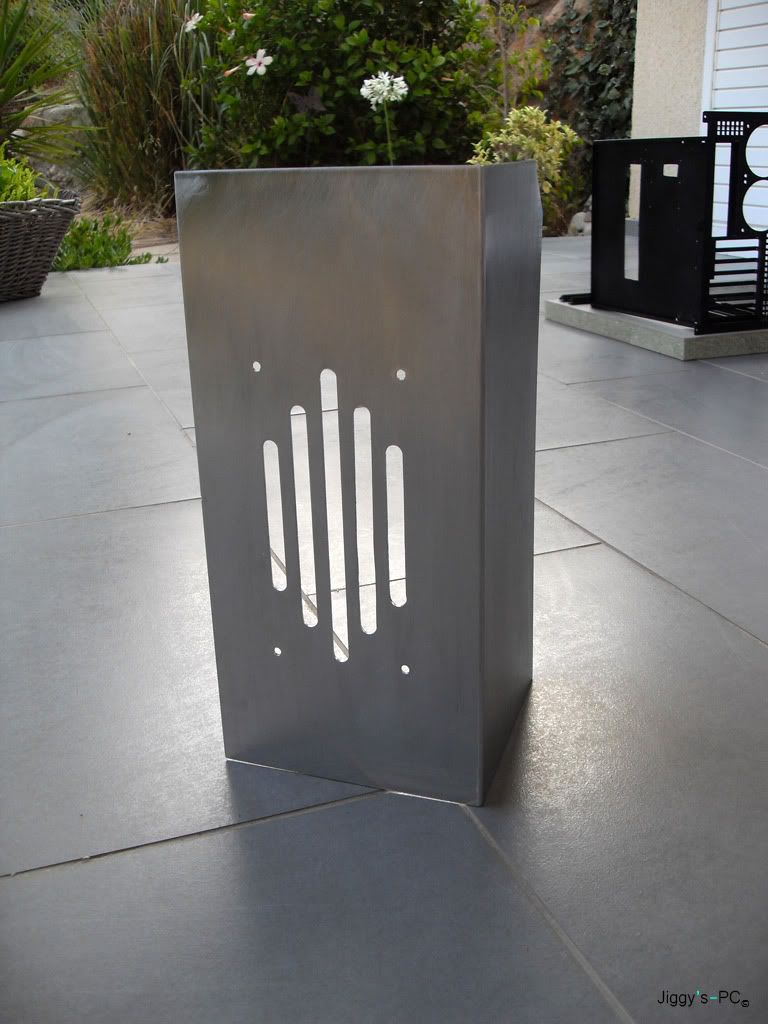
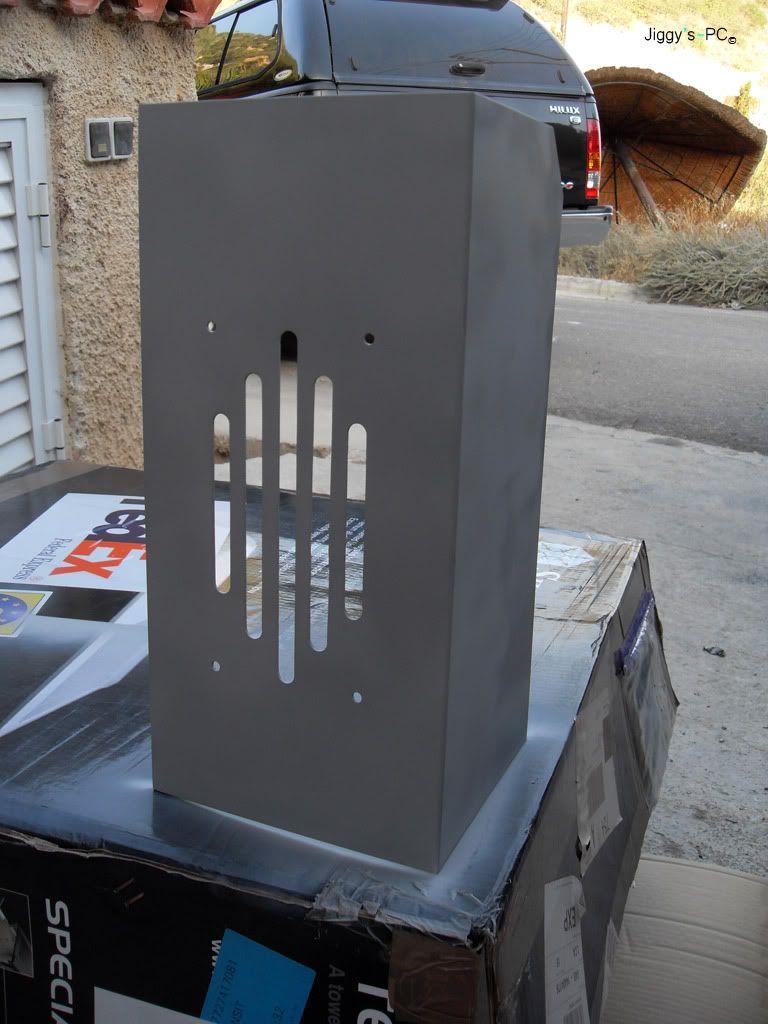
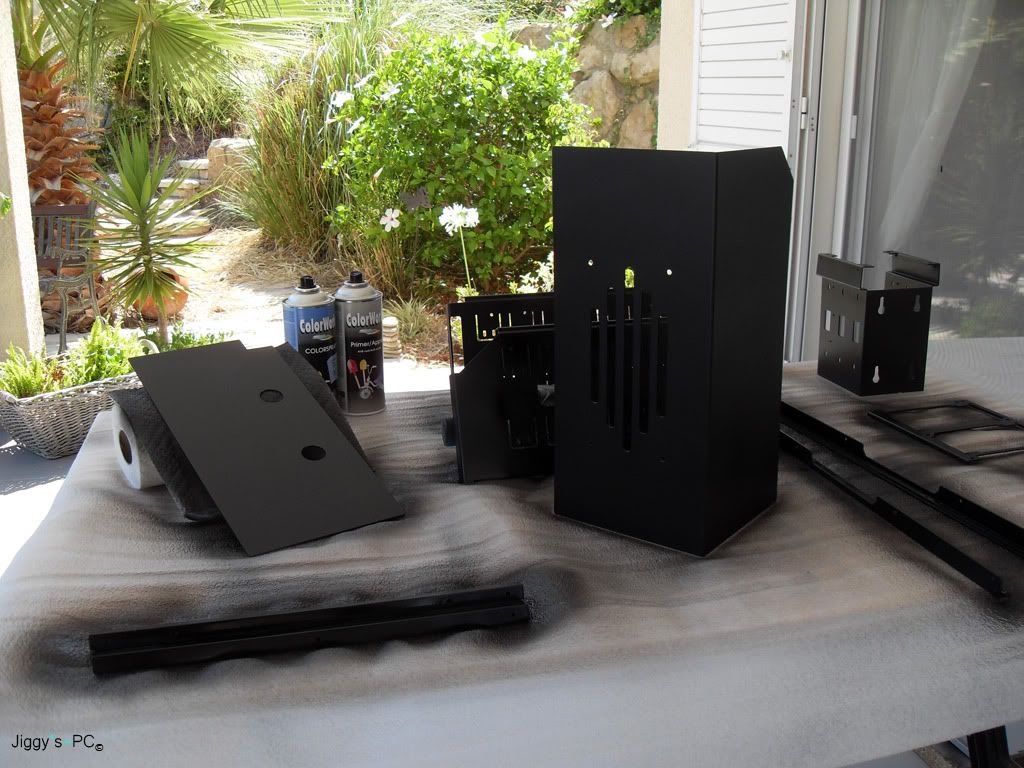
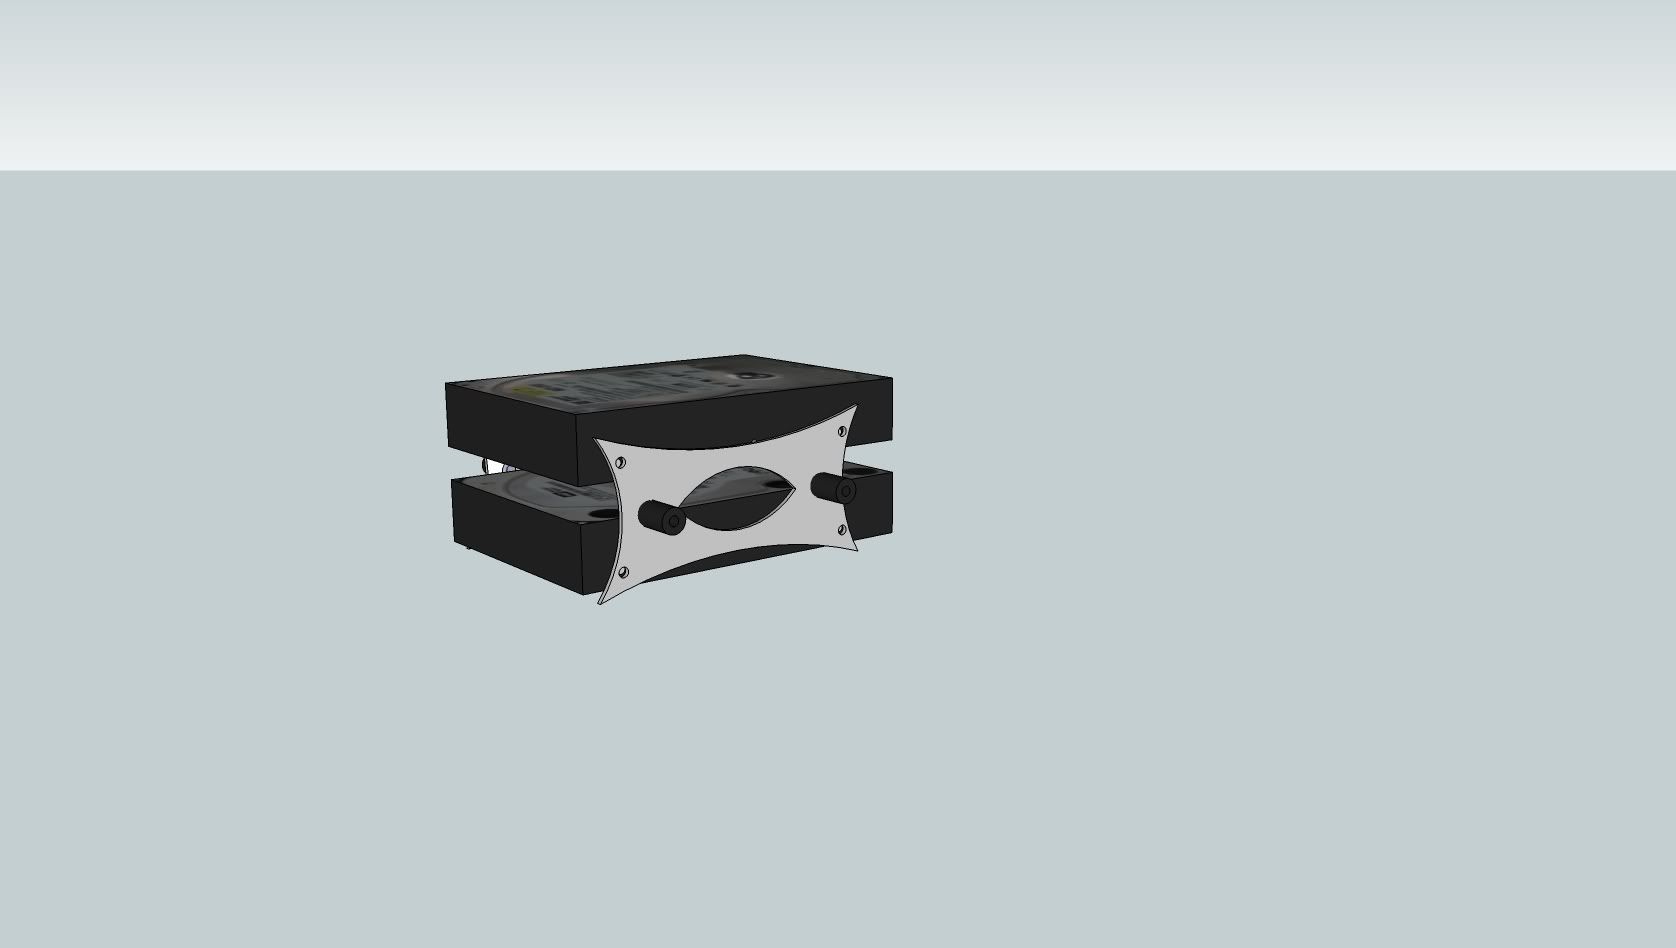
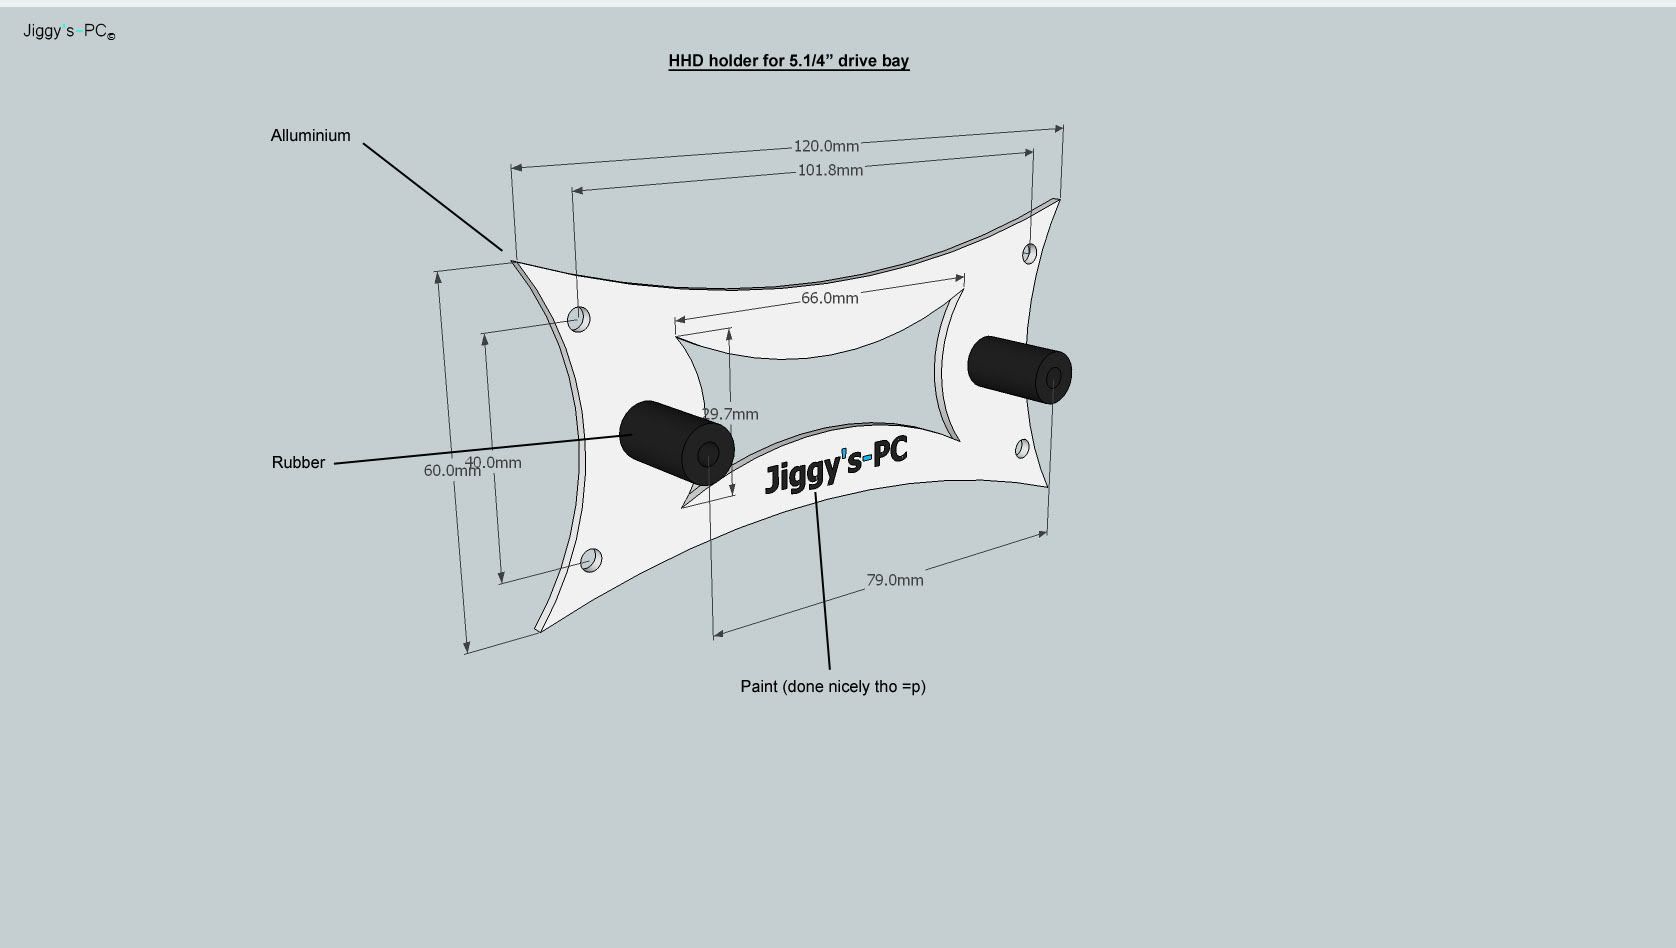
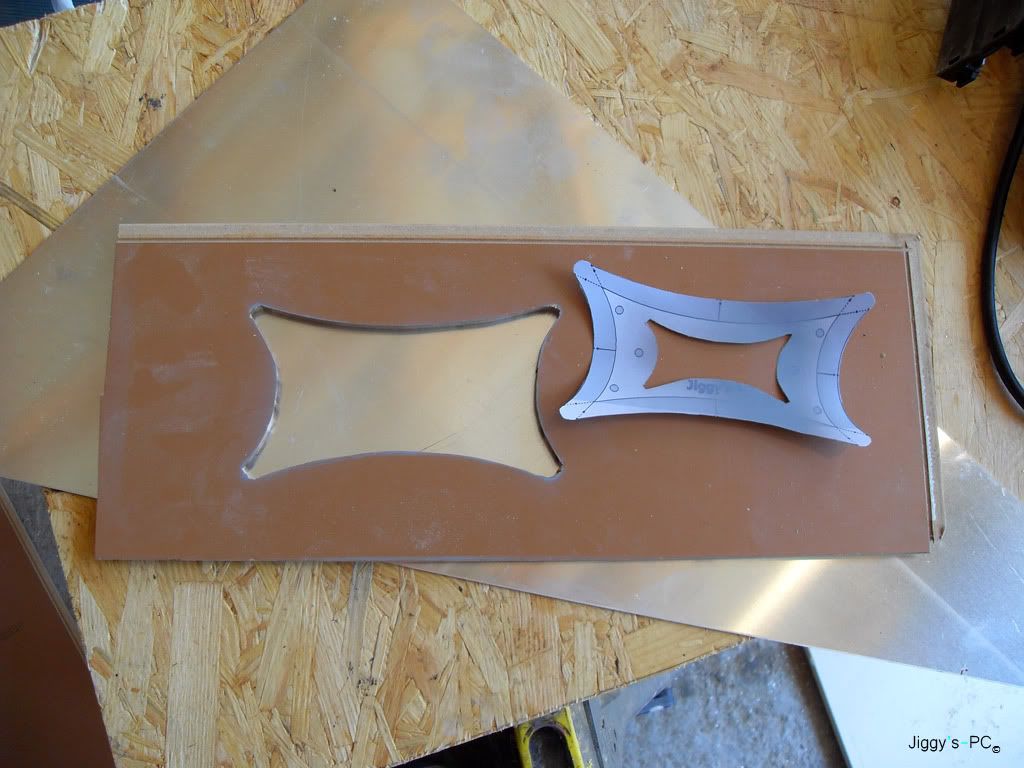
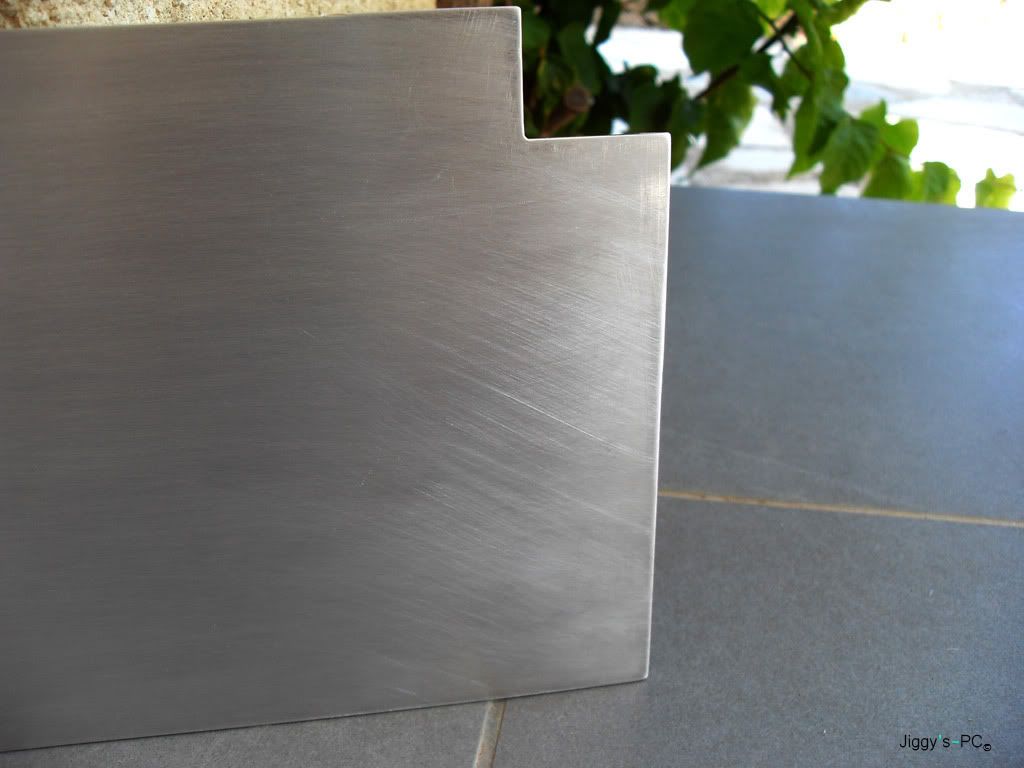
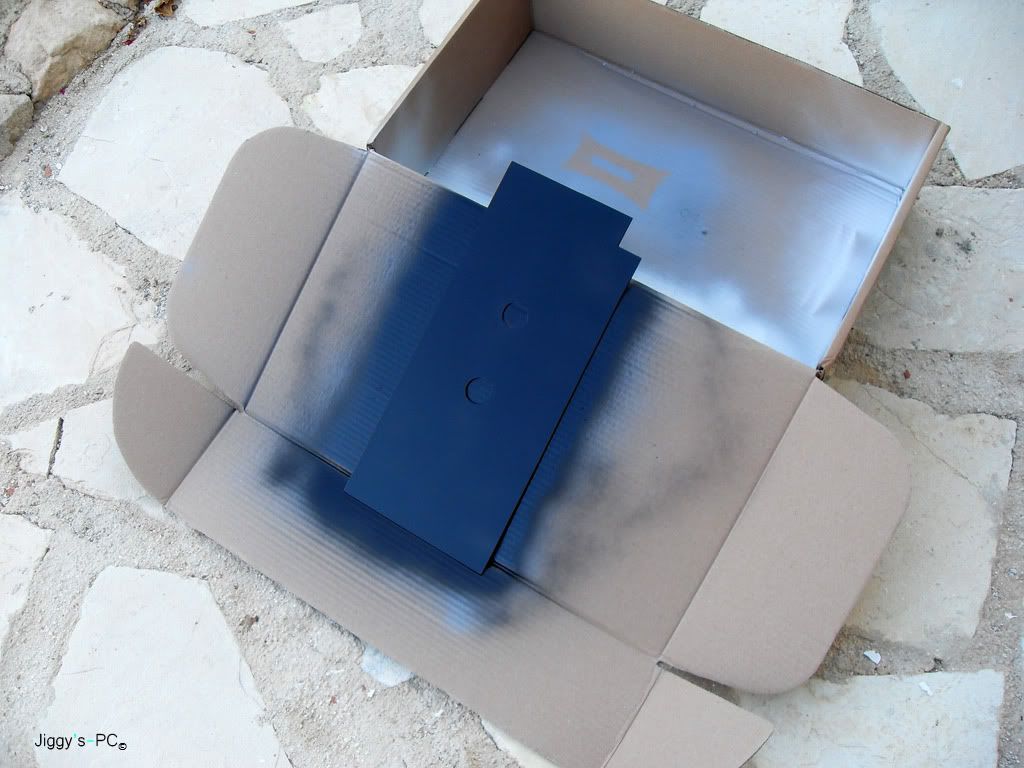
All the parts ready for cutting and spraying
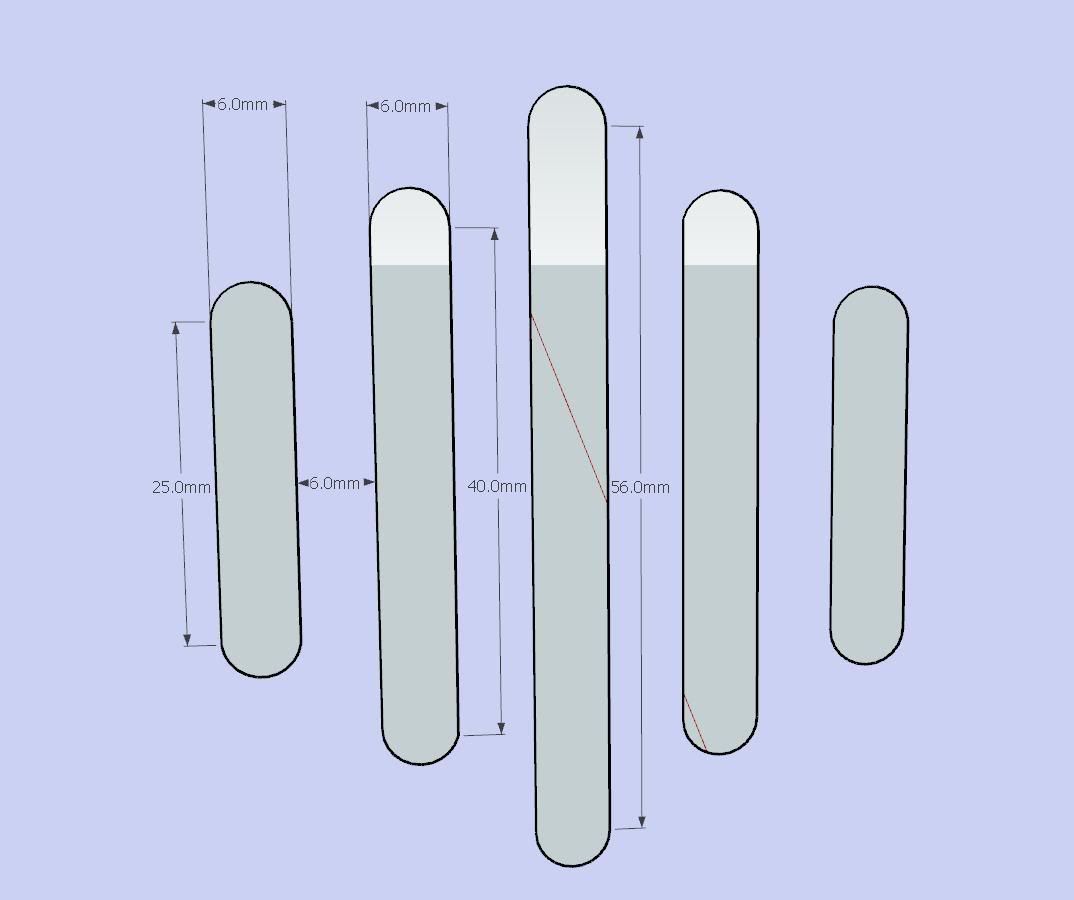
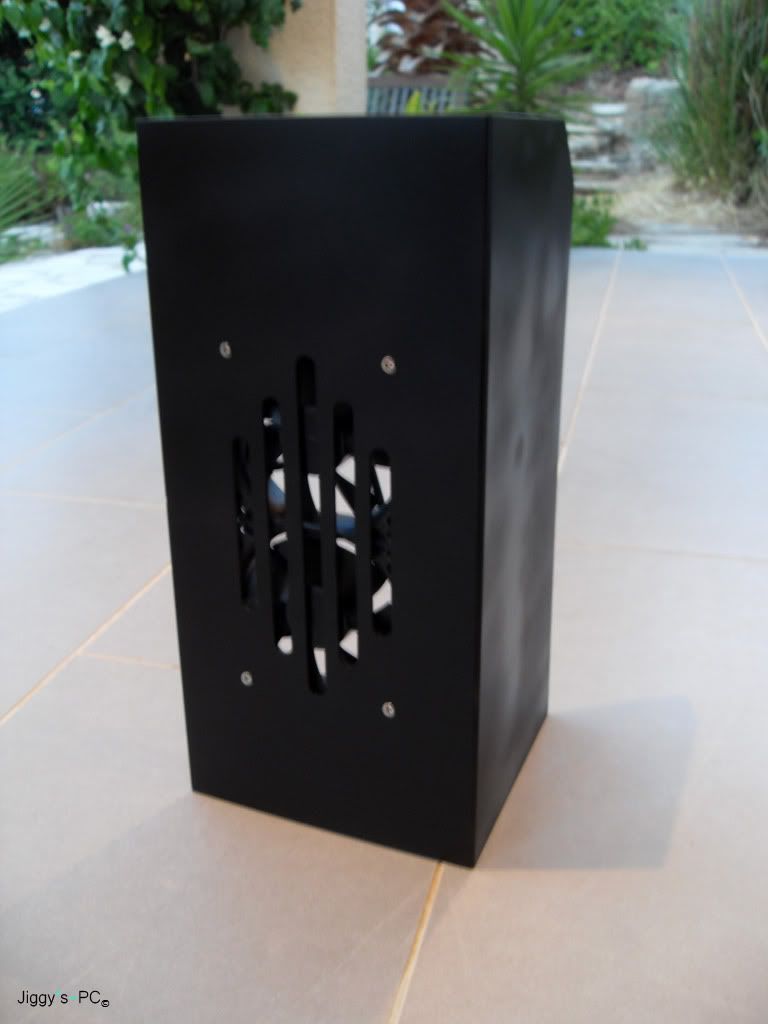
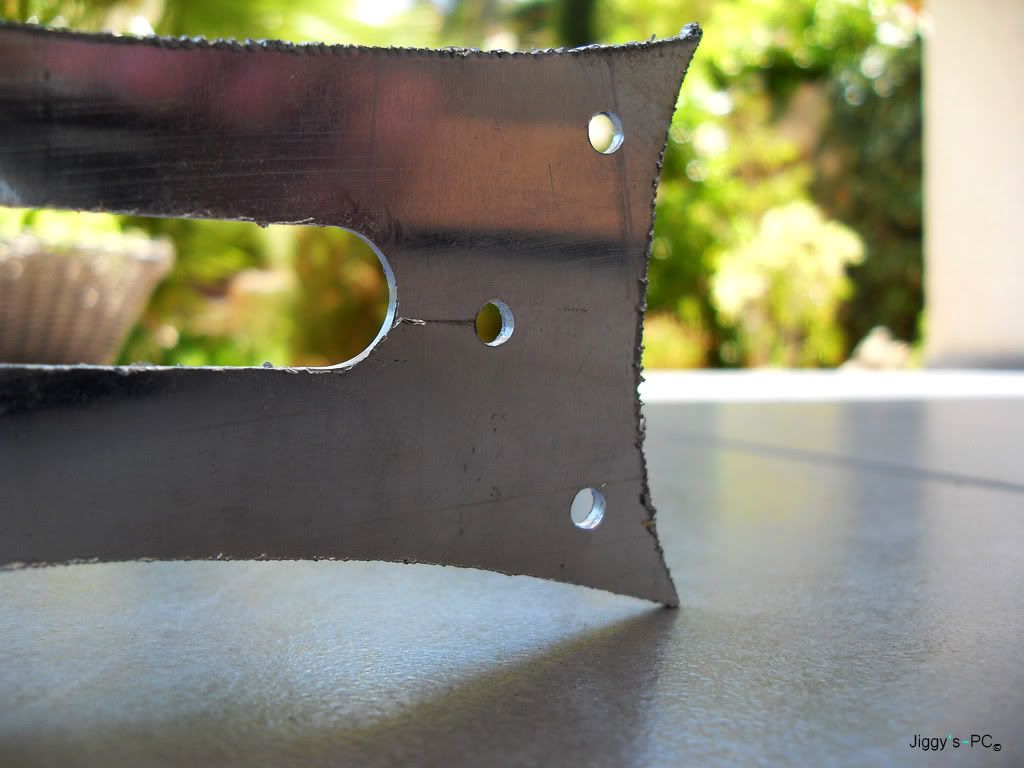
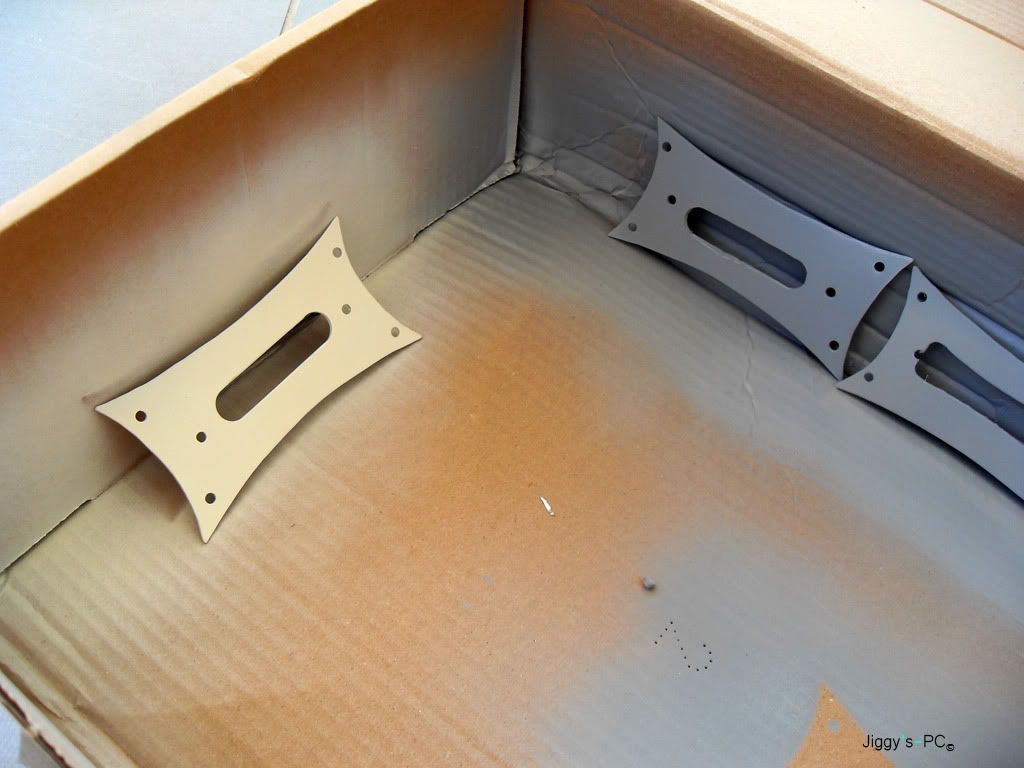
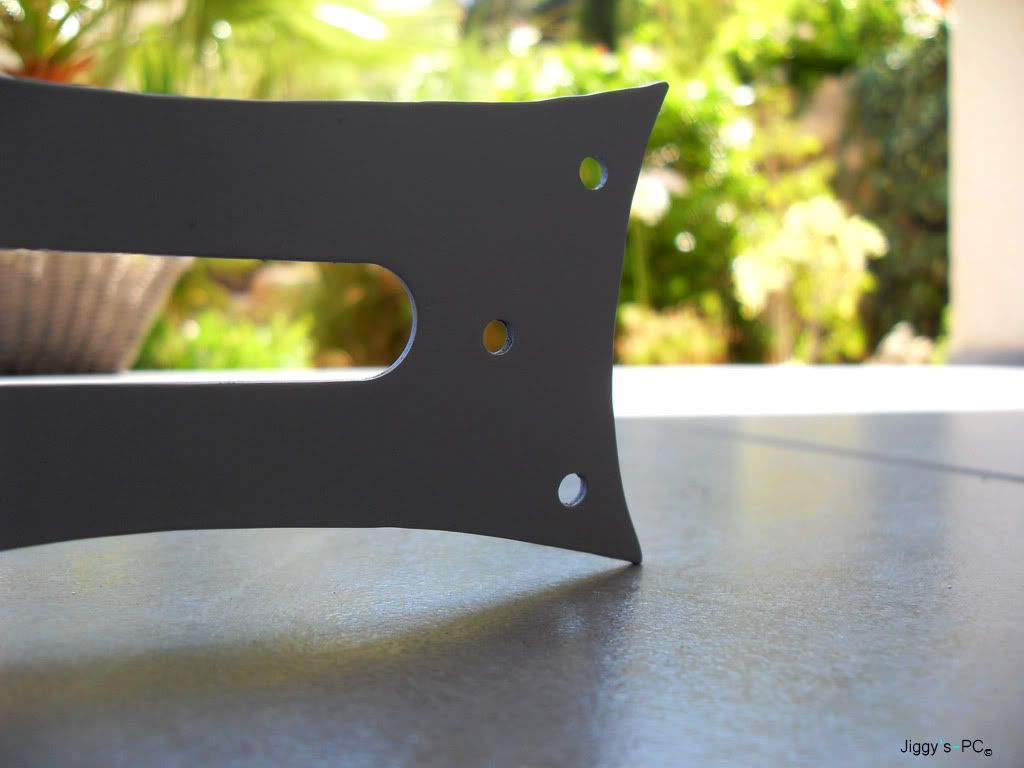
A pic of erm... fans guards lol


 Reply With Quote
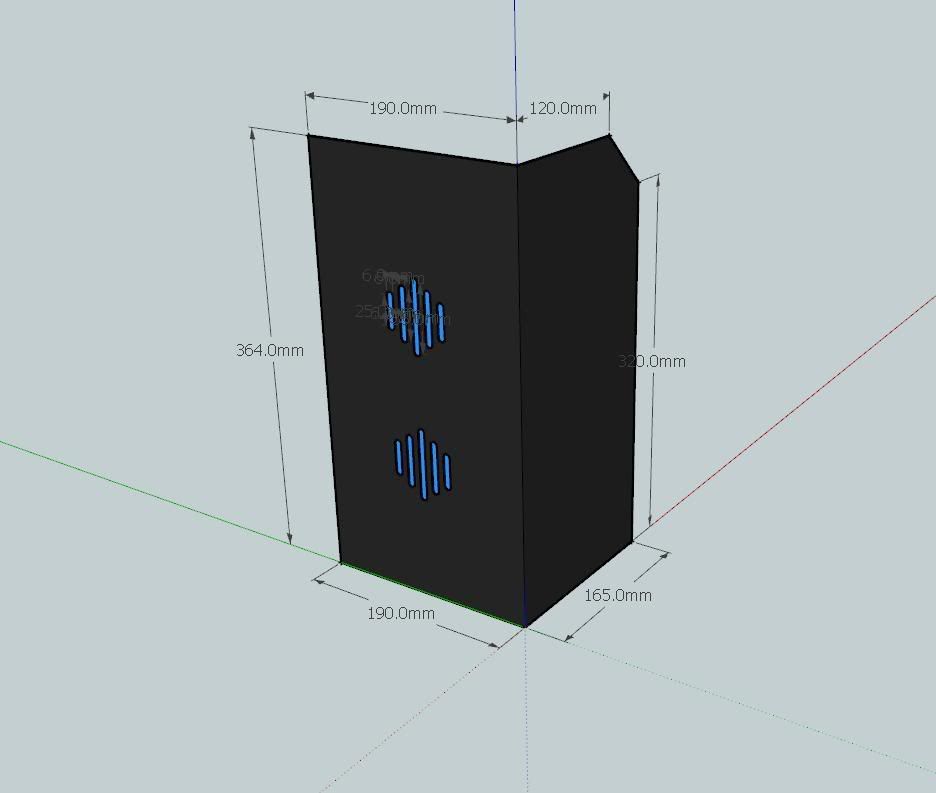
 )
)


 Join Us in the XS World Community Grid Forum & Help Fight Cancer and Other Diseases
  )
)


Bookmarks