Hi, everyone! I'd like to invite you to share this journey with me.
The project has a couple of
goals:
-
to produce a durable case with a life expectancy of ~ 10 years (ie. power, cooling, and control capabilities),
-
to assemble a powerful PC that can man-handle the current state-of-the-art for PC gaming (ie. latest titles, jacked, HD, 3D Vision Surround, etc.), and
-
to deliver low sound levels (ie. will also be using this machine in a home recording studio), yet be able
to drive components robustly.
My
core approach will be:
- to use best practices and suppliers, and
- to work with fundamental, re-usable, and less price-or-technology-sensitive parts first (eg. case mods and cooling), followed by MB, CPU, RAM, SSD, and Video.
Near-term,
specific objectives include:
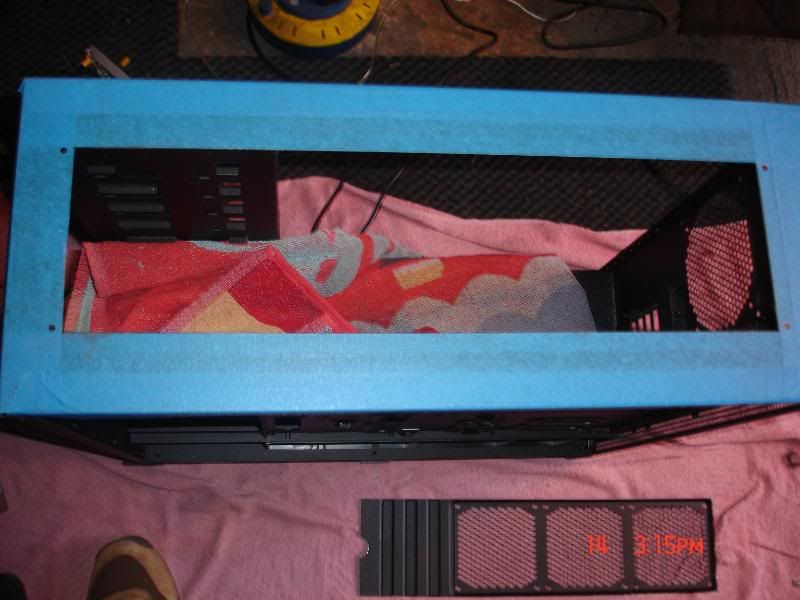
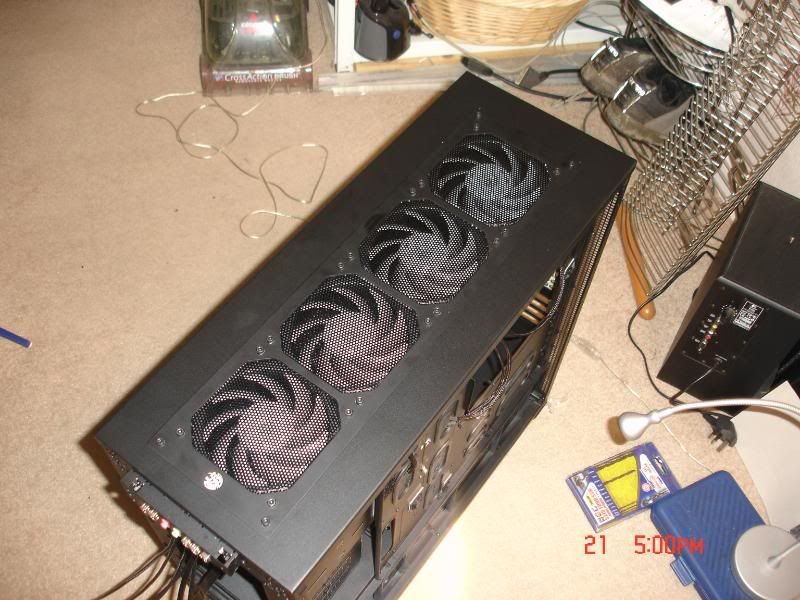
- modding a Corsair 800D case to accept ThermoChill TA120.4 and TA120.3 rads (will need to extend an AX1200 PSU outside the case),
- implementing an Aquaero 5-based cooling control platform, and
...
other fun junk-and-stuff that we'll hit along the way!

Seatbelts fastened? OK, OK, settle down, that's probably overkill, but here we go nonetheless...


 Reply With Quote


 ).
).


 ).
).


 ) between the pumps for cable management, so the best that I could do was to mount the pumps with the Swiftech labels facing outward (same side as the EK top's "out" port), with the power and PWM cables facing backward. I will be dyeing those cables black, for sure.
 ) from the edge of the pump body, so I'll need to make more of a jig-saw-type-puzzle-piece cut, where the heatsinks will meet in the middle of the EK top.


Bookmarks