


.:. Project Stealth .:.
Hey everyone im back with a new SFF Build. 8-)
Original Worklog Link: http://matxworld.com/viewtopic.php?f=43&t=3112
My Background:
I have been into computers and gaming since i was in middle school, around 6th or 7th grade. I bought my first real gaming computer around my sophomore year of high school, which is when my interest in computers and gaming really took off. About half a year after i purchased my first system i decided i wanted something i could travel with; to LAN's and to have a computer which no one has really scene before.
My first custom build was in a Vinster M@X which defiantly had a big learning curve, with finding components that would fit in the case. I have stuck with the M@X for around 4 years and the case it self has become a bottleneck. I recently decided to go bigger, but stay the mATX format. Which ended in disaster because it is WAY to big and heavy to be moving to LAN's every weekend..... So it looks like im a SFF enthusiast for life!!
I have now decided to get a shuttle, the SX58H7. I have big plans for this little box and am determined to have the best looking and performing shuttle in the world !!
Sponsors: Currently Looking
Budget: You don't want to know
Prospective System Specs:
[X] - In hand
[X] Shuttle SX58H7 Barebone
[X] Intel Core i7 920
[X] G.Skill 6GB (3x2GB) DDR3 1600
[X] 2x 80gb Intel X25-M G2 Raid 0 (OS,APPS)
[X] 1x Western Digital 1TB Black (Storage)
[X] ATI XFX 5870
[X] 2x 120mm Noctua Fans (1400 RPM)
[X] 1x 92mm Noctua Fan (1600rpm)
Plans:
.:. Flat Black Powder Coat (Inside and Out & PSU & Front Plate 'See Below').
.:. Removal of front panel, replaced with powder coated aluminum plate with holes drilled for power, reset, and activity LED's, no ODD
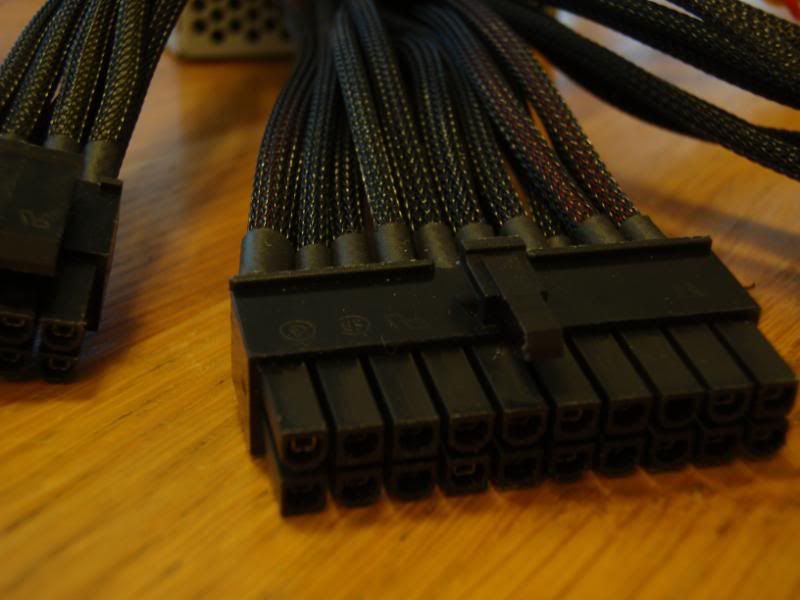
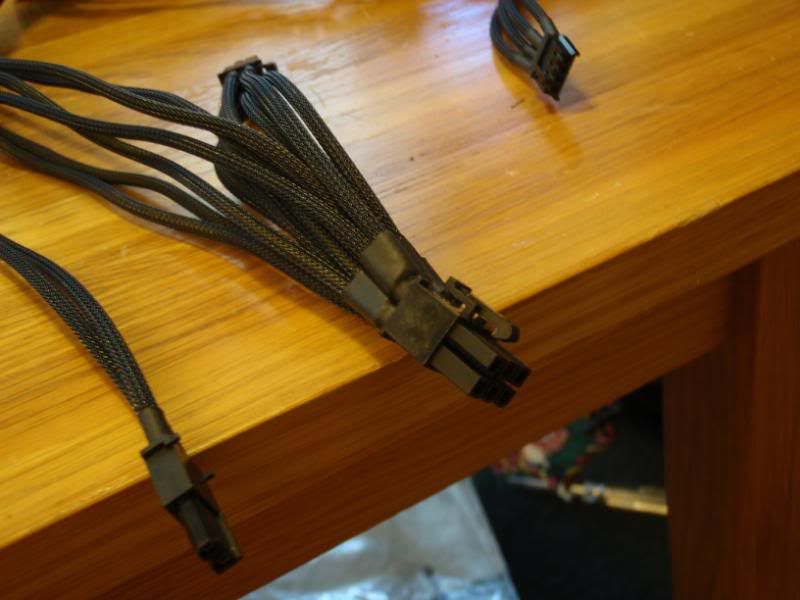
.:. Power Supply cables completely sleeved with black sleeve & heat shrink.
.:. Window cut on both video card side and psu, replaced with mesh grill, from ac ryan.
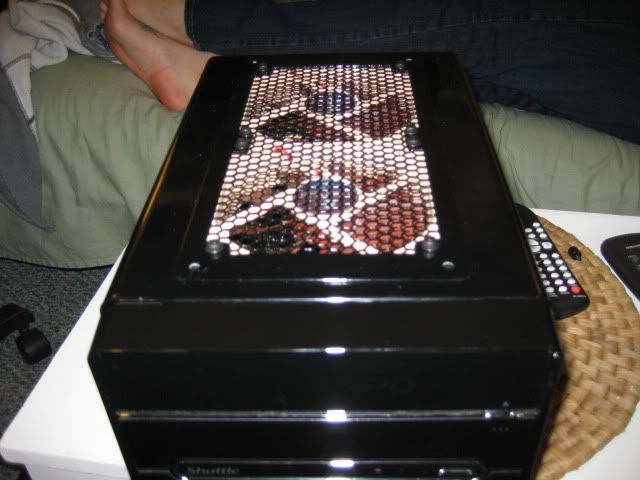
.:. 2 x 120mm holes cut on the top for two intake 120mm fans, with radiator grill on top.
.:. 1 x 92mm Noctua fan to replace I.C.E Cooling Fan.
Final Product: You'll just have to wait and see 8-)
Phase 1:
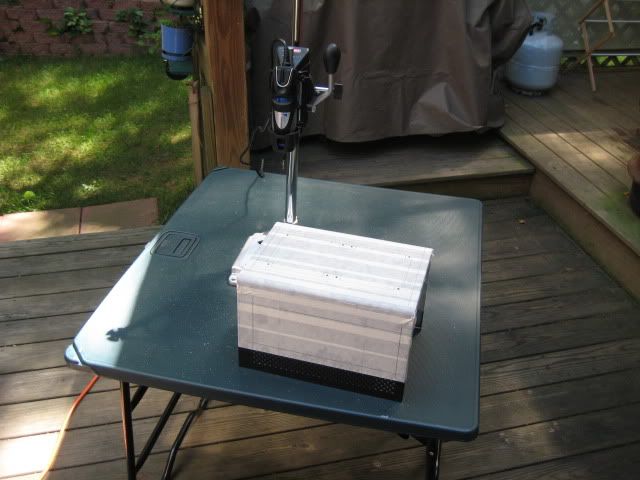
So I got quoted for $120 to water jet cut my case... i said f that and went out and bought a dremel w/ the drill press attachment and the stylus extension. I would much rather invest $160 in tools that spend $120 for a one time cut...
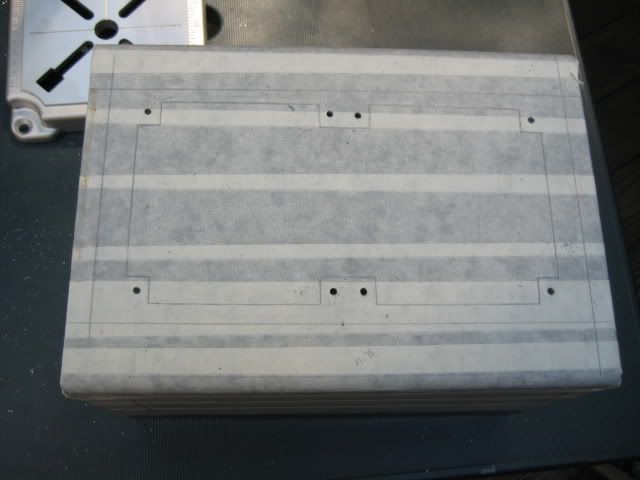
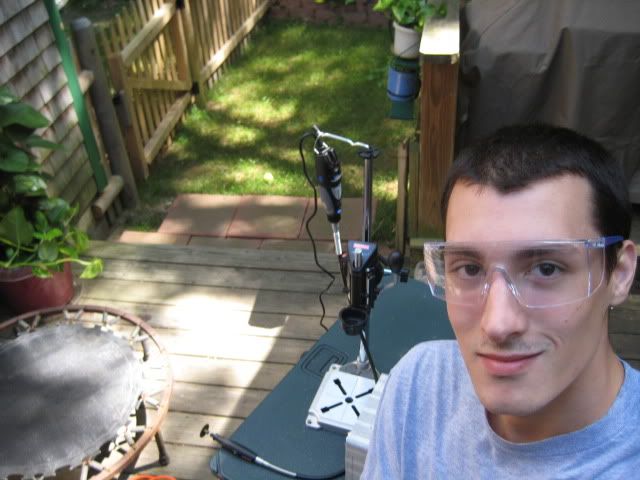
Here's a pic of my mini work station, getting ready to drill the fan screw holes.
All drilled
Now for the cutting :twisted: .... always wear eye and ear protection!!!
First I cut the rad grill hole, which was very easy to do, patience is key.
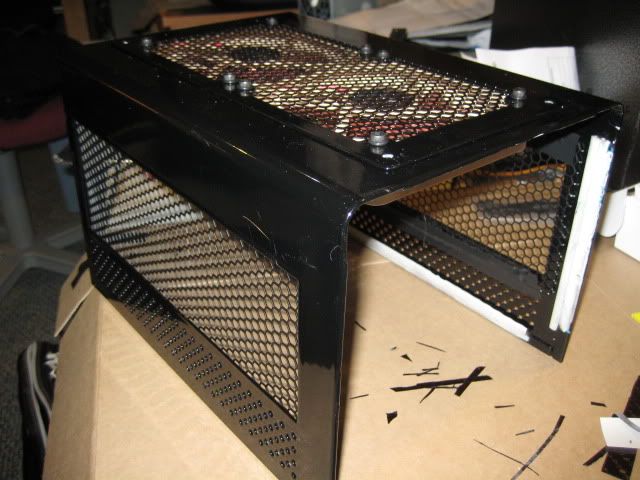
Second hole cut, (Video Card Side)
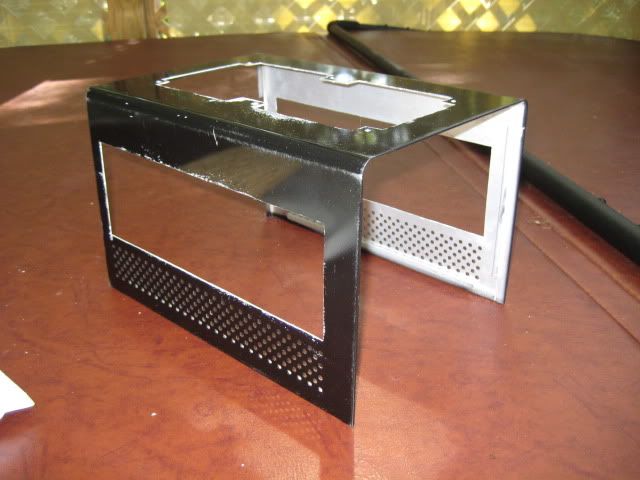
Final side panel, (PSU Side)
After all the cuts were finished, I filed down all the rough edges... and this is the final product. Now its ready for the powder coat
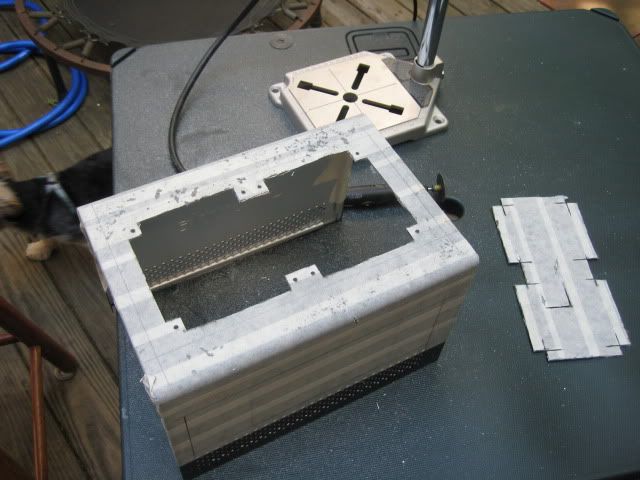
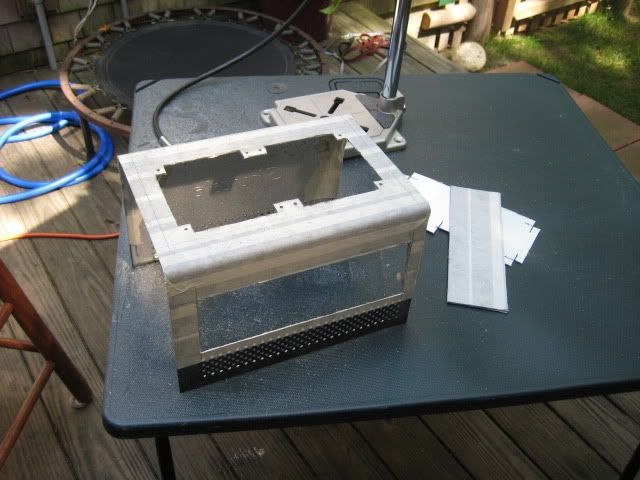
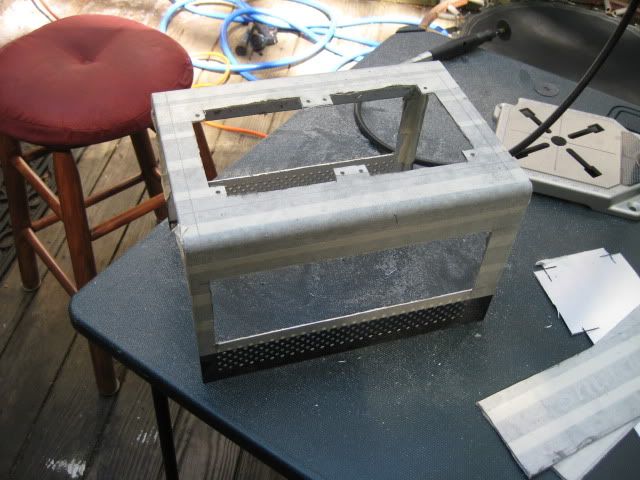
I Just de-badged the case and psu with all of its serial numbers and such, wrote them all down of course
Everything is ready for powder coating, will be dropping it off very soon.
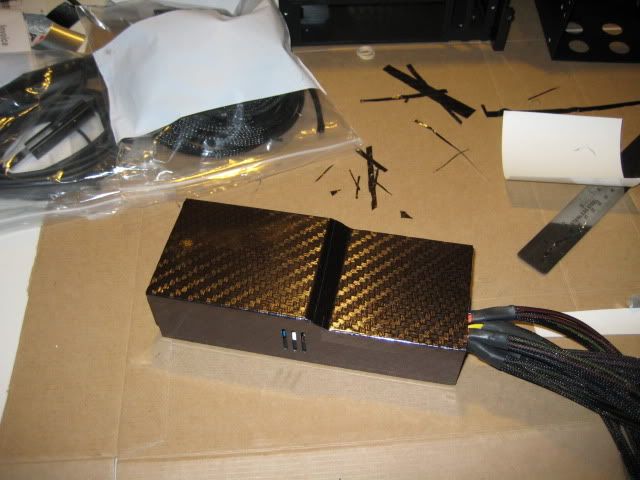
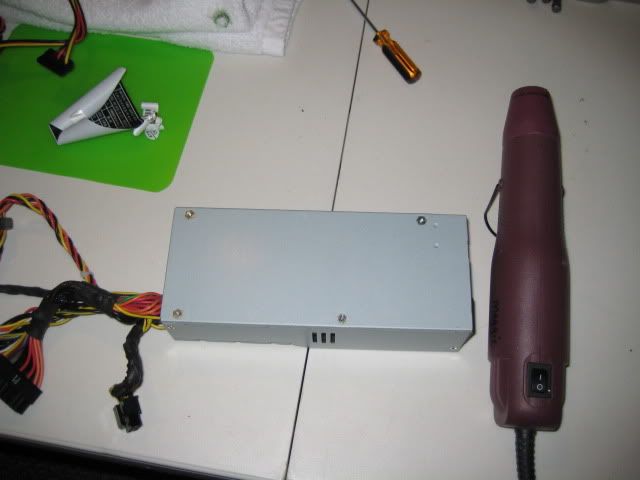
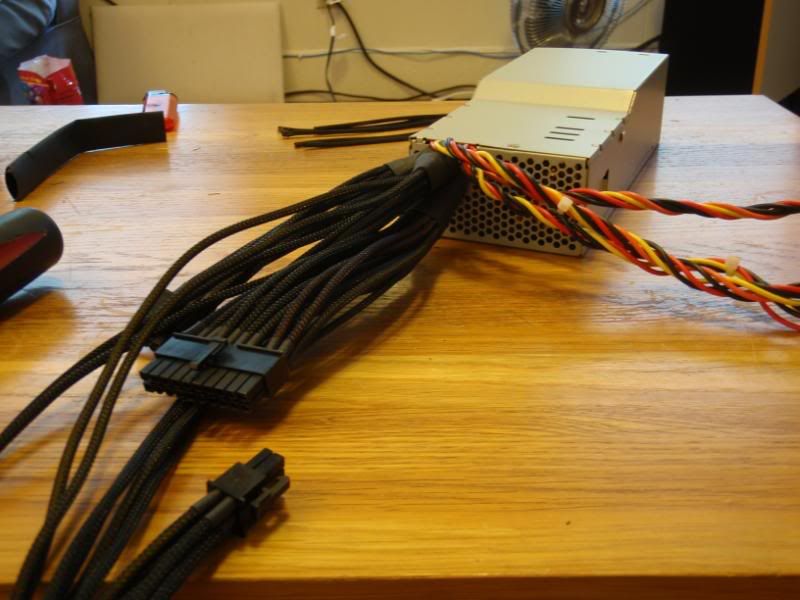
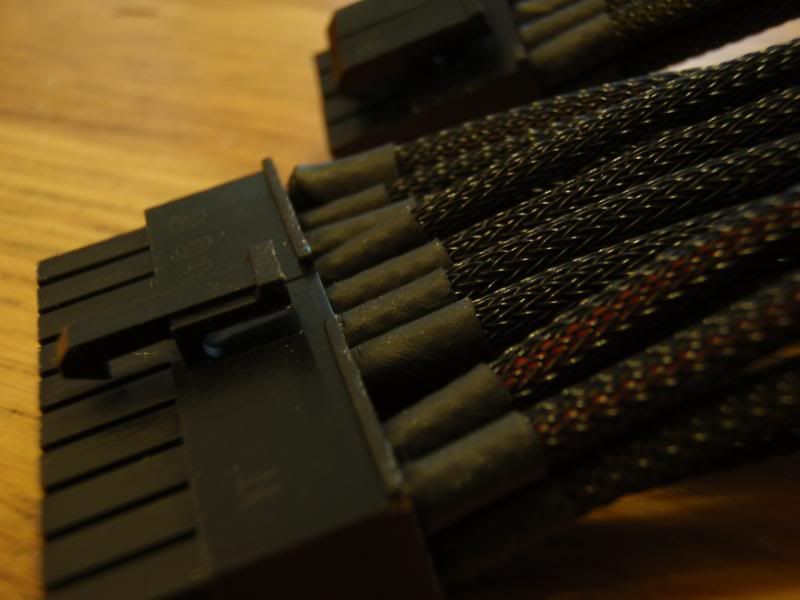
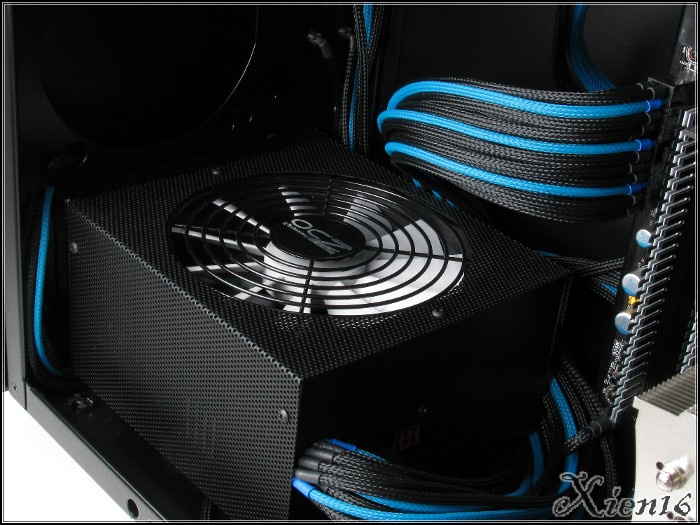
So since i dont have the time to sit and sleeve my power supply, i sent my psu to my buddy SniperBob. It's almost done but here is a few new pics of the psu... looking really good so far!!!
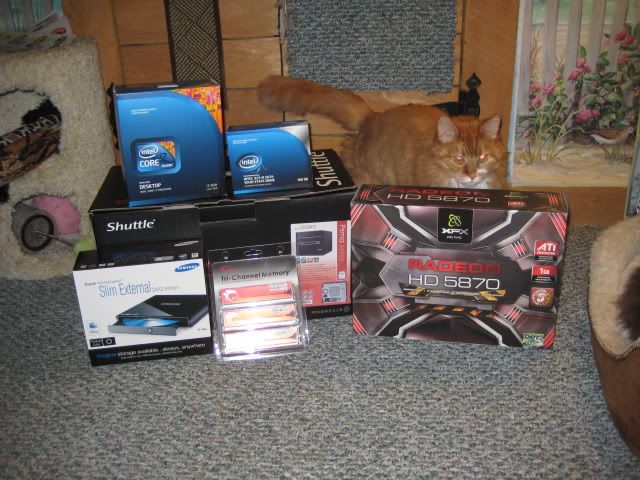
Well yesterday it was like Christmas at house, I received the rest of my parts and got my powder coated case back.
First think I started to do was wrapping my psu in mnpc tech's carbon fiber weave sticker sheet, it came out great! Took about an hour.
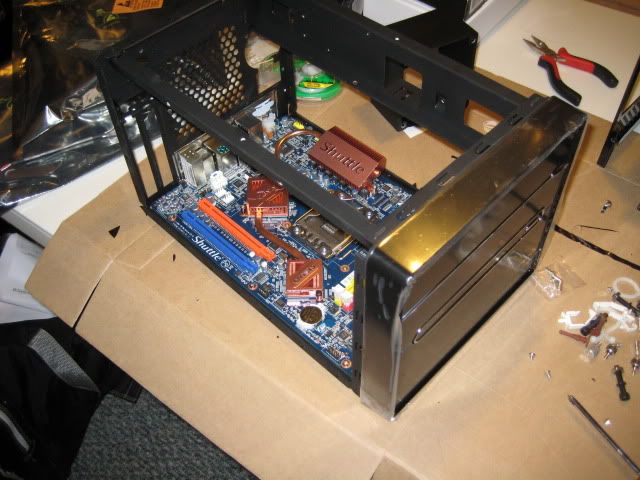
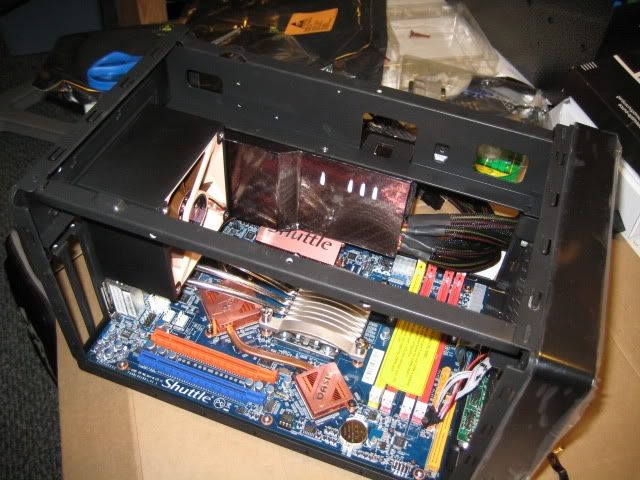
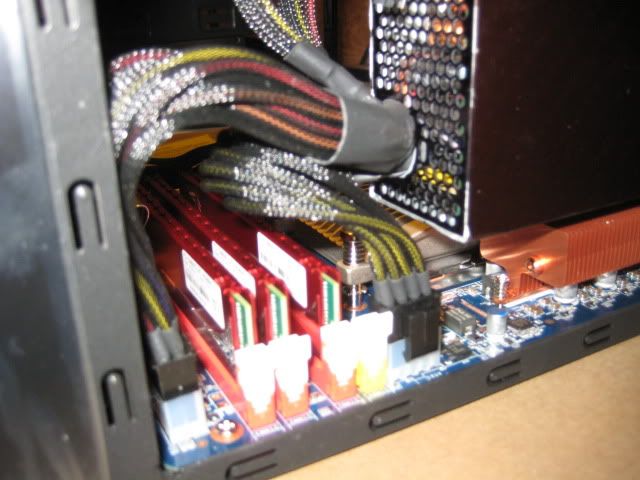
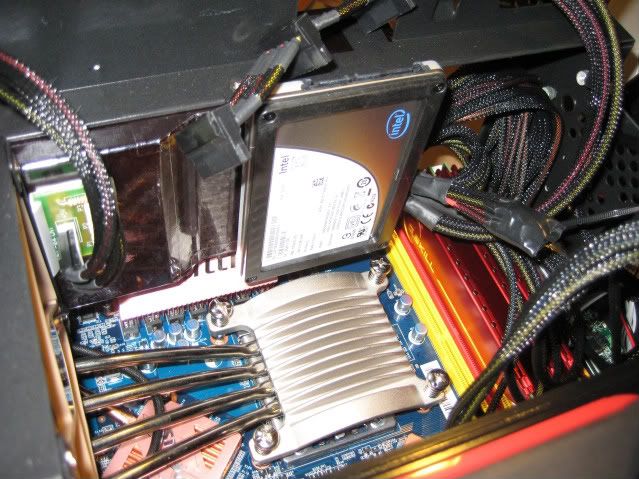
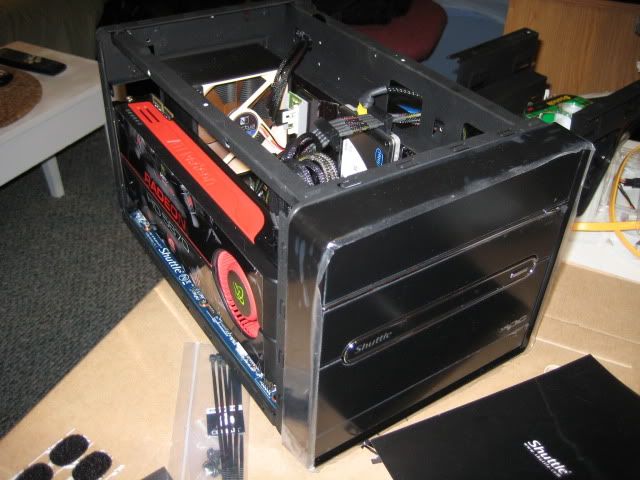
Then I started on putting my new components into my case. Here are some pics. I found out the hard way that i will not be able to fit my hdd cage in the case do to wiring issues. so i am ditching the 1tb drive and am just going to stick my ssd to my psu.
Ok, so i am now officially on 'Stealth', but i will show you guys the pics i took during the build/ rest of the modding.
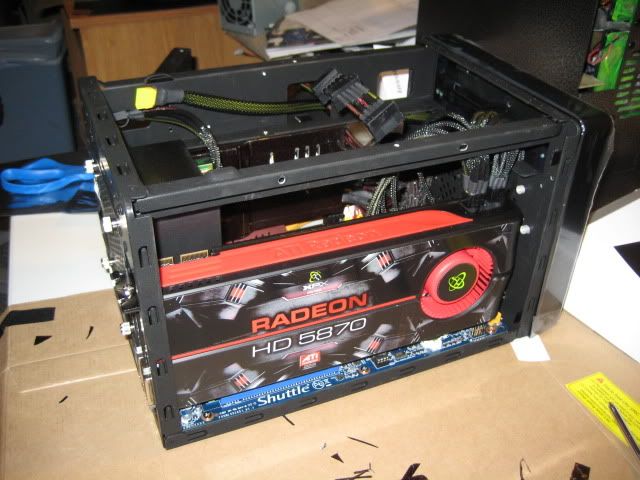
After i got my cpu, psu, ram, and hs installed it was time to install my behemoth of a video card. The 5870 fit in the case with about .5mm to spare, once seated there is less than a cm of room in the front of the card.
So since i wasn't able to use my hdd cage i had to find a place to stick my ssd, i decided to get 4 little sticky back velcro pads and stick it to my psu.
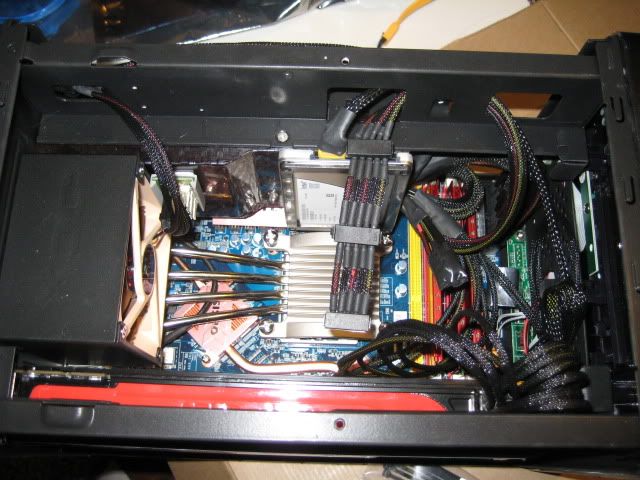
Now that all of my components were installed, here a quick pic.
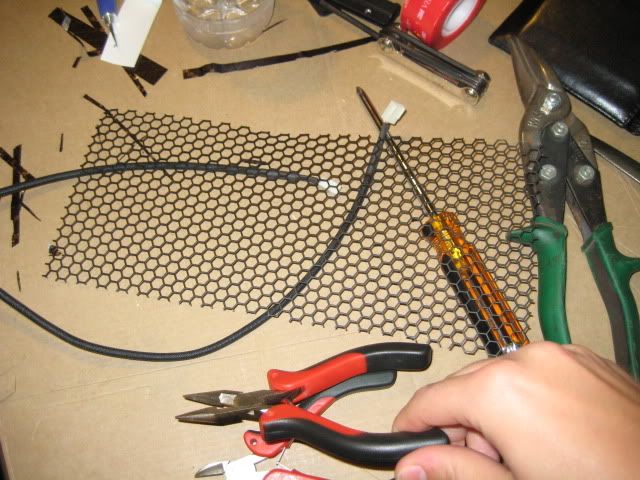
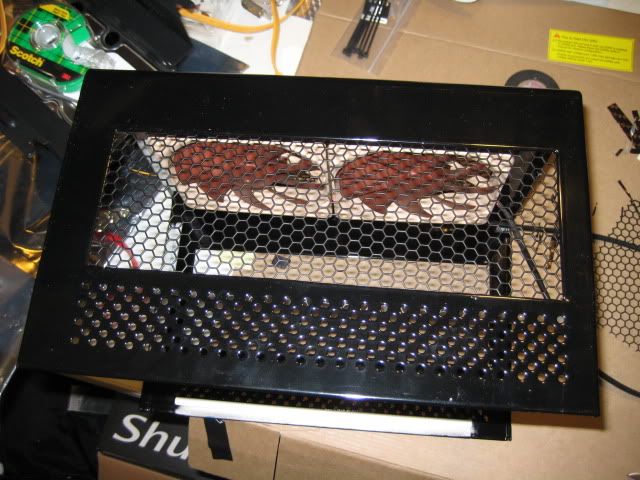
Now it was time to finish my case panel, all i had to do was cut some of my honeycomb mesh grill, and then stick it to the inside of the case using double sided sticky tape and electrical tape
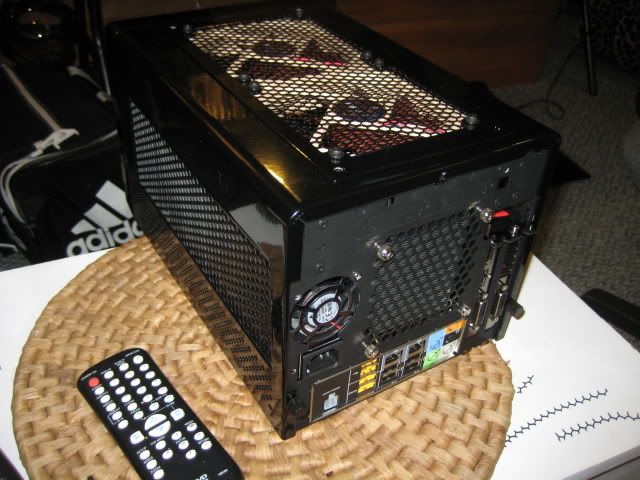
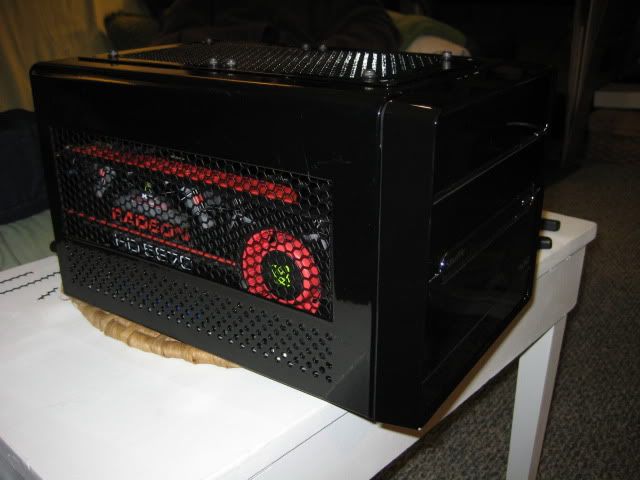
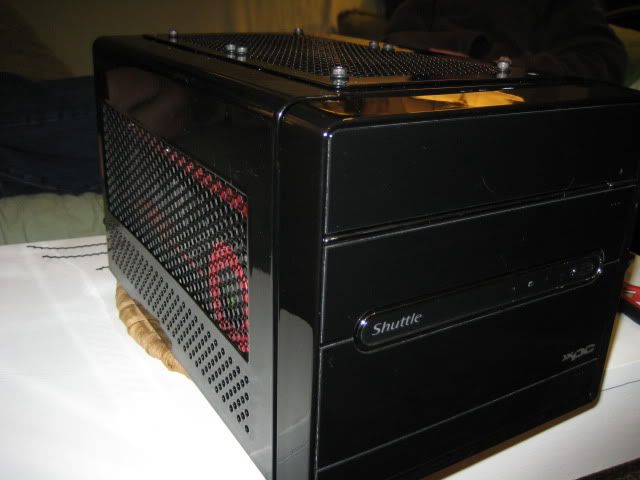
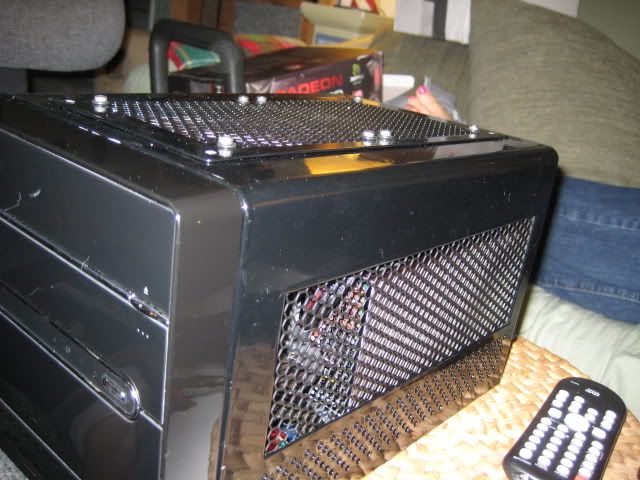
The last step was to put the cover on and then boot up!!! Here are some pics of the final project.


 Reply With Quote


Bookmarks