


Gigabyte P45 UD3 overclocking + benching review.
Intro.
Since the introduction of Intels Core2Duo in Summer 2006, Gigabyte have put a lot of work into their motherboard design and BIOS coding in order to be seen as a serious purchase for high-end overclocking. From the initial C2D boards based on P965, through P35, X38, X48 and now to P45, Gigabyte have made leaps and bounds which have forced many users to completely re-think their opinion on the companys offerings. P45 represents Intels final mainstream 775 chipset before Nehalem and its associated family members move performance and design in a different direction. With this finality in mind, reviewing a P45 chipset should be an excellent way of seeing what can be done with a matured and fully understood architecture, as well as seeing, (hopefully,) the fruits of Gigabytes 775 work.
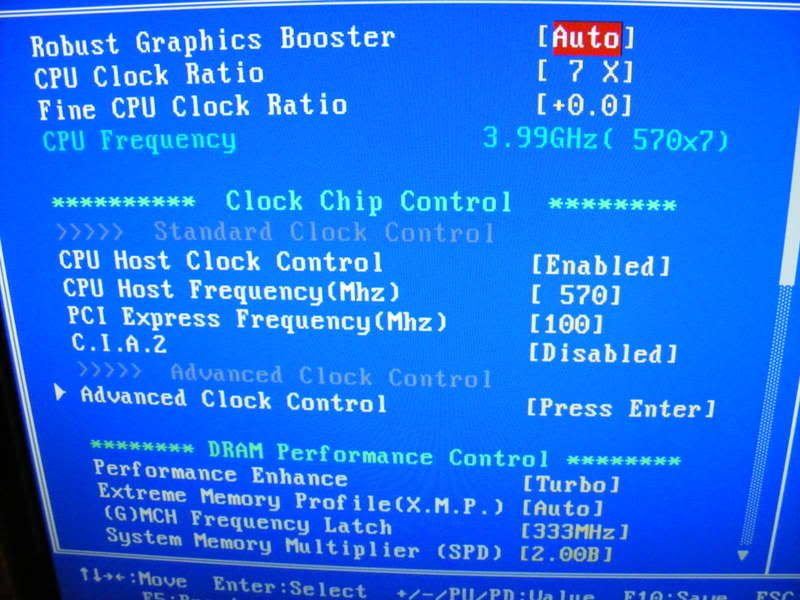
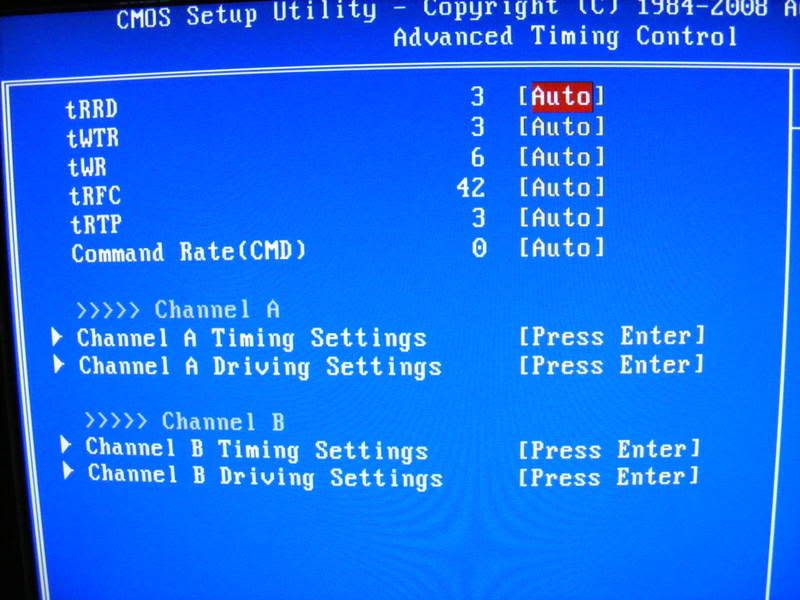
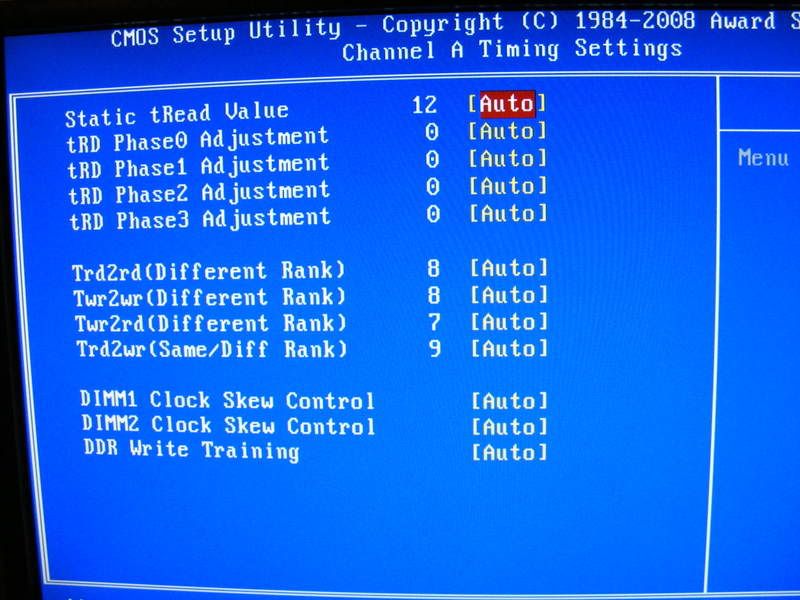
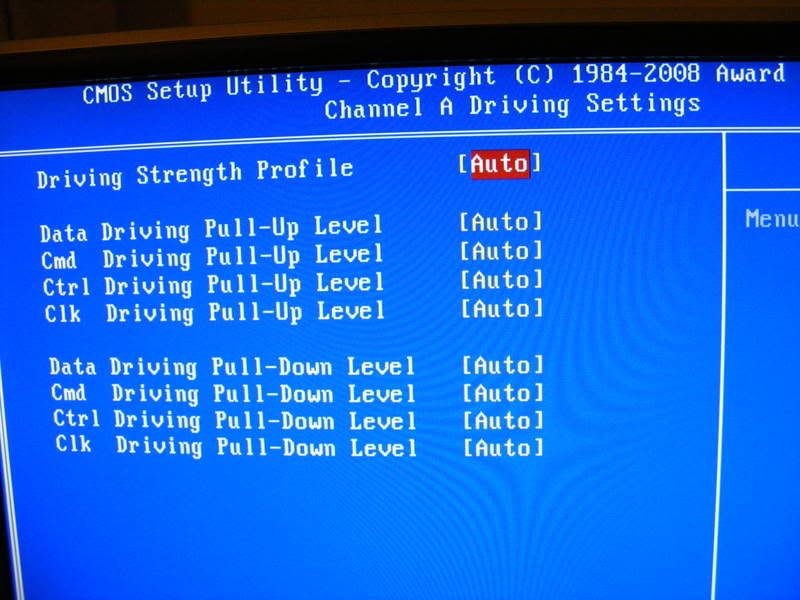
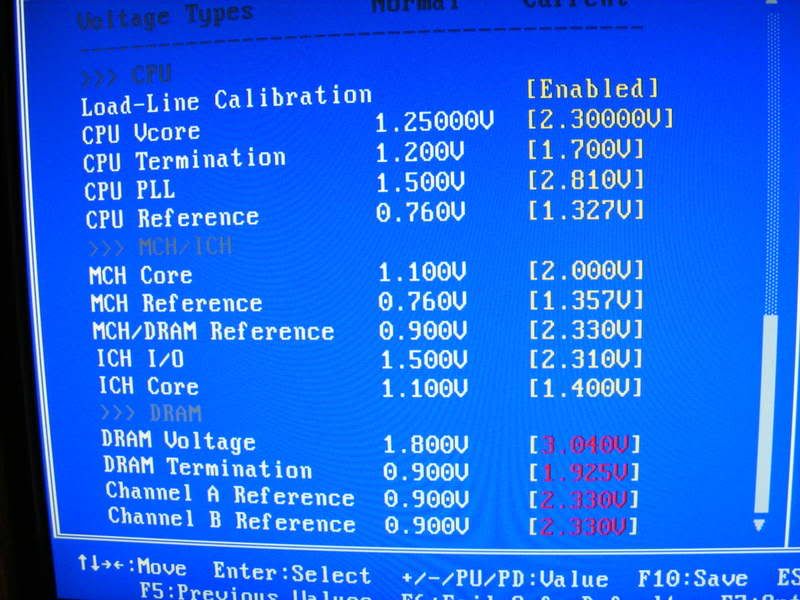
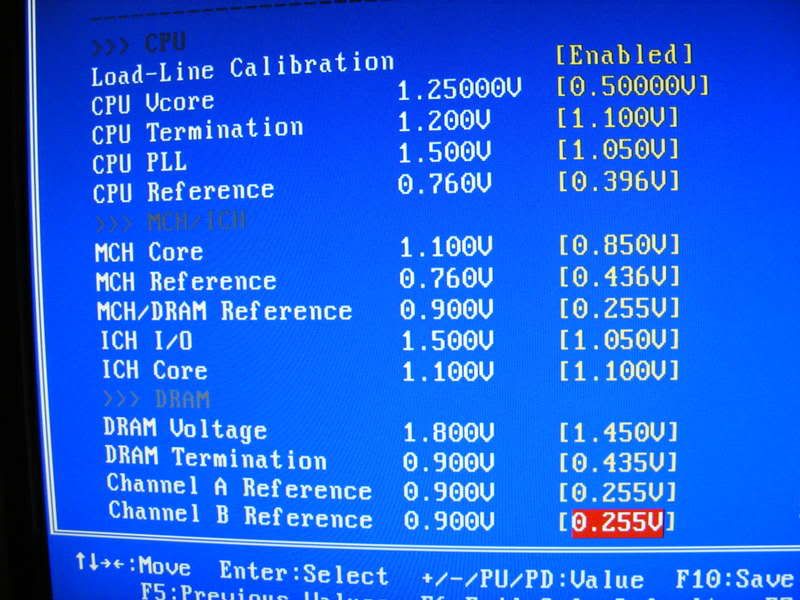
P45 is a revision of the earlier and very successful P35 chipset which was used in such boards as Gigabytes P35 DQ6, as well as popular boards from other companies- for example, the Asus P5K series, which stole most of the limelight. The P45 series has introduced a long list of extra BIOS options available for tweaking- this will be brought up again later on.
The subject of this review is the Gigabyte P45 UD3. UD3 stands for Ultra Durable 3. Its a design development which increases the copper content of the PCB layers to reduce signal noise primarily, but will also have an effect on thermal stability, given that copper is a very good heat conductor. More board details will be given further on in the review.
Box and Contents:
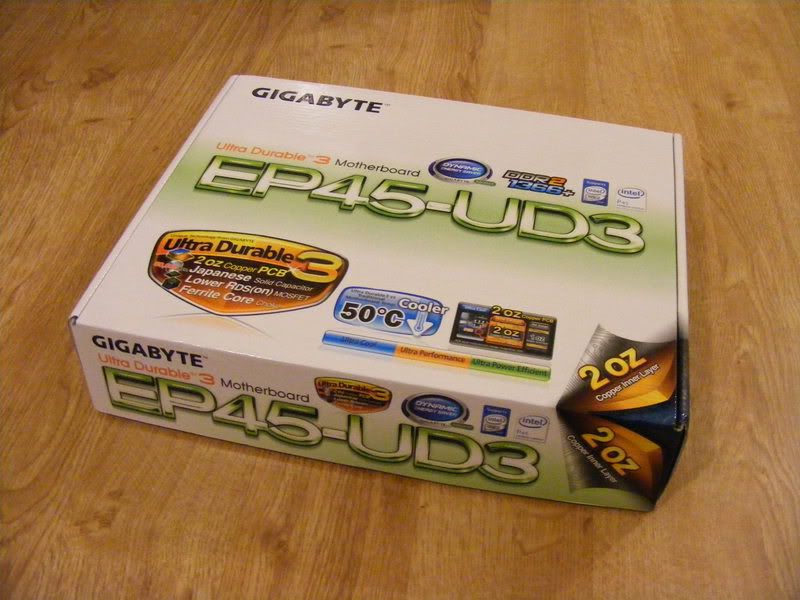
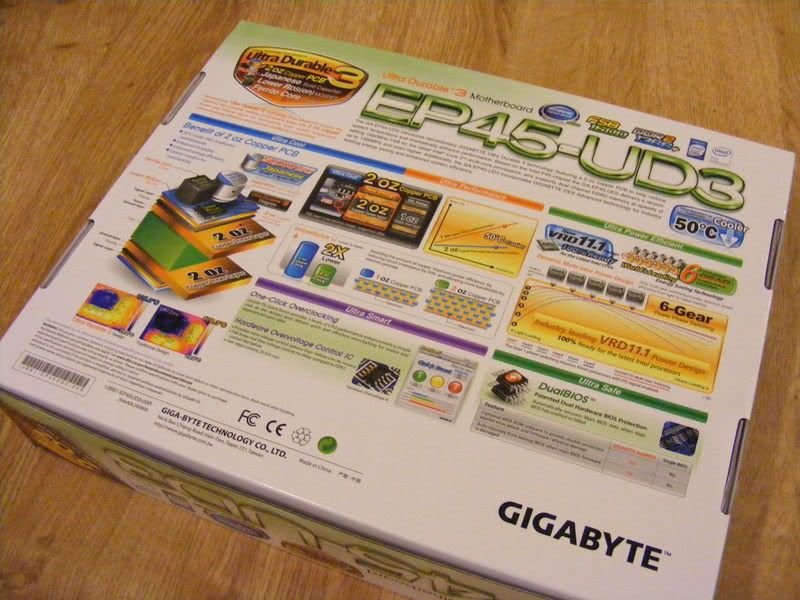
The box is predominantly white with some green fade. Component and speed support logos are present as well as the technologies and design features present on the board. The back of the box goes into detail about the capabilities of the board and the design features. Looks are always subjective but I like it. The info is useful and the box looks clean and fresh. Gigabytes marketing have paid attention to the effect of colour choice!
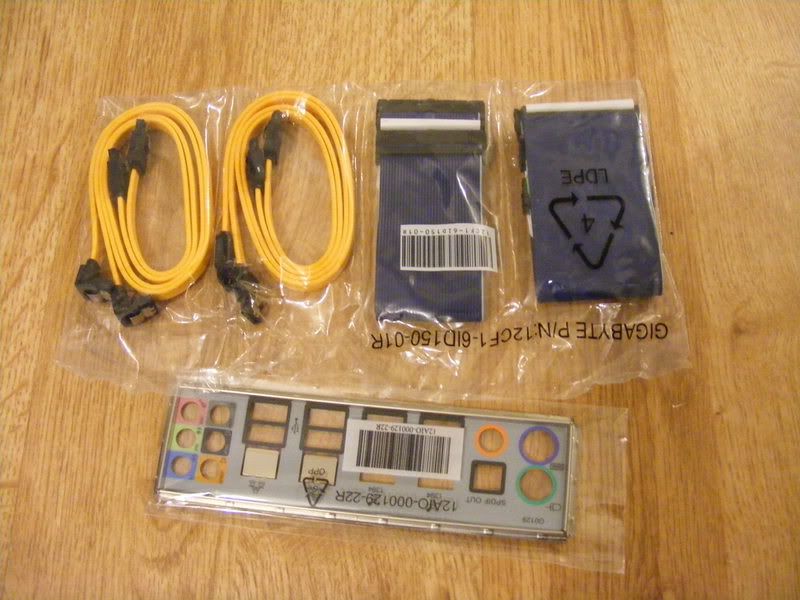
Opening up the box, we find: IDE and floppy cables, S-ATA cables, the I/O plate, a driver CD, the mobo manual and a multi-lingual guide to the basics of building a computer, with an addendum. Basic, but itll do.
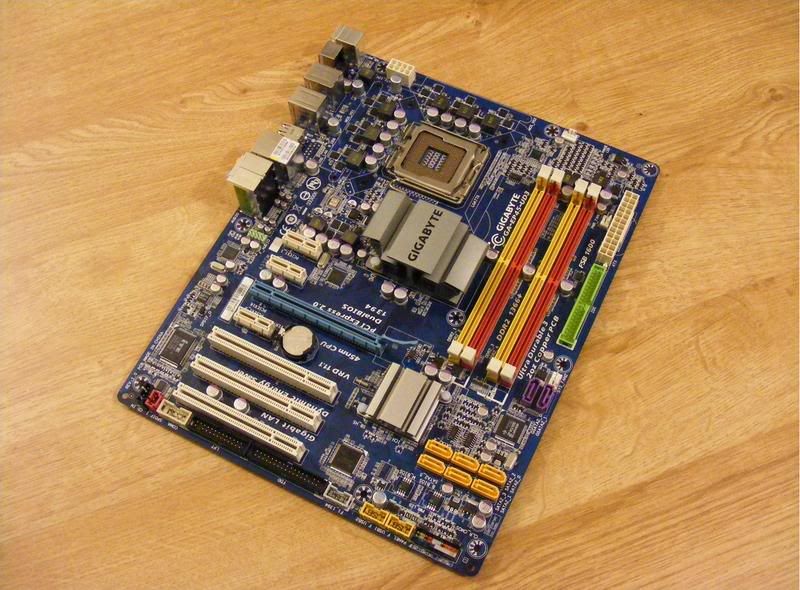
The Board.
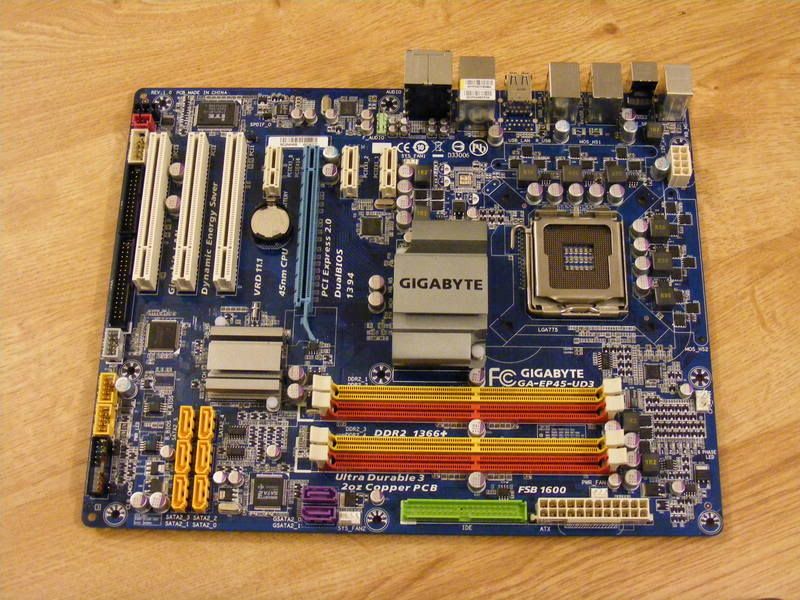
As previously mentioned, the board is part of Gigabytes UD3 series. This point aside, the UD3s design is fairly pedestrian.
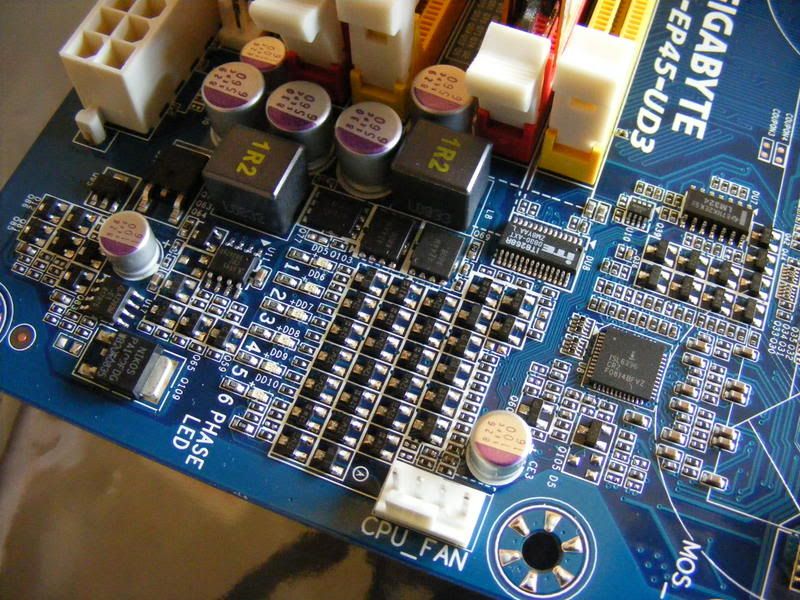
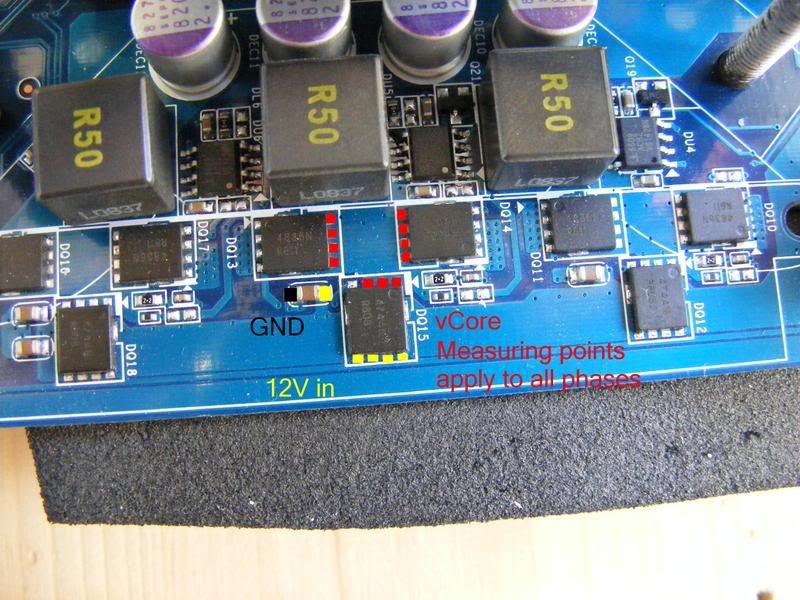
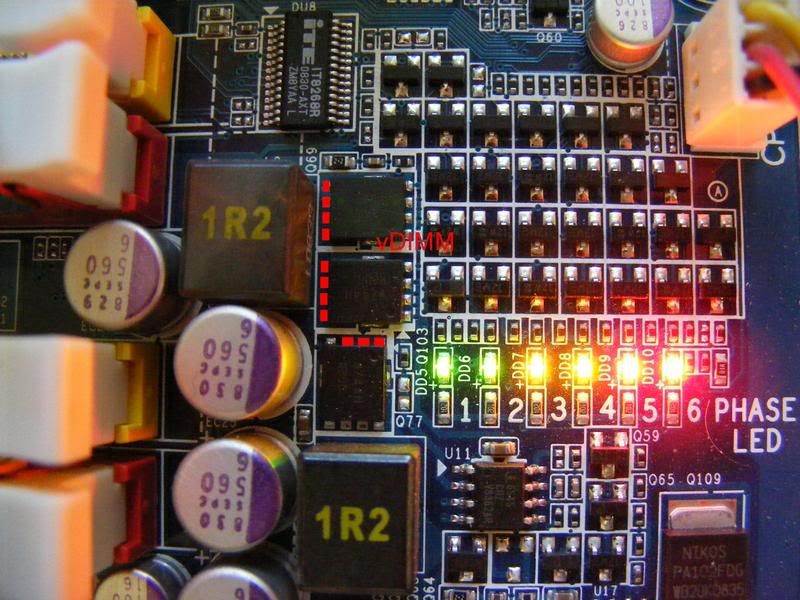
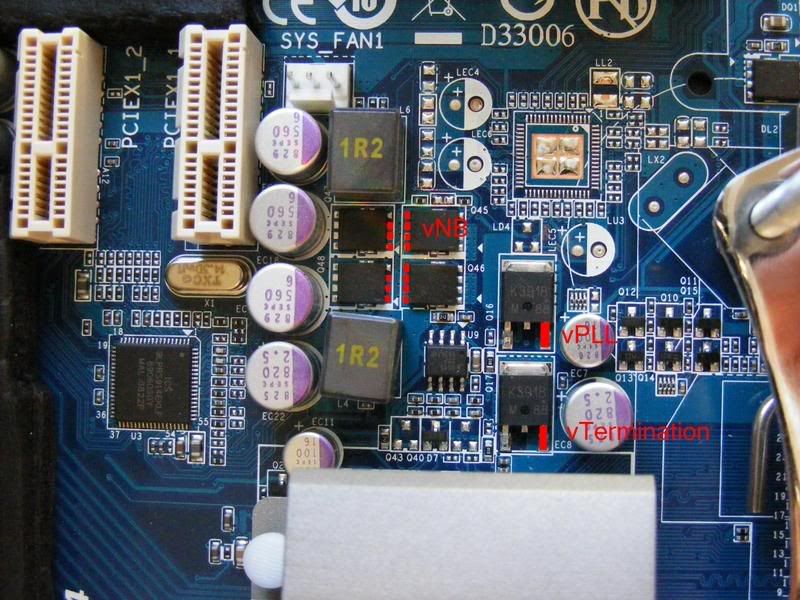
Theres a fairly well specced 6-phase PWM design for the CPU, along with a 2-phase VDIMM control circuit and 2-phase for the P45 Northbridge as well.
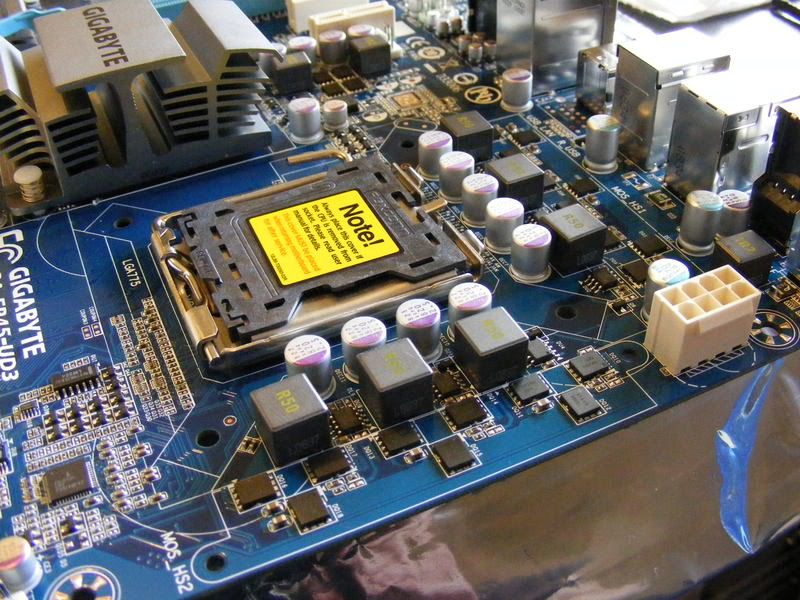
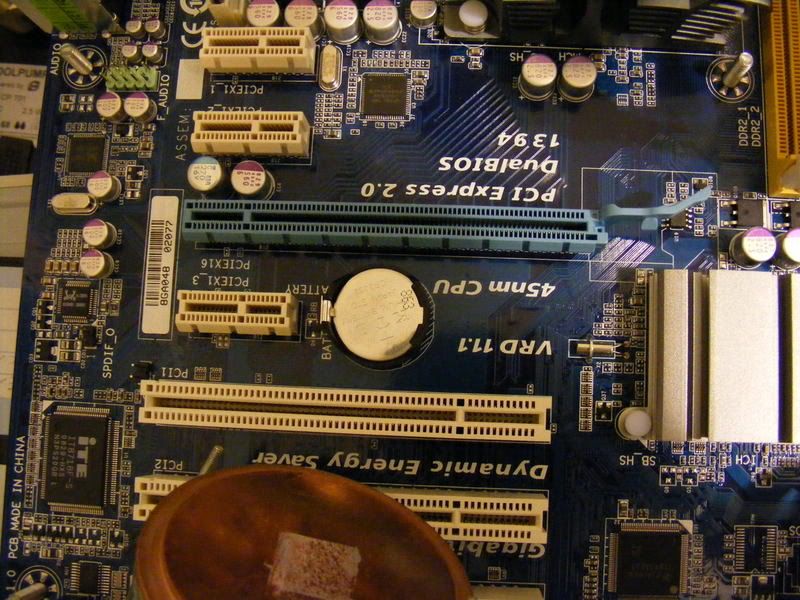
The 8-pin CPU power plug has plenty of space around it and the clip faces outwards, so unplugging it shouldnt be a challenge for the majority of users. This can be seen above.
Because this is the entry-level UD3 board, there is only a single PCI-E x16 slot and the FETs for the CPU PWM are not heatsinked. (again, can be seen above.) On the plus side of cost-cutting, there are no heatpipes on this board (Hooray!!,) so changing the Northbridge cooling will be very easy. The cooling I would rate as a plus point (in theory)- given the lack of heatpipes, its easier and cheaper to add to a cooling solution than have to change everything in order to change one.
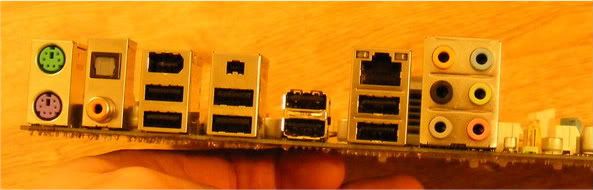
The I/O panel offers 8 USB ports, a LAN port, two Firewire, 6.1 sound with optical + co-ax S/PDIF out and the standard legacy keyboard and mouse ports.
Four fan headers are onboard, which is a slight disappointment, although fan controllers arent expensive if more are needed.
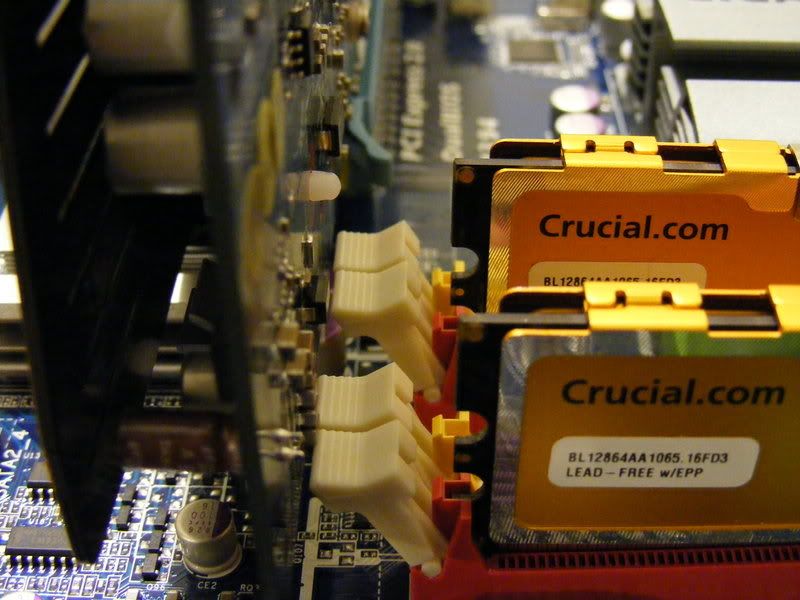
The RAM slots are JUST far enough away from the PCI-E slot to allow RAM removal without interference from the GPU. Better than a large percentage of boards available so credit where it's due.
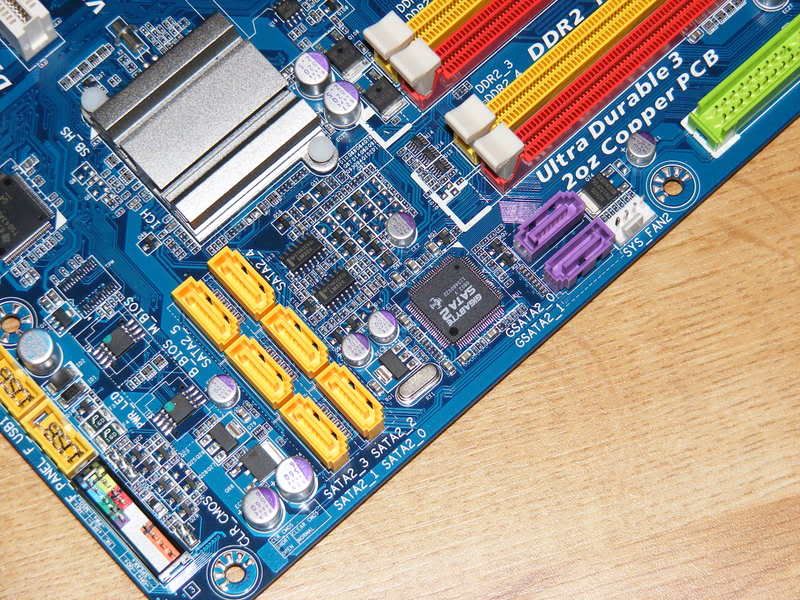
6 S-ATA ports are included for the ICH10 southbridge along with an extra 2 ports that run from a dedicated chip. The ports are placed in a way that even dual-slot GPUs will not cover them, but they run across the board instead of the ideal placement of being angled along the edge.
The CMOS battery is directly under the PCI-E slot, so even single-slot GPUs will partially obscure it. The CMOS clear pins are open and need shorted by a convenient metal object if necessary. No jumper is present, although to be honest, fiddling inside a case to move a tiny jumper is never convenient. A screwdriver shaft should be easier to use if the user has steady hands.
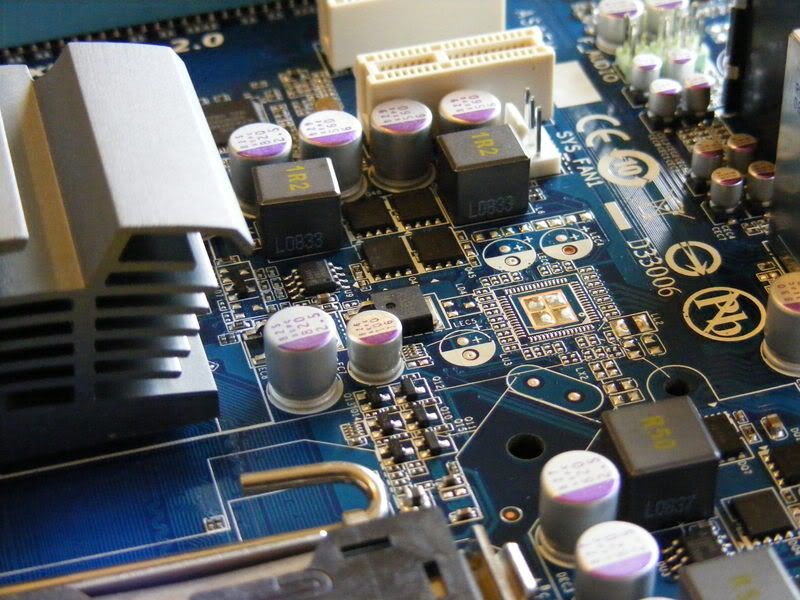
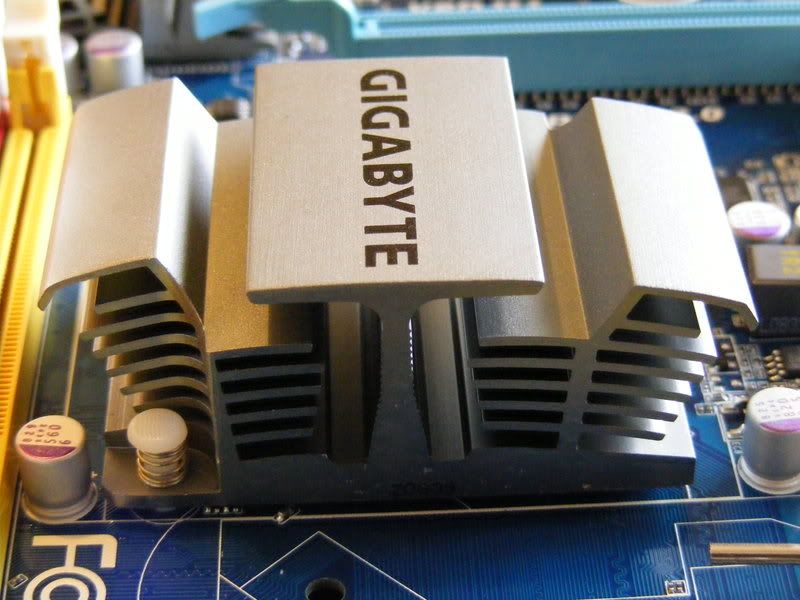
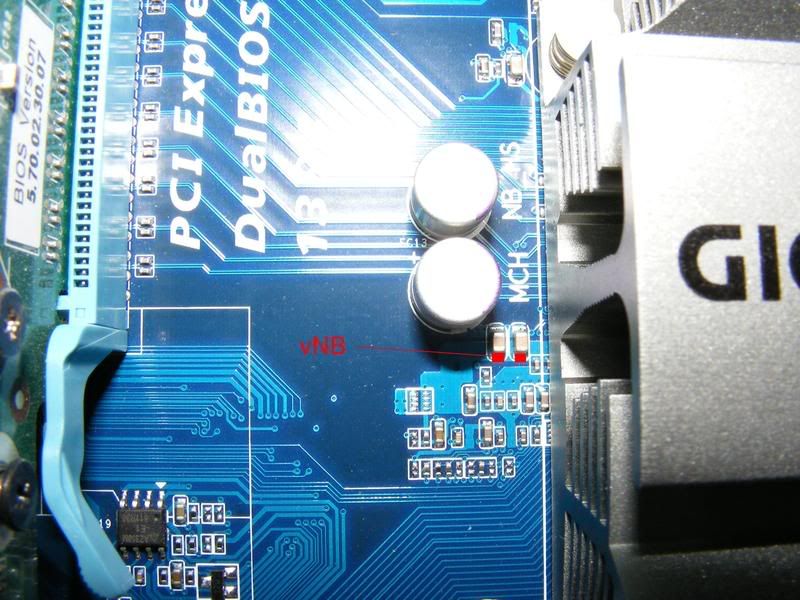
The NB heatsink is designed in a way that isn't great for airflow. Theres a plate over the top of it that covers top-down airflow and there are two "spines" that block airflow coming in from the side- the way most air would move in a computer case ie- front to back.
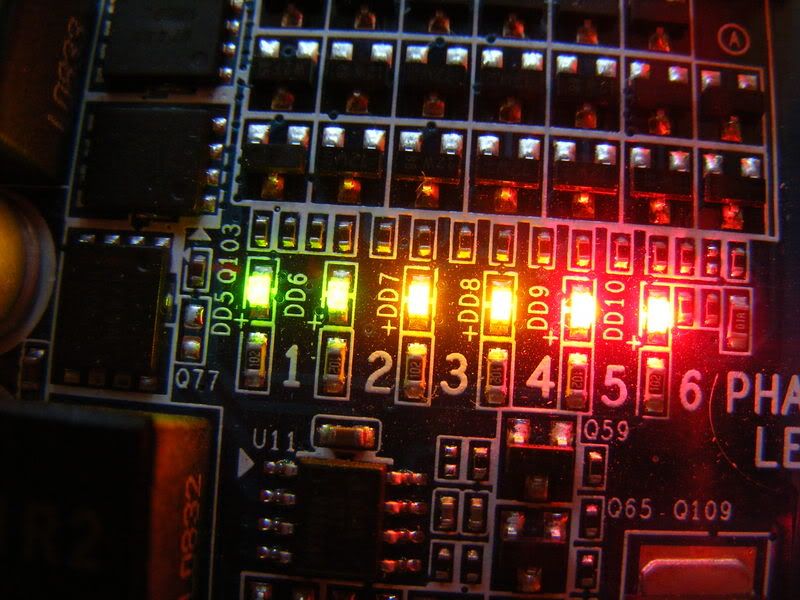
There are phase activity LEDs in the top corner of the board. The software-based power saving features require EIST and C1E enabled in BIOS, so I didnt persue it!


 Reply With Quote


Bookmarks