

so ive been making some progress... im sleeving my psu now.... eughpics coming soon though...

so ive been making some progress... im sleeving my psu now.... eugh

Any updates barfatic? I'm building a MM Pinnacle 24 also. Love to see how you laid out our tubing in that warehouseOriginally Posted by barfastic


Intel i7 920, Asus Rampage II Extreme, Corsair Dominator 6GB (3 x 2GB) DDR3 1600, BFG GTX 295, Western Digital VelociRaptor 300GBx2 (raid 0), Western Digital Caviar Black 1TB (storage), Ultra X3 1000-Watt Power Supply, OS- Windows Vista 64 Premium, Case- MM Pinnacle 24, LCD- Samsung T260HD.
WC loop - EK-Multioption RES 250 Rev 2, Laing D5 Vario/Swiftech MCP655 Inline 12V DC Pump, Bitspower D5 / MCP655 Mod Kit, XSPC RX360, Apogee GTZ.
Loop2= Swiftech MCRES-MICRO Rev. 2 Reservoir, Bitspower D5 / MCP655 Mod Kit, Laing D5 Vario/Swiftech MCP655 Inline 12V DC PumpXSPC RX360, Koolance VID-NX295, Bitspower G1/4 Shiny Silver " High Flow 1/2" Compression Fittings, Tygon 3603 1/2" ID (3/4" OD) Clear Tubing.
Any updates on this? I wanna see it finished.
dammit brotha... now i need to go get me some OJ's...
nice build...
"The ultimate measure of a man is not where he stands in moments of comfort and convenience, but where he stands in times challenge and controversy."
Dr. Martin Luther King Jr.
DIY: Self Clinching Nuts
Canon EOS 7D | Tokina 12-24mm f/4 | Canon EF 24-105 f/4 L | Canon EF 70-200 f/2.8 L IS Mk II | Canon EF 35mm f/1.4 L | Canon EF 400mm f/5.6 L | Canon EF 100-400mm f/4-5.6 L
So.... im back... after... nearly 2 years! whoa... 2 years!
im probably old news by now!!!
been seeing some of the builds happening here, and i am in shock at the level of improvement everyone has!
in the past 2 years. Ive seen AMAZING improvements in photography, as well as build quality.
I will try to keep up to those standards aswell
Should be FINALLY done with this build by this weekend...
(I was drafted in the military so i had NO time for myself, let alone a build... then my gtx280 got fried, so i was saving up money for a gtx480, but by the time i saved up the 580 launched, and i finally opted for a HD6970!)
What is left to be done...
-Get the new GPU kitted with a waterblock
-A few peices of acrylic to be cut into shape
-Painting of a fan controller/light controller
-Create Fillport/Drain port
-Mount pump
-Mount reservoir
-Add Filters
-Cable Management
-Fit CCFLS
-Tubing layout
-Add Feet/Casters
a sneek preivew(phone cam will be updating with ym DSLR

Looking fantastic.
Have a quick question. Are you able to go 2 480's in the build if you forgo the 5.25" bays? The angles look deceiving. Clearing thinking says no.
Looking at this too, probably the XL-ATX board for the future & possibly asking to have the psu rotated horizontally to make it fit.
I think I need a pedestal
Last edited by step; 01-30-2011 at 01:30 AM.
How are you progressing?
waiting on some m3 screws, and a drain port... they got delayed in customs for some ABSURD reason....
in the mean while, ive been painting my peripherals (keyboard, mouse, my fan switch bracket, etc)
trying to find a way to paint my monitor frame as well... although seeing how many screws my keyboard had, my monitor seems scary!
i also saw something kier was doing and he created a cover plate for his motherboard, and i thought that was amazing, but finding orange plexi around here is hard... ill see what i will do...
Finally... had some free time over the weekend to set up my lighting studio and take some pics
Ive been delaying for so long because my longer m3 screws were stuck in customs. Finally, this build is in the end run!
its not pron, but its good enough for now.
so without further adieu, here is a small, yet, always welcome update!
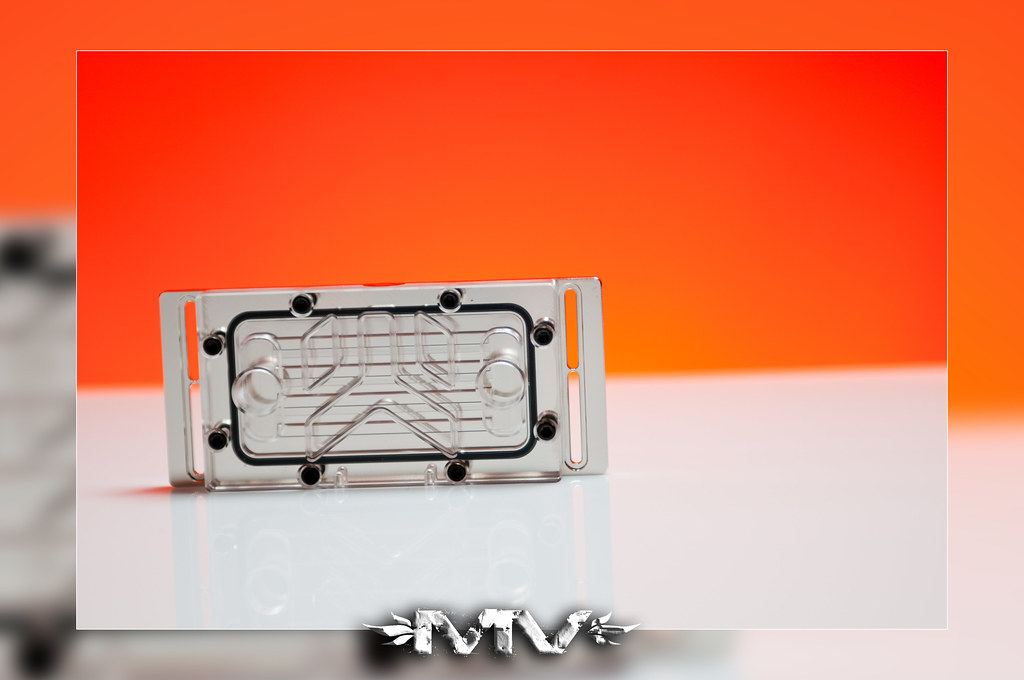
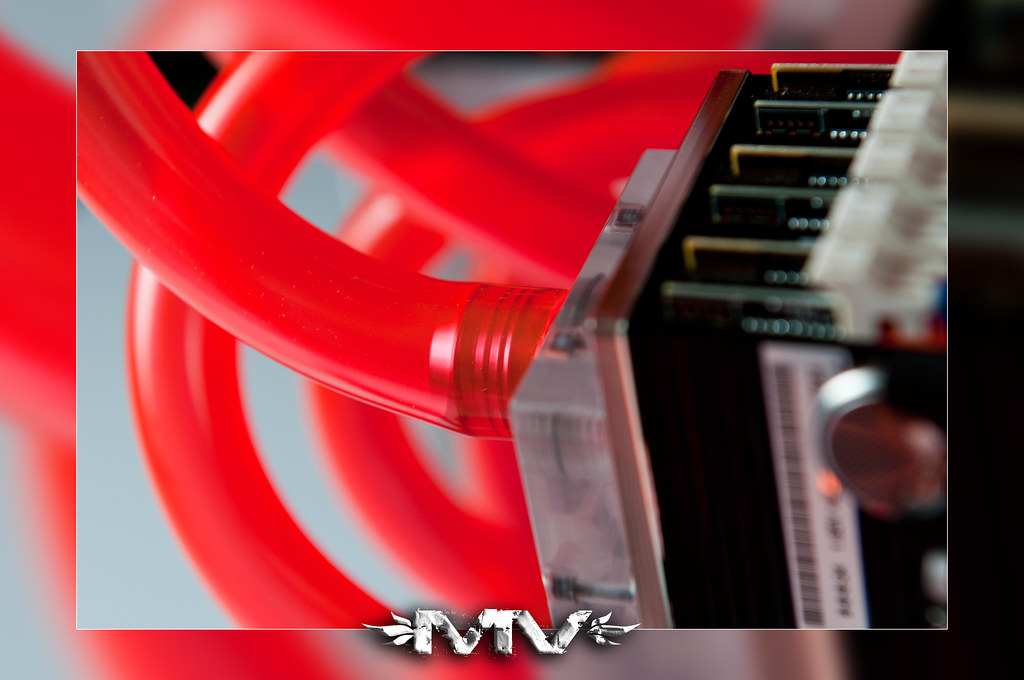
my new ram block :P gonna be cooling 6Gb @ 1600MHz
New paintjob for my keyboard!
Matching mouse too
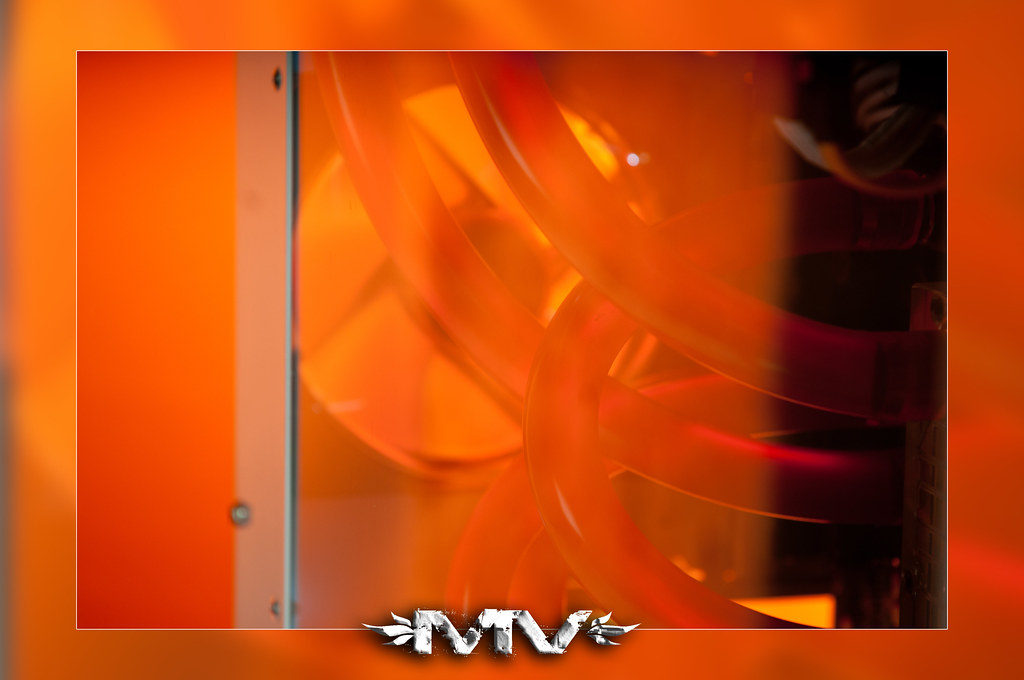
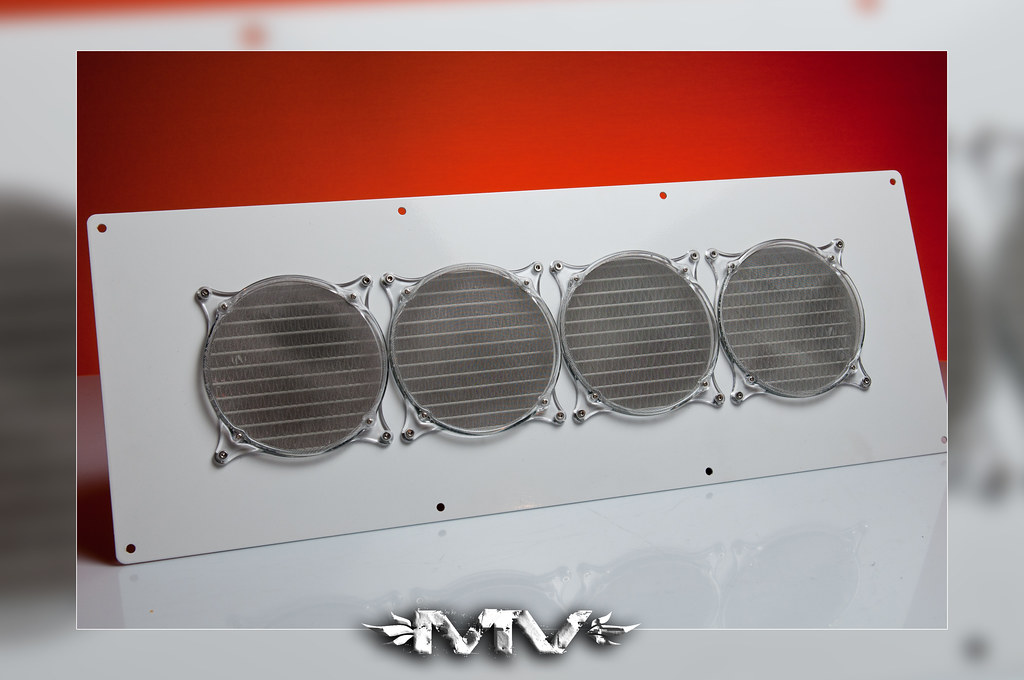
If you see the fan filter, those are the screws that delayed me
And this is the front panel, fans + filters mounted.
(sorry for the different background colors, edited some on my laptop, some on my bros screen, and they are both uncalibrated!)
soon, there will be more
got some work done.
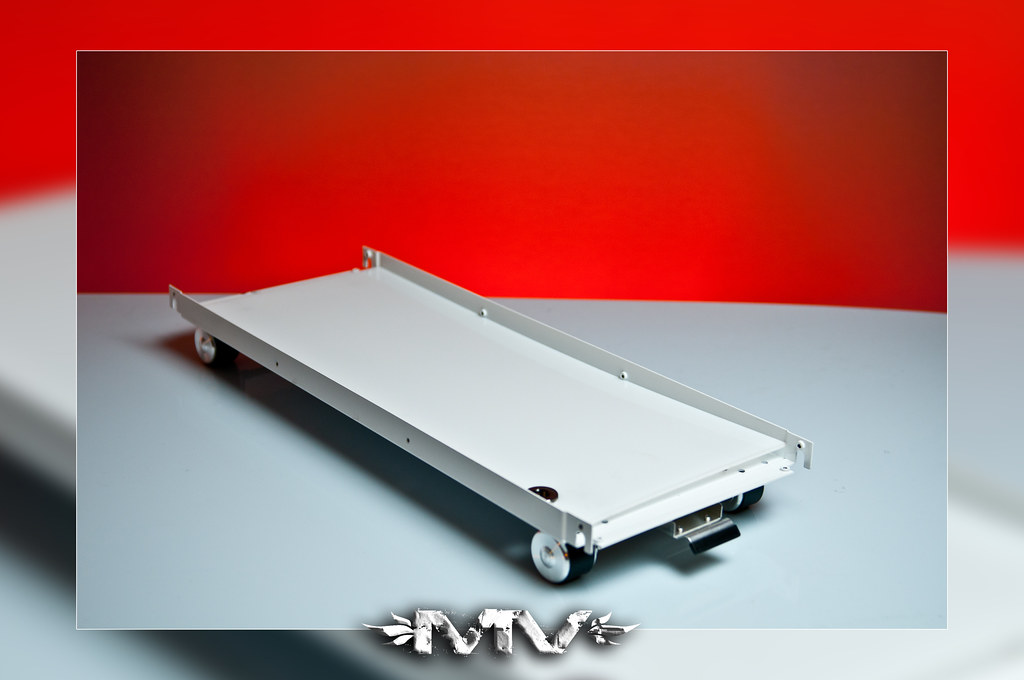
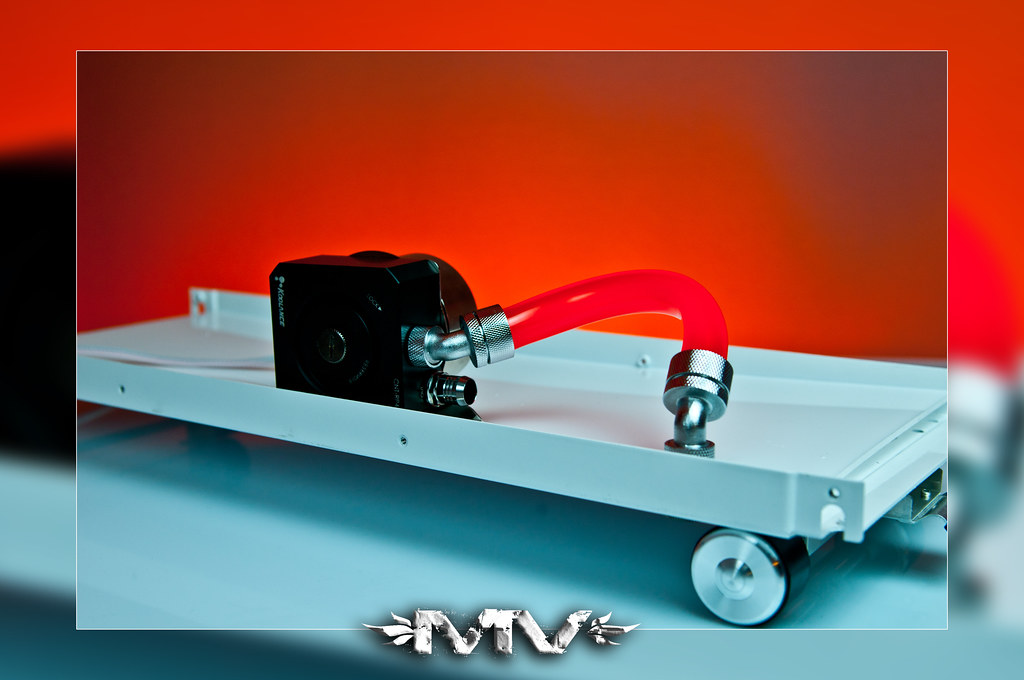
my case feet arrived, got them mounted, as well as my d5 top/mount. drilled out a drain port while i was doing things.
Lian Li caster wheels added, i put the brake on the front side, for easier access.
I have made a secondary floor of plexiglass (but i need to find flatter screws so it can sit flush)
Watercooled skateboard!
Drainport.
Gonna paint fan controller and military switch panel, to finish up the front side. and then its a matter of assembling, and leak testing!
Very nice man!
Keep up the good work!
It's good to see other MM owners in Greece...
Project ZEUS II
Asus Rampage II Extreme
Intel I7 920 D0 3930A @ 4.50GHz (21 X 214mhz)
3 x 2GB G.Skill Trident 1600 @ 1716MHz (6-8-6-20-1N)
2 x Asus HD 6870 CrossFire @ 1000/1100MHz
OCZ Vertex 2 60GB | Intel X25-M 120GB | WD Velociraptor 150GB | Seagate FreeAgent XTreme 1.5TB esata
Asus Xonar DX | Logitech Z-5500 | LG W2600HP 26" S-IPS LCD
Watercooling setup:
1st loop -> Radiator: 2 x ThermoChill PA120.3 | Pump: Laing DDC-3.25 with Alphacool HF 38 top | CPU: Swiftech Apogee XT | Chipset: Swiftech MCW-NBMAX | Tubing: Masterkleer 1/2" UV
2nd loop -> Radiator: ThermoChill PA120.3 | Pump: Laing DDC-3.2 with Alphacool HF 38 top | GPU: 2 x EK FC-6870 | Tubing: Masterkleer 1/2" UV
Assembled in Mountain Mods Ascension Trinity
Powered by Corsair Professional Series Gold AX1200
Wow, nearly 2 years ago, I've subscribed to this thread and haven't been on here since that day! Still, like i said (2 years ago...Lol), this is looking to be a great build! Keep'em coming!
- Asus P8Z68-V PRO
- Intel I5 2500k @ 4.5Ghz (for now)
- Asus Geforce 580GTX DirectCUII Fermi
- 16GB Corsair Vengeance Low Profile
- Ultra X3 1000 Watt
- Asus Xonar DX 7.1 \ Klipsch Promedia 2.1 THX
- Corsair Vengeance 1300 Gaming Headset
- Crucial M4 SSD 128GB \ WD Caviar Black 1TB
- CoolerMaster 690II Advanced
- Dell UltraSharp 24''
- Noctua NH-D14
January - SLI Rig Of The Month (2008)
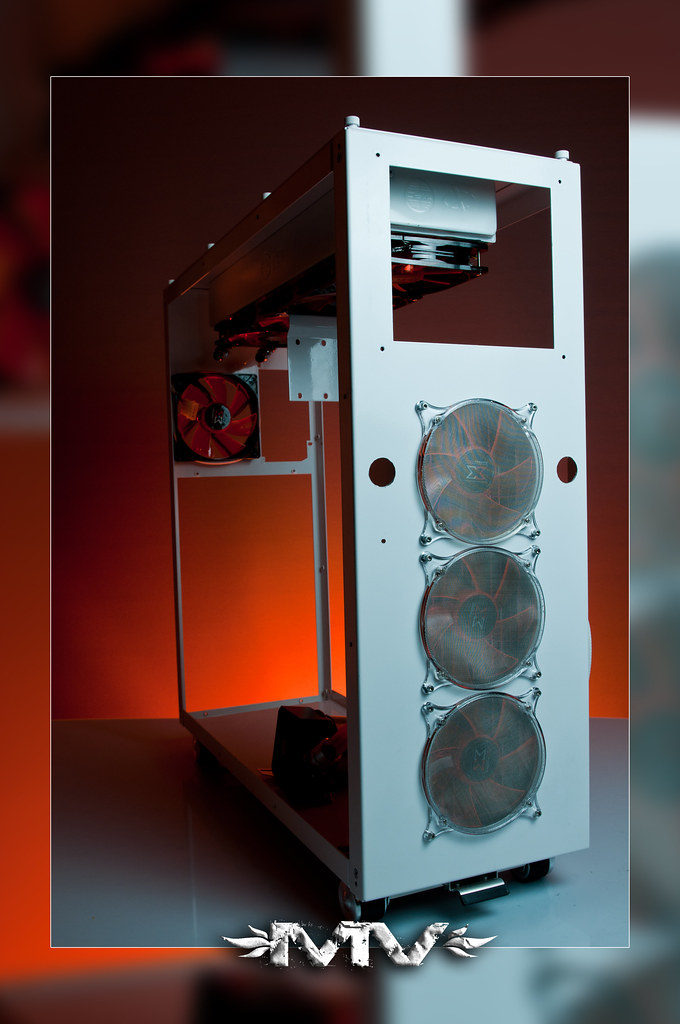
So, seems that everything has fallen into place nicely!
had some appointments out of office, and finished early, so that meant, time for some building
Seeing it stand, after 3 years, ready to be finished... what an amazing feeling!
so.... on to the update!
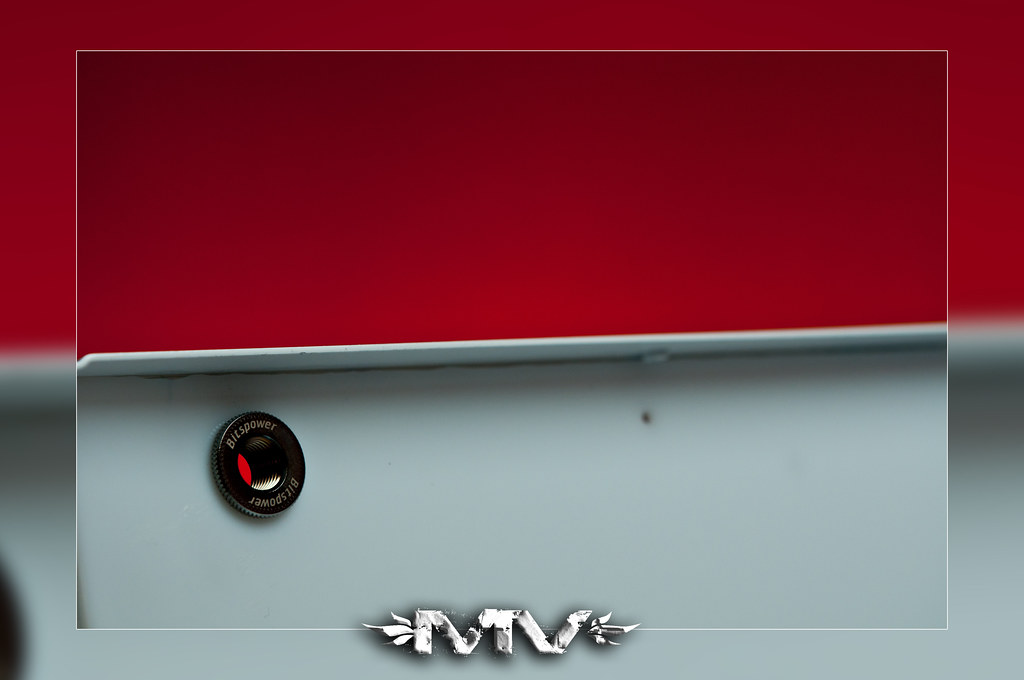
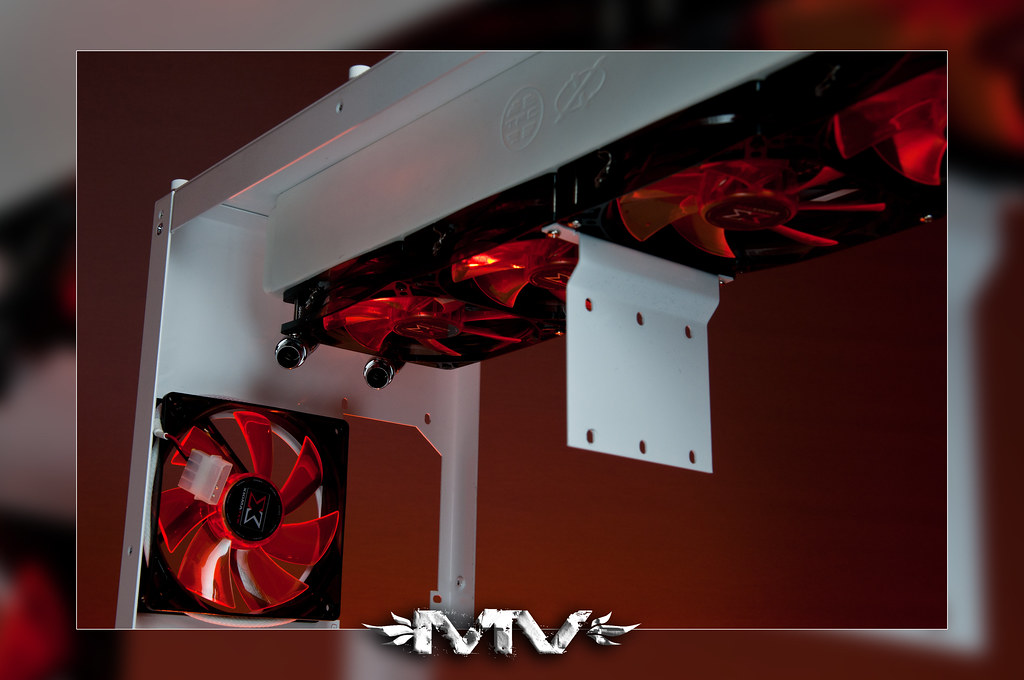
Top Panel, radiator installed with fan grills. (unfortunately i cant fit fans for push/pull because the barbs hit on the psu.
The underbelly of the top panel, fitted with barbs + fans. ( i have some screws on order to replace that ugly mix of black/silver screws.)
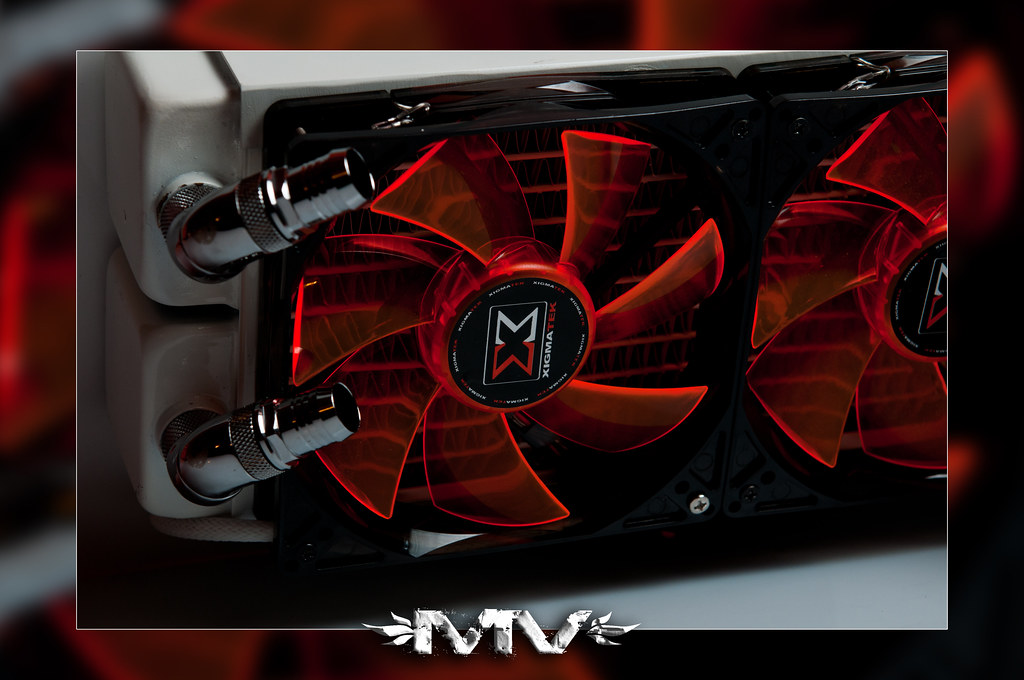
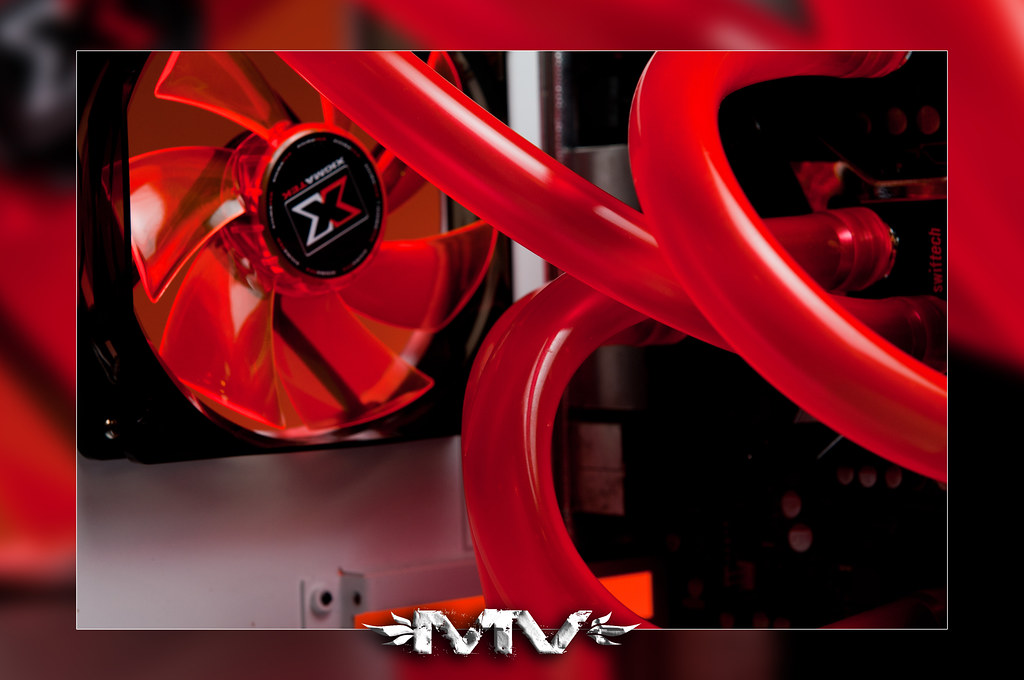
Closer up shot... Im in love with these fans!
So thats enough of the top panel...
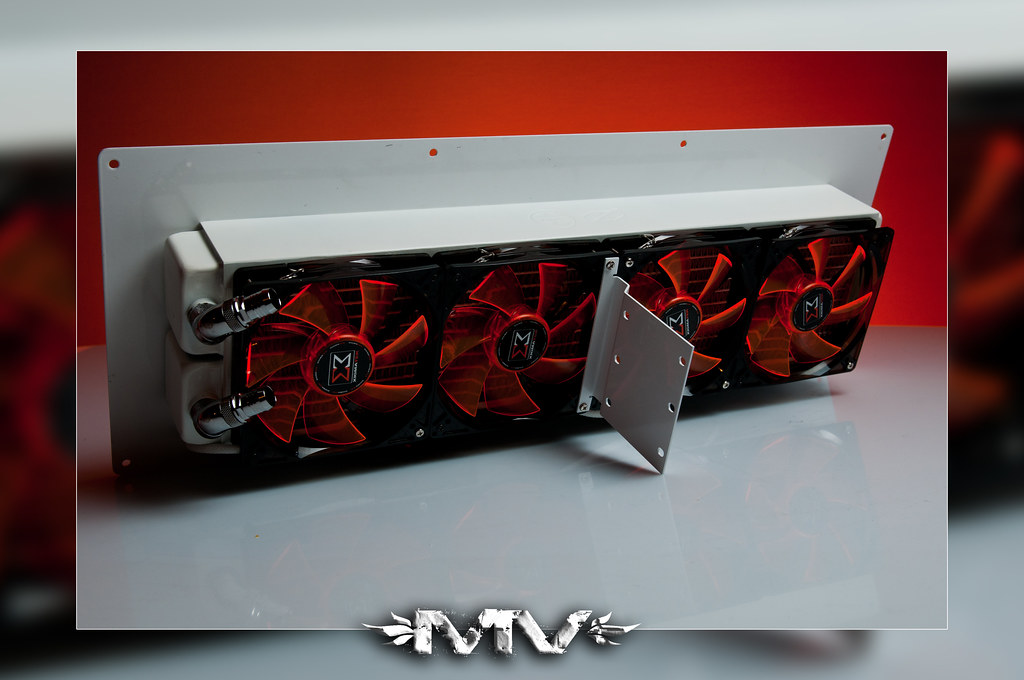
Quick shot of the back panel
and a complete shot of the tower with rads
close up to see rad+psu clearance estimate
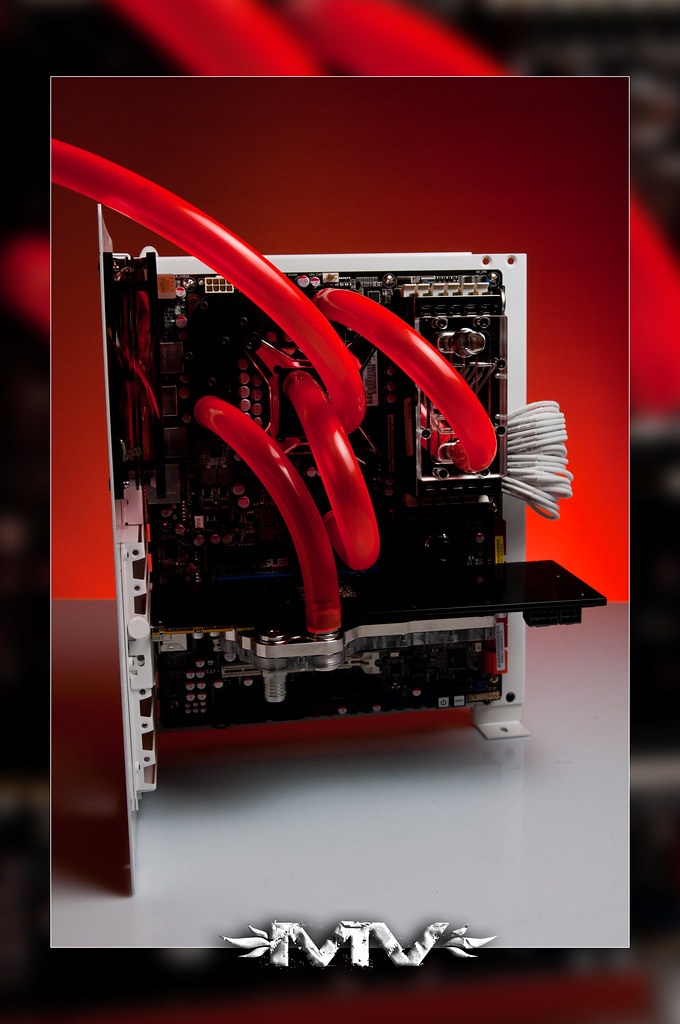
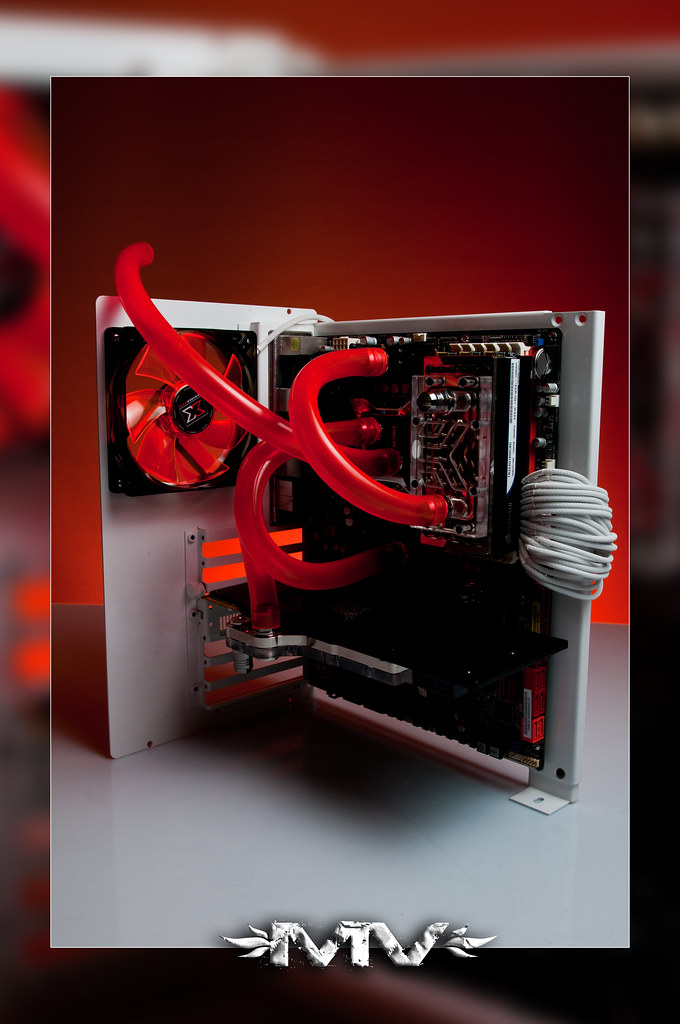
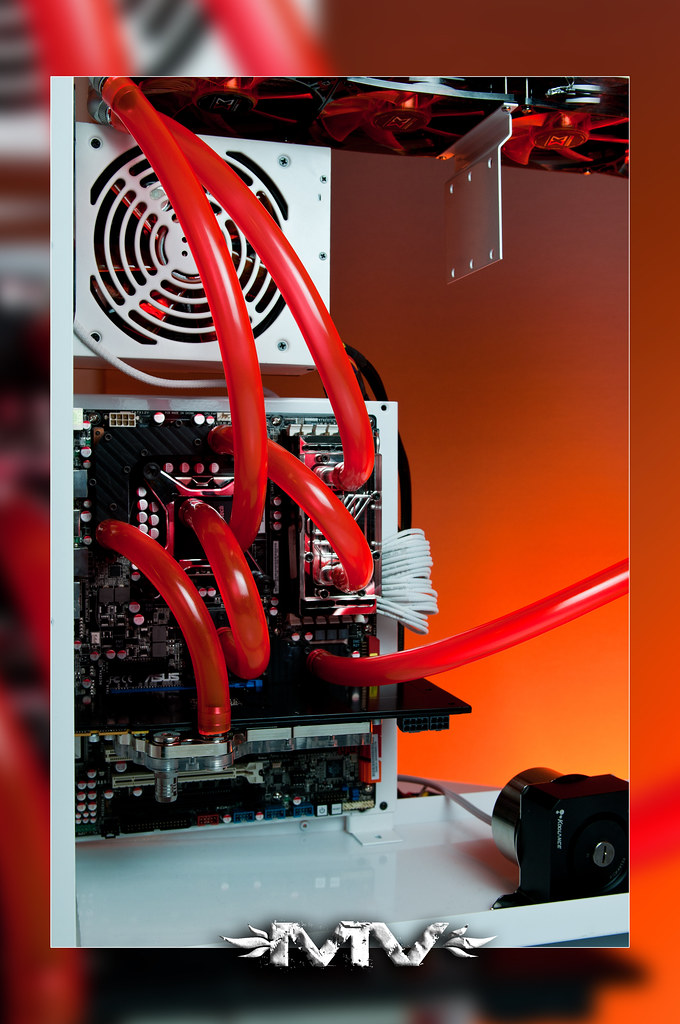
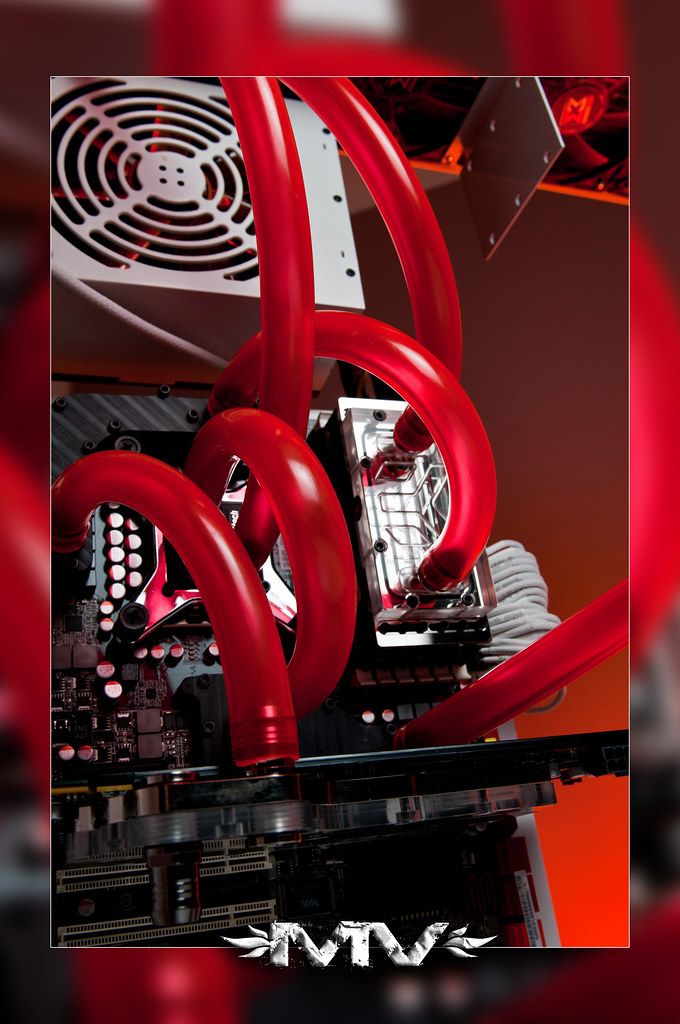
and now for some hardware shots
Close up
from another angle.
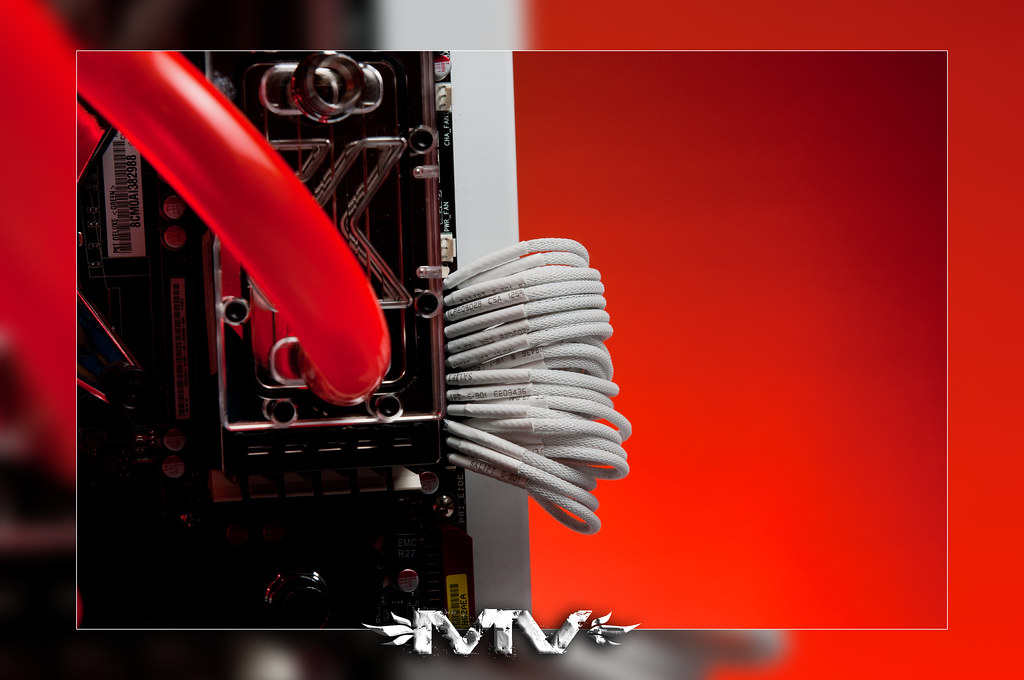
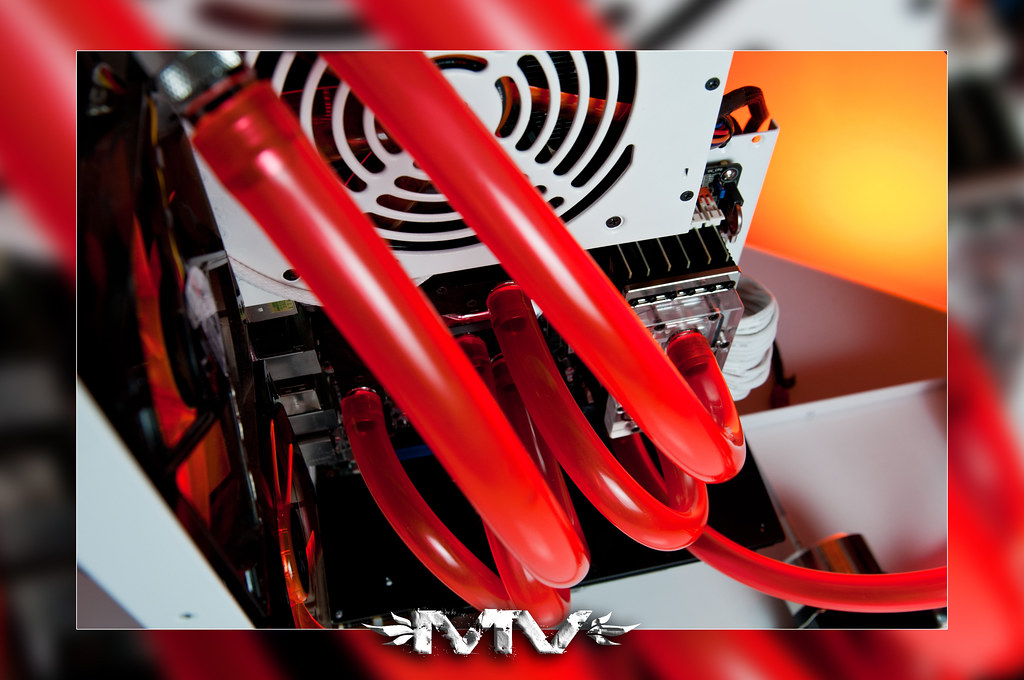
close up of 24pin extension (i dont have any white sleeving, so i had to go with this, for now...)
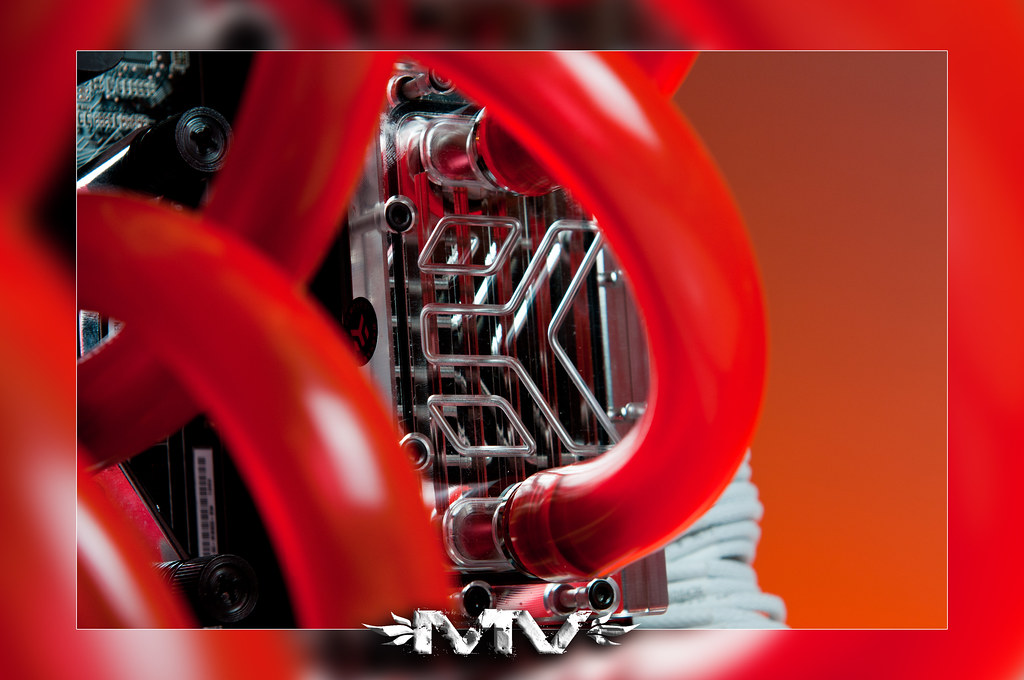
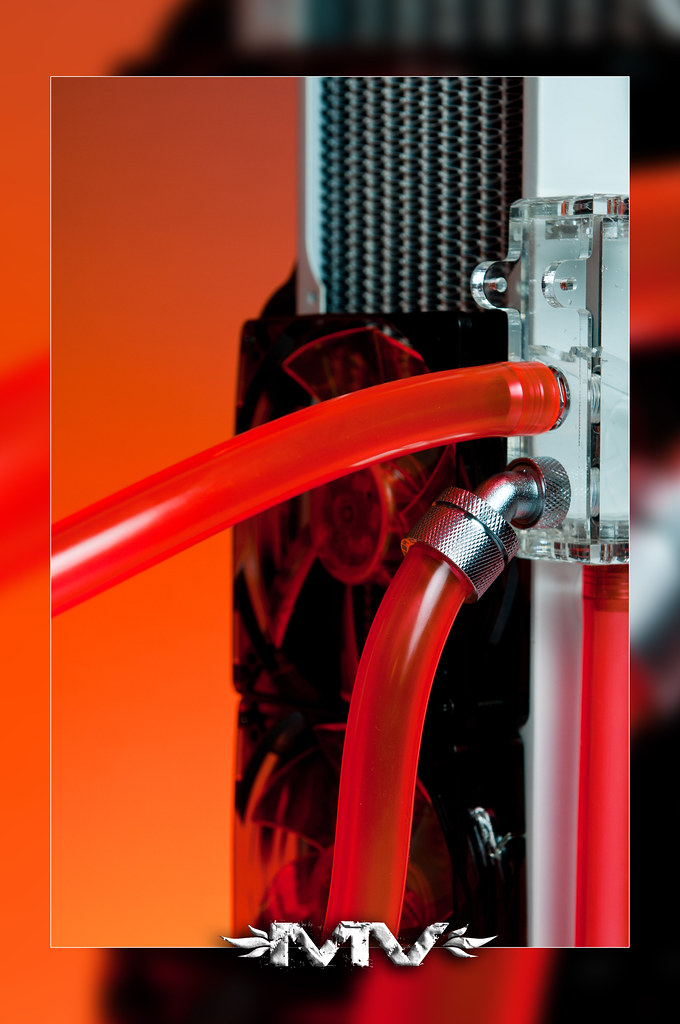
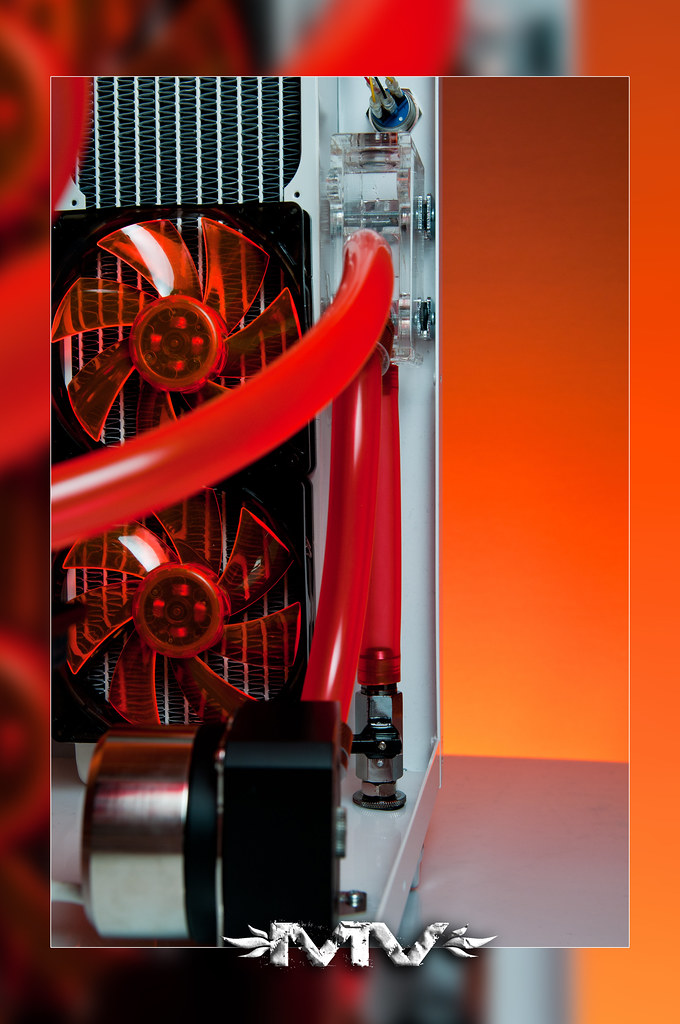
More tubing and fans
Everyone has a picture of an EK Ram block... here are mine
Thats it for now... gonna get everything installed later tonight, and i think i should be ready to leak test by tomorrow or saturday the latest!
I still have some ideas to implement, waiting on my fan controller + switch panel to dry from paint. more to come!
Hope you enjoyed!!!
Barf
UPDATE 25-2-2011
Because i believe 1 picture = 1000 words.... heres my essay
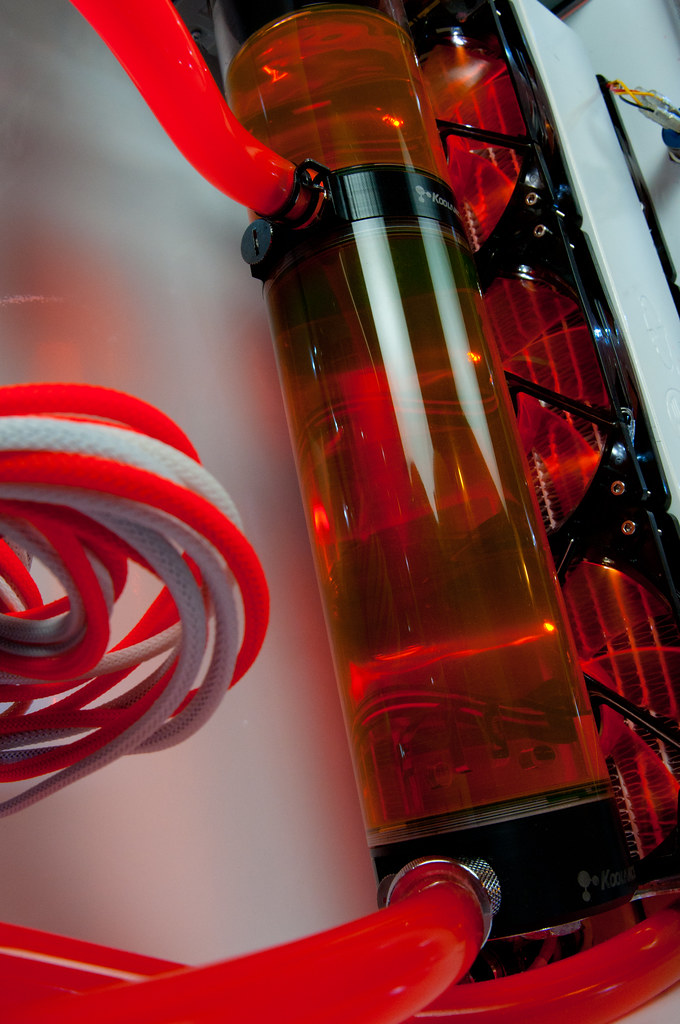
Rservoir
Reservoir + Drain Port
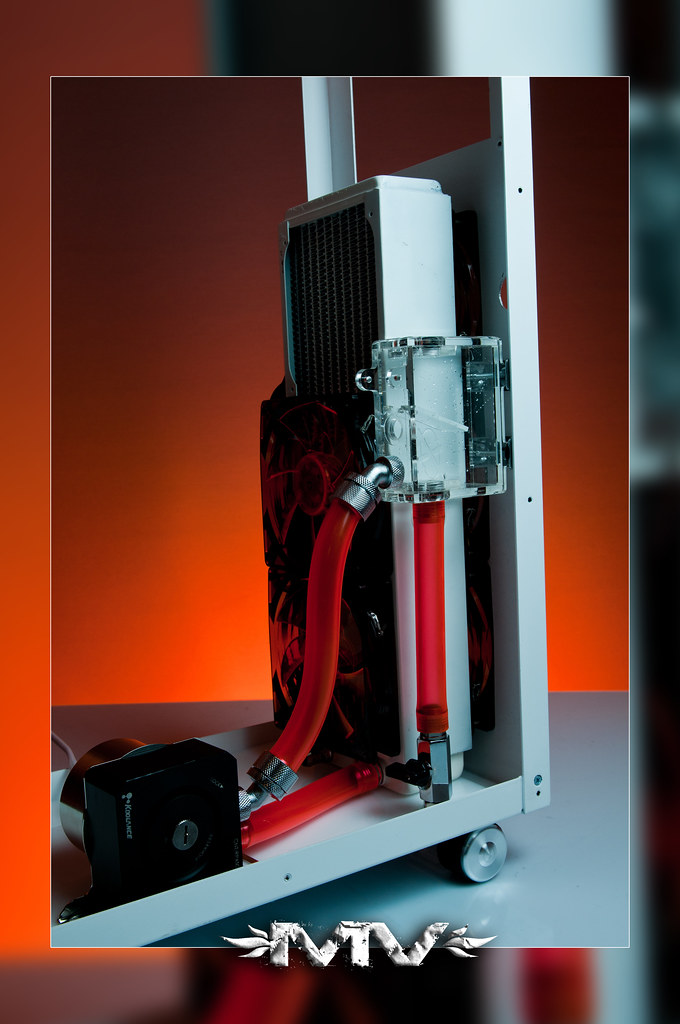
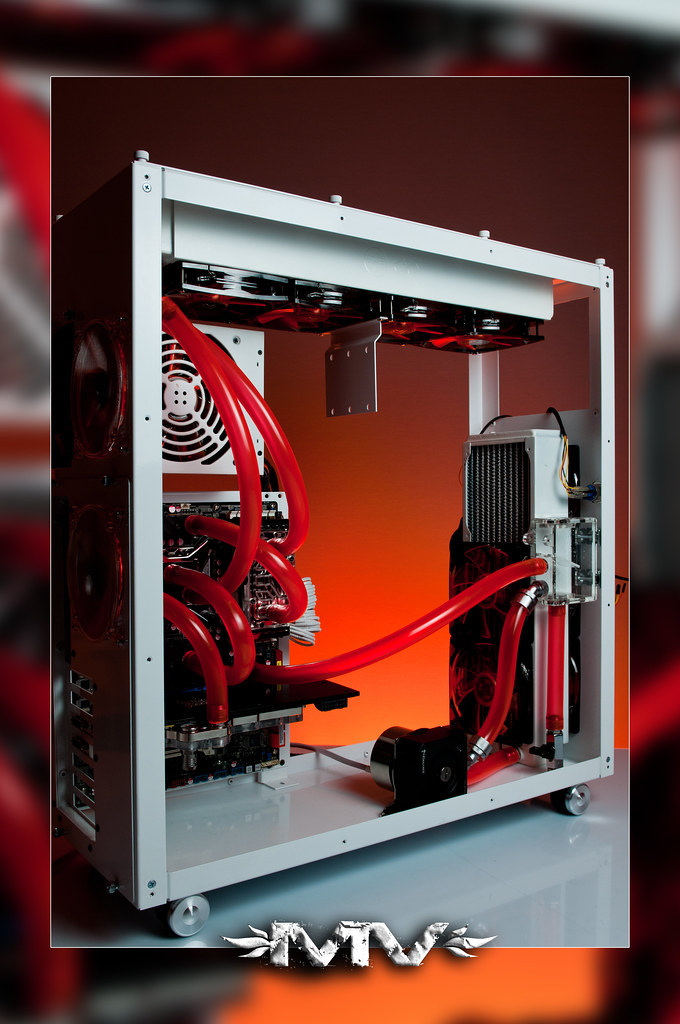
All prts inside the case
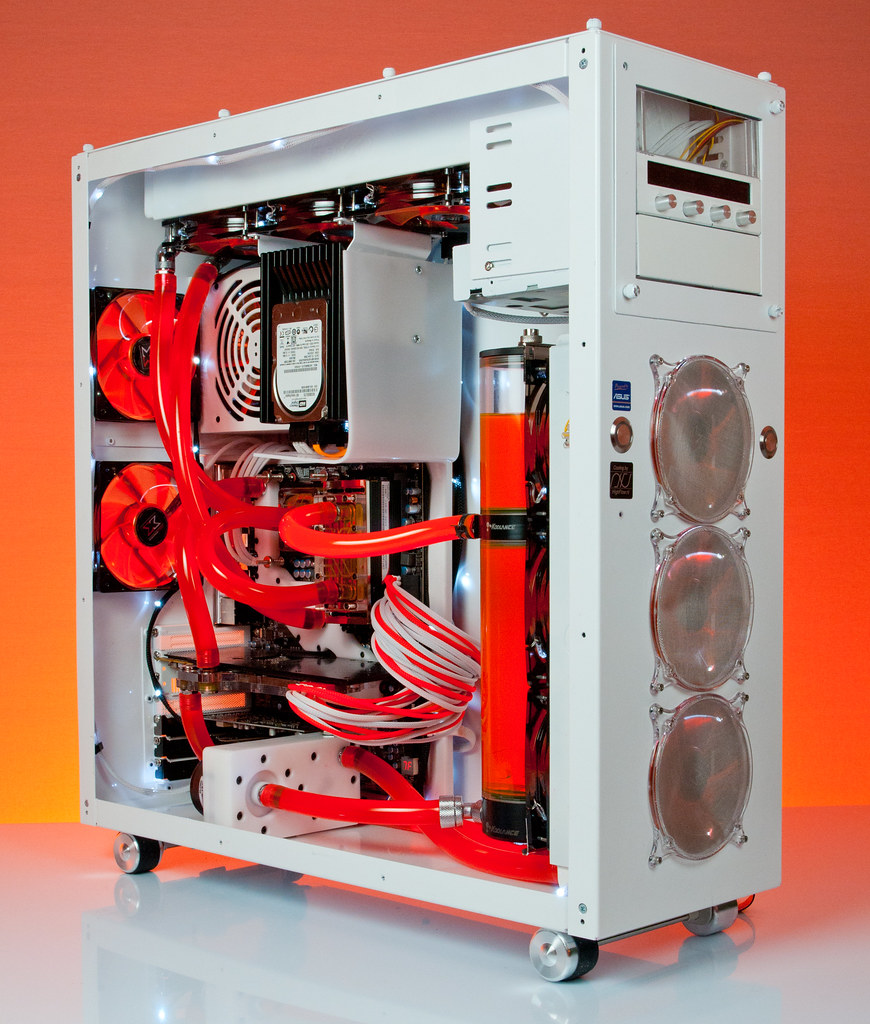
Whole body shot...
still many many things left to do, but its starting to take shape!
Until then, be safe


I knew this was going to look good, but not THAT good! That's fantastic work there, you deserve a medal haha
Signatures make my posts look huge... but I'm not humble enough to completely remove my signature, so I kept this note explaining it.
Pure pron, looks totally stunning!
What fans and tube are those, love the redness of them
Beautiful build
Just a quick pointer though - you have both sets of front rad fans blowing at the rad at the moment. Tiredness does crazy things to you, I've done that many times myself
.
Nice flowing loop, not gone made on tubing
Last edited by PiLsY; 02-25-2011 at 05:32 PM.
Wow, yeah, hehe.... just realized! DOH! i was going to remove them anyways to replace the fan screws with some hex bolts but thanks!!!!!! probably wold of put them back on the same exact way!
Thanks alot... no medals though, i just enjoy sharing what i build and taking in criticism!
Thank you,
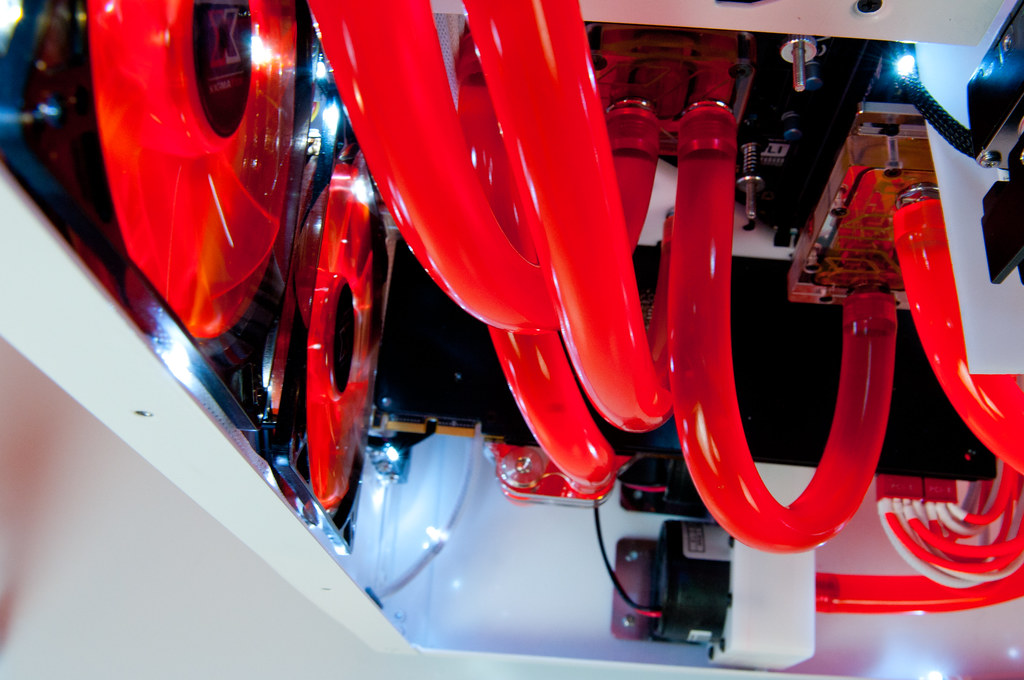
The fans are Xigmatek F-1253's and the tubing is Masterkleer Orange.
there should be an update today
ok, so update.... the machine is leak testing atm, but i do have a question.
I set up a flowmeter (koolance inline one, with the frequency booster) and an inline temp probe.
Im using a d5 koolance top at #5 setting, and my loop is this;
Res -> Pump -> 360 Rad -> Gpu (EK fc) -> Bei Fei Mosfet -> EK Ram -> 480 Rad -> Cpu -> Bei Fei NB/SB -> Res
My flow is 1.1GPM.
and ambient is 24 degrees and my water temp with no load is 22.9
Does my flow and temp sound ok? i thought with no load that i would have atleast a deltaT of 3-5 degrees... or am i mistaken?
And one last thing, i think my psu is acting up...
i turned it on for the leak test, pump fired up, all was good, i turned it off so i could refill the res, and when i tried to fire it up it threw down a fuse (in my fuse box), i went turned it on, and attempted to fire it up again. it worked, no problem. i again shut it off to refill, and then turned it back on, and the fuse dropped again. Everytime i turn off my psu, and try to turn it on again, it drops a fuse. I tried it at another part of my house, thinking it could be a faulty wall wiring. and it did the same thing.... In the mean time, i left it on overnight for leak testing, and 9 hours later it was still on. The psu is a thermaltake 1200 Toughpower, and the only thing ive done to it, is changed the fan.
Any help would greatly be appreciated. and i cant wait for it to be all tidied up, everything in place to show you guys
Holy moly! what size tubing is that? Maybe it's just the pictures, but it looks a lot larger than 1/2, 3/4.
Its XSPC/Masterkleer 1/2-3/4 Orange.
It actually is a little bit wider than 3/4 (i havent measured, but my 3/4 spring clamps barely slide over it... :S)
Its FINALLY complete (build wise).... unfortunately though, its been acting up, and it seems my motherboard is dying
but anyways... this is the "build log" section.... so here it is.... built!
more pictures to follow
So... turns out my motherboard had a dead PCIe, and 2 dead ram slots.... i dont understand why, or how this happened, but thats what my testing came up with.
All the parts worked on another motherboard, and the stuff that was originally on the (secondary) motherbaord didnt work on the p6t.
so... i went ahead and purchased some new parts.
New Hardware is:
EVGA SLI3 x58 motherboard
12GB of 2000mhz Dominators
SSD (Intel x-25M 120GB)
New Cooling Parts:
EK SLI3 White acetal block
Koolance 80mm Reservoir (i didnt like the way the micro res looked)
Second D5 + Dual D5 EK White Acetal Top
Im still waiting on the watercooling parts, but everything is open on my table, and waiting for installing.
Updates should be coming hopefully this weekend.
So.... Update time!
New Hardware:
EVGA X58 SLI3
12GB Dominator 2000's
Asus Xonar D1
New Cooling:
Koolance 80mm Res Setup
Dual D5 EK Top
EK White Acetal Mobo Block
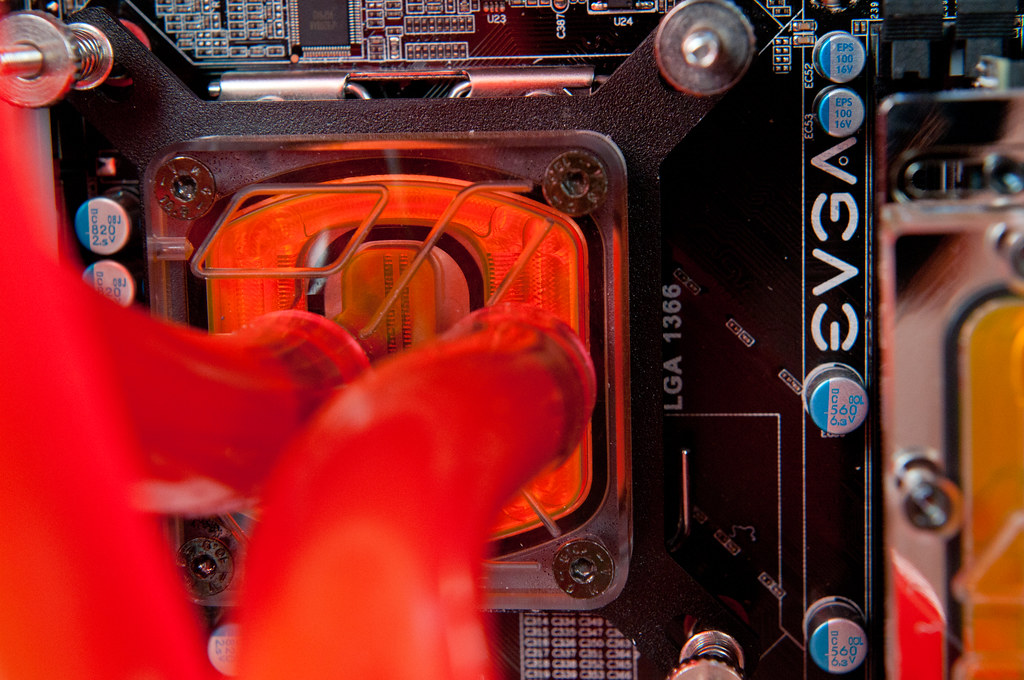
EK HF Supreme CPU Block
Mods:
I cut and bent a peice of acrylic to hide cable behind the HDD Drives
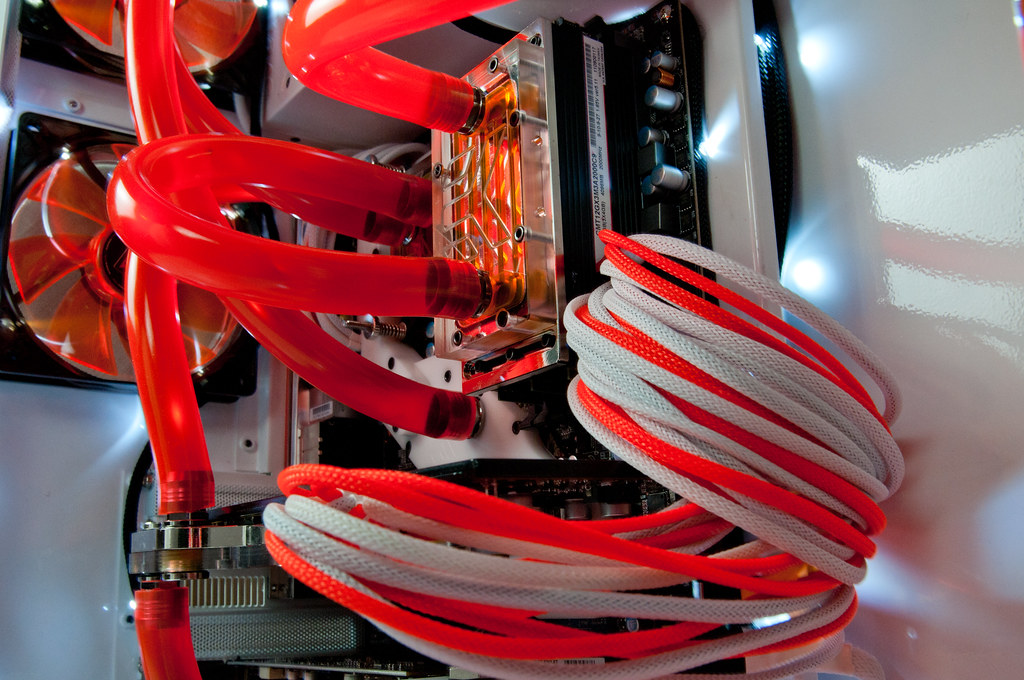
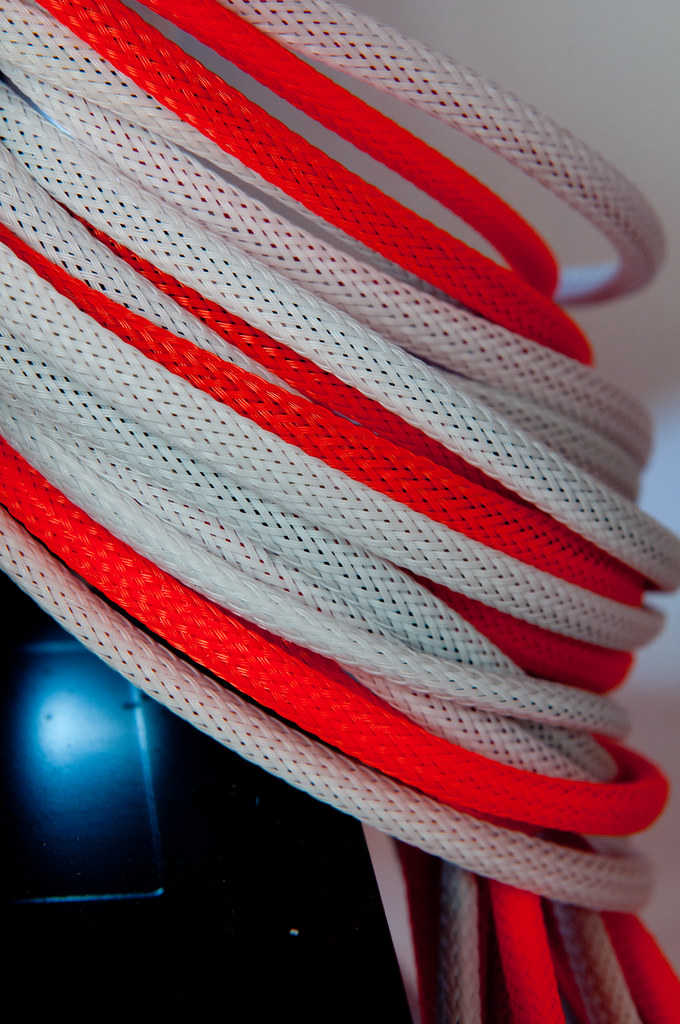
Sleved my PSU Cables in MDPC Orange + White (First time sleeving)
Koolance 80mm Res (200mm + 80mm)
this thing is HUGE...
EK HF Supreme
Sleeving + New Tubing Layout
Close up of 24 pin
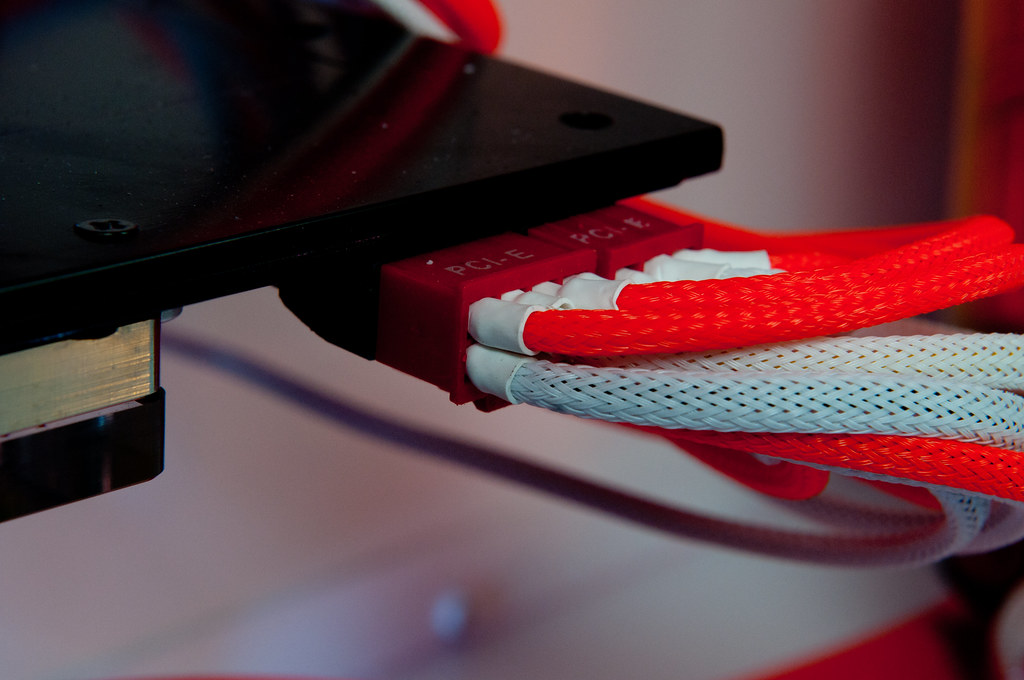
6pin Close up
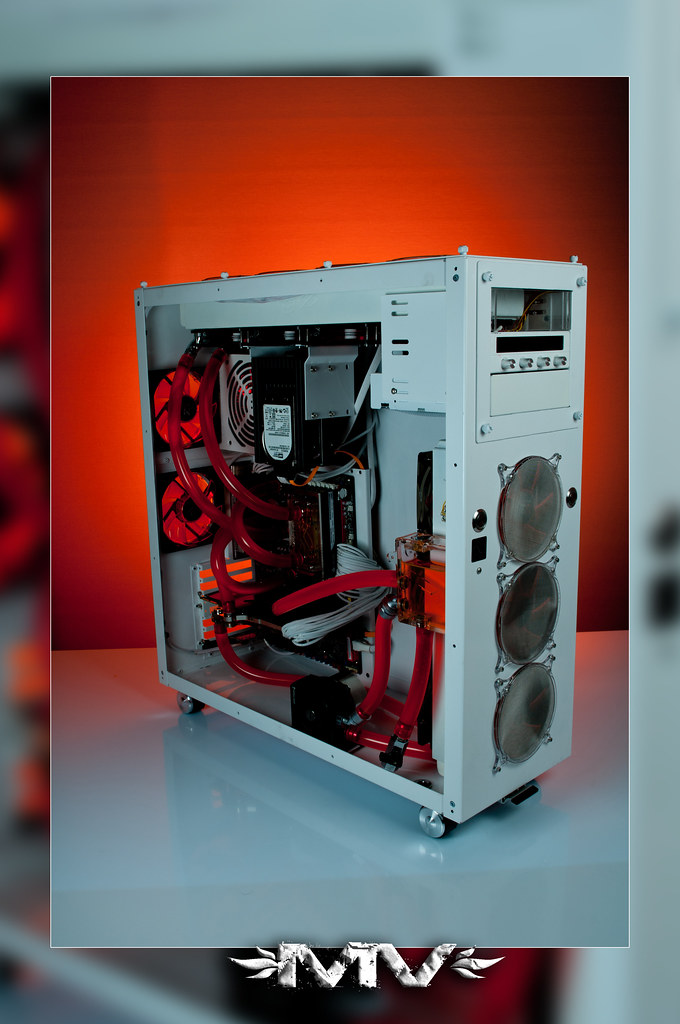
Top - Down shot
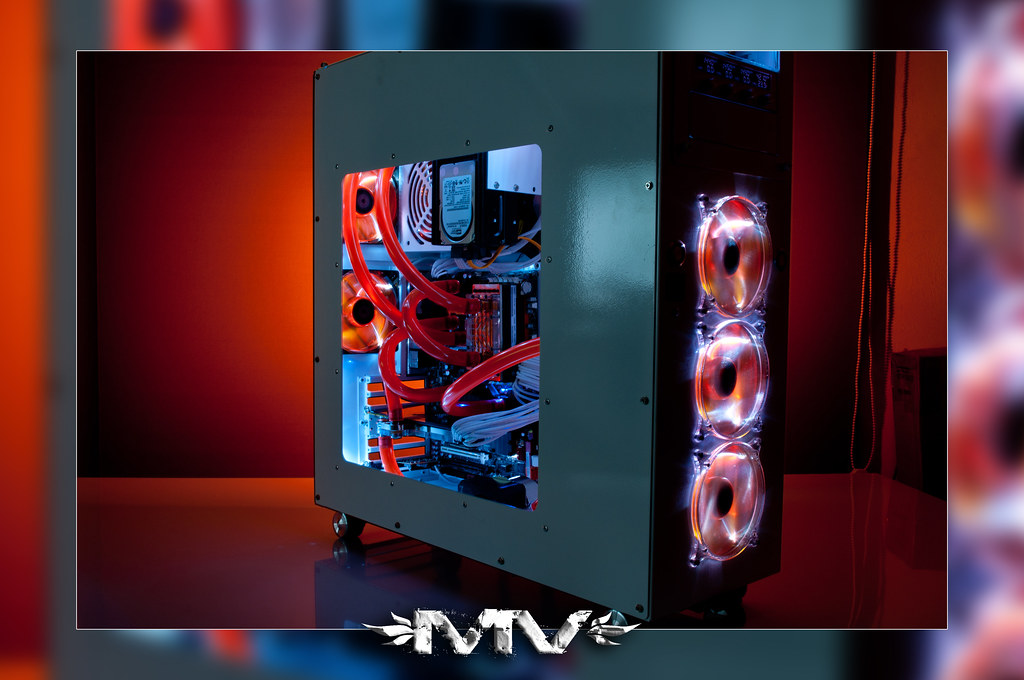
Complete Shot:
and a last, artistic shot...
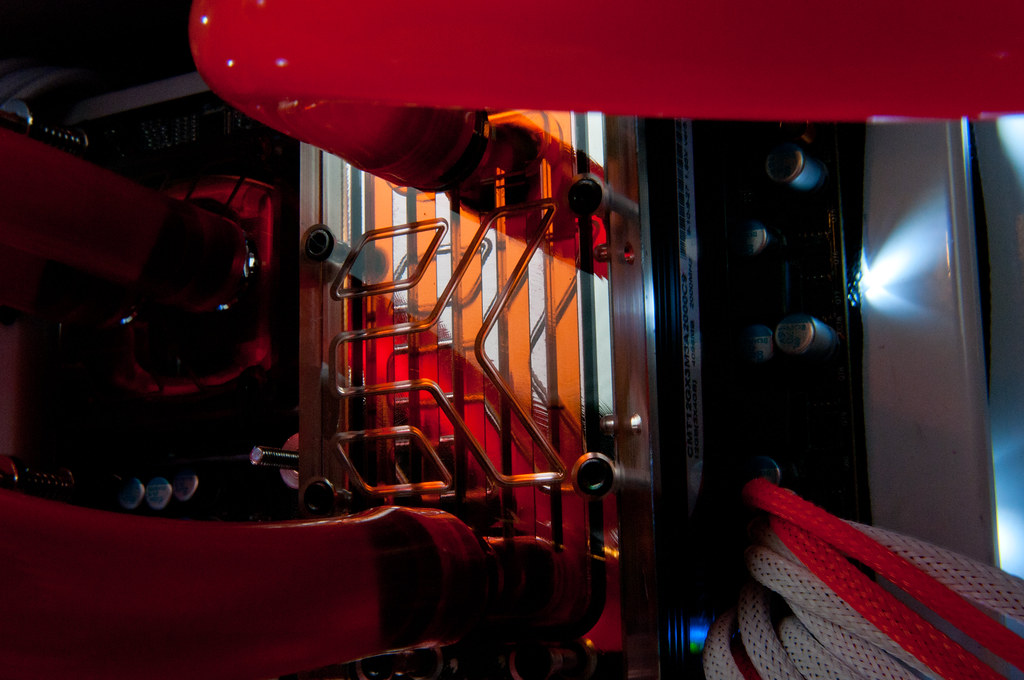
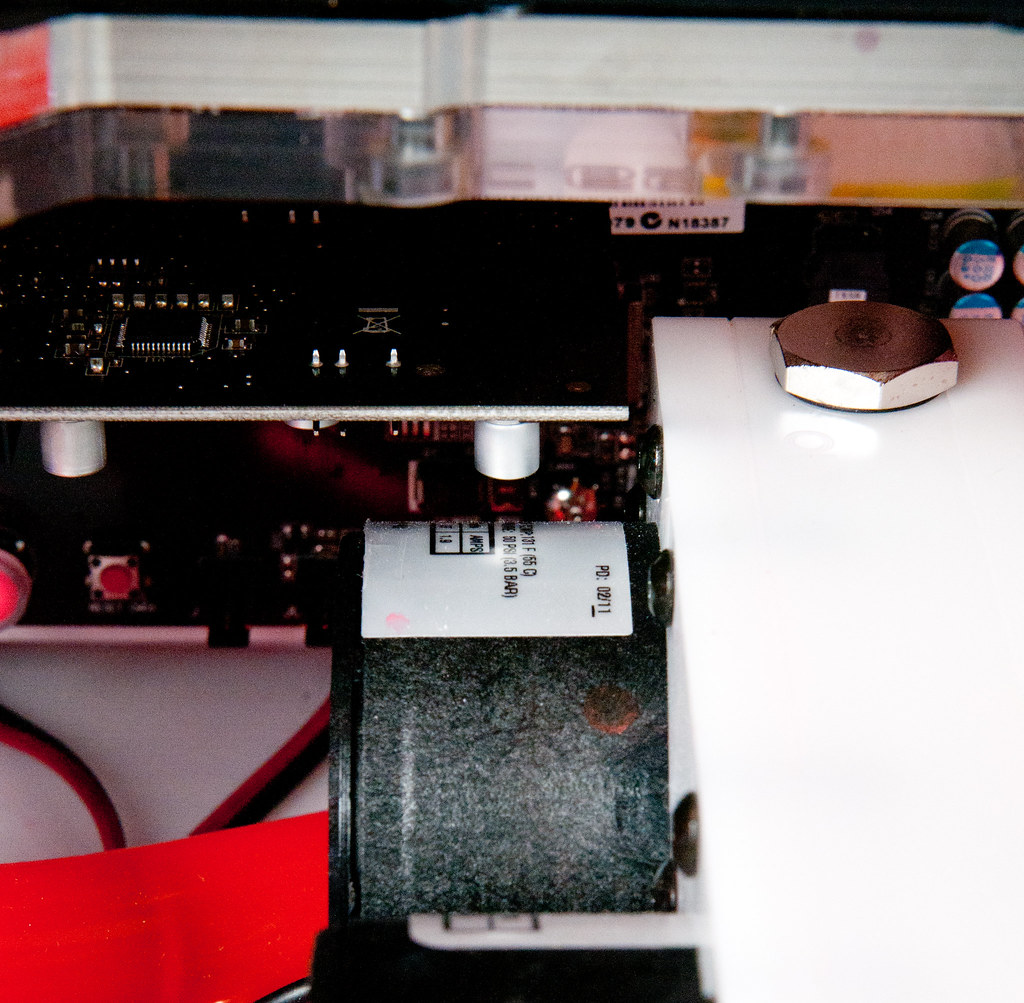
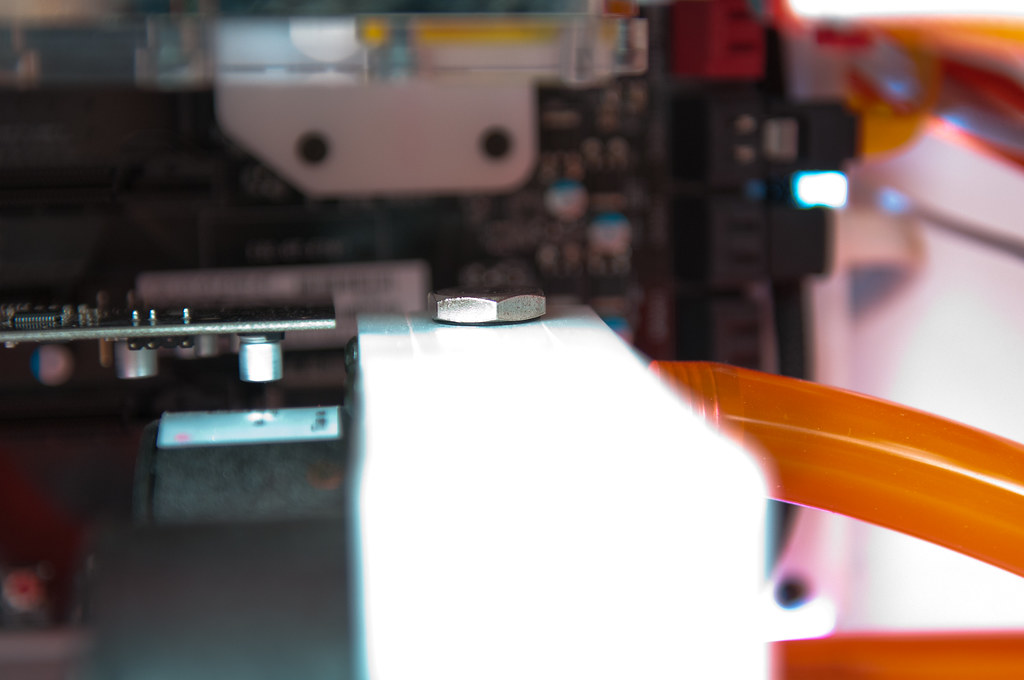
I had already drilled holes for my pump mounts, before i got my soundcard, and luckily enough... i had enough space to mount the cards. it was close though.... REAL CLOSE....
just for reference, that is a 1/4 fitting... :S
ALL in all, im happy... got it to clock to 4.2 ghz, stable... with "decent" temps.... but i was somehwat dissapointed.... so....
i ordered more parts.... Got me a nice 120gb Intel sata III SSD, and some new cooling parts!
So before i am even done with it, i was unhappy and decided to make it a dual loop...
Im splitting the loops like this.
Loop1: D5->cpu->quad rad->res
Loop 2: D5->D5-> Triple ->GPU->Mobo->Ram->Res
so, another update incoming... hopefully soon!
till then, see you around!

This looks baller, I've been known for my criticism of MM builds in the past but you've outdone yourself! great work
 Members who have read this thread: 0
Posting Permissions
Members who have read this thread: 0
Posting Permissions


 Reply With Quote


Bookmarks