Results 1 to 18 of 18

Thread: First Try (Pic Heavy)

  1. #1
    Xtreme Member
    Join Date
    Feb 2008
    Posts
    216

    First Try (Pic Heavy)

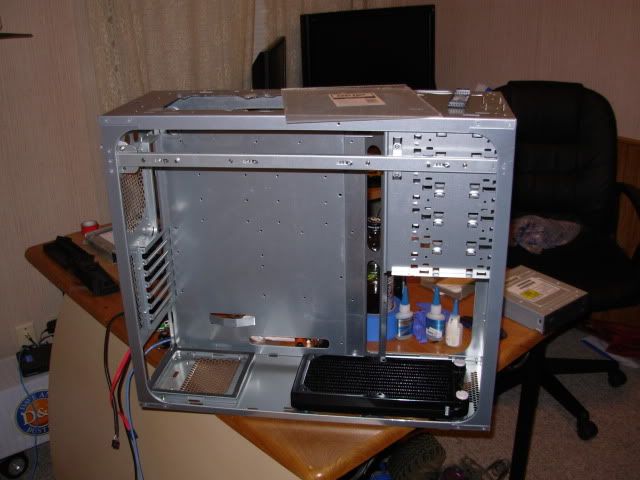
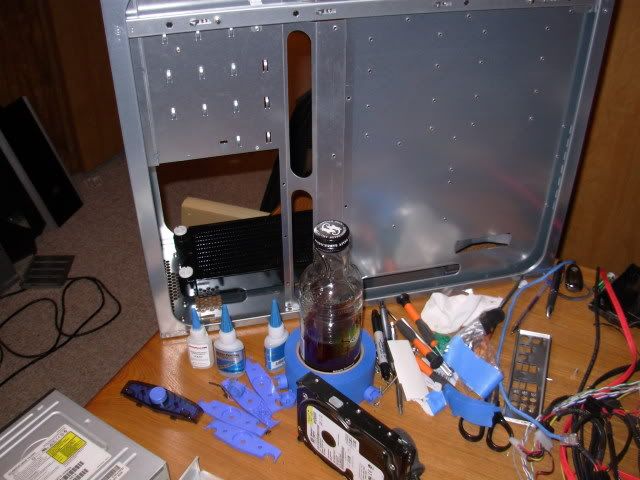
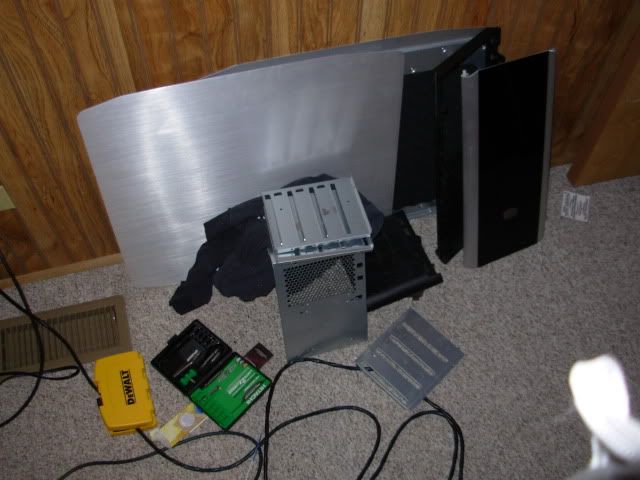
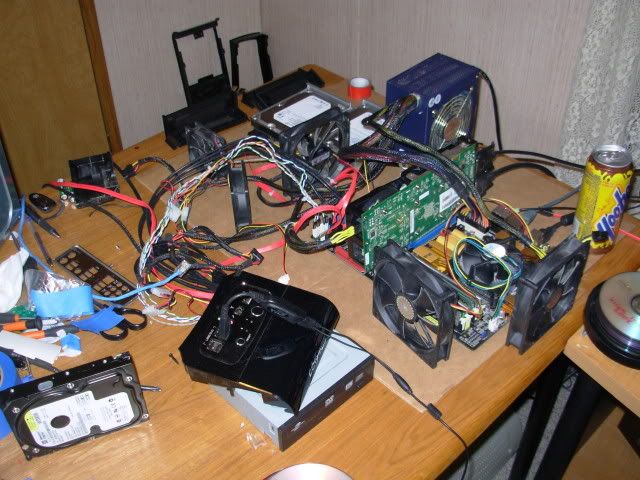
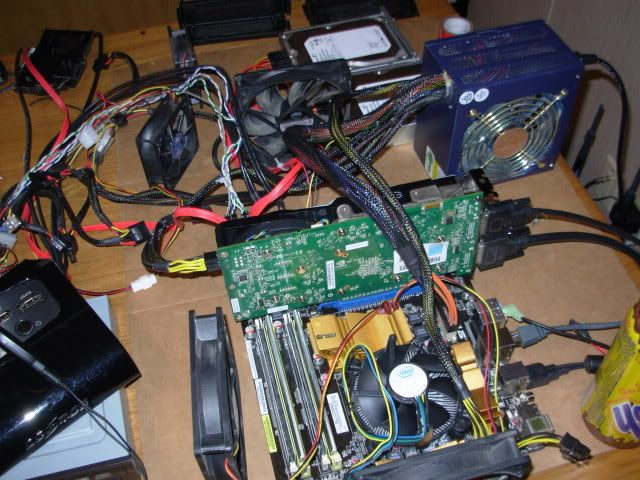
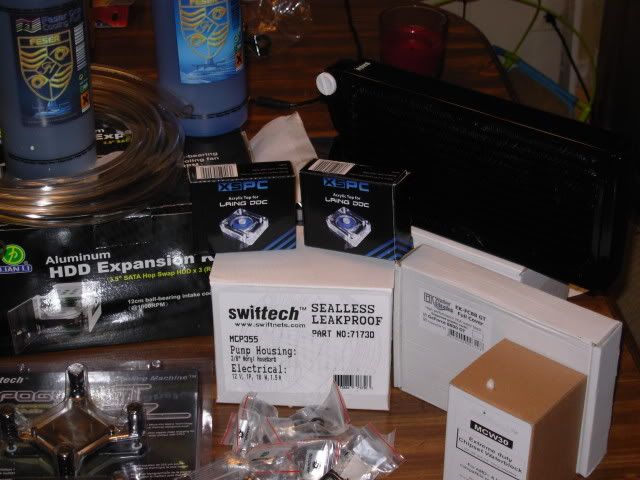
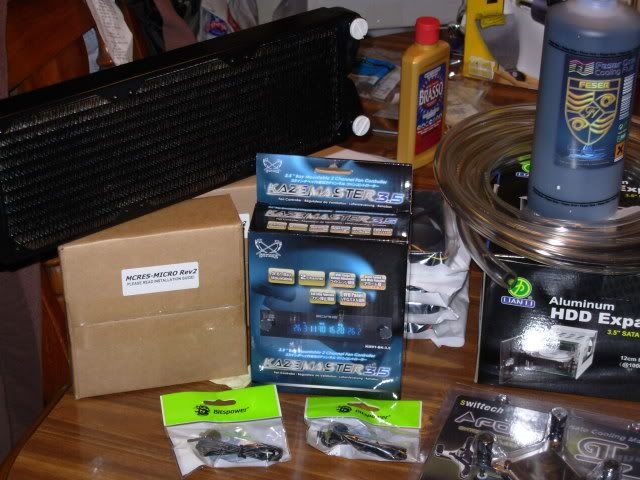
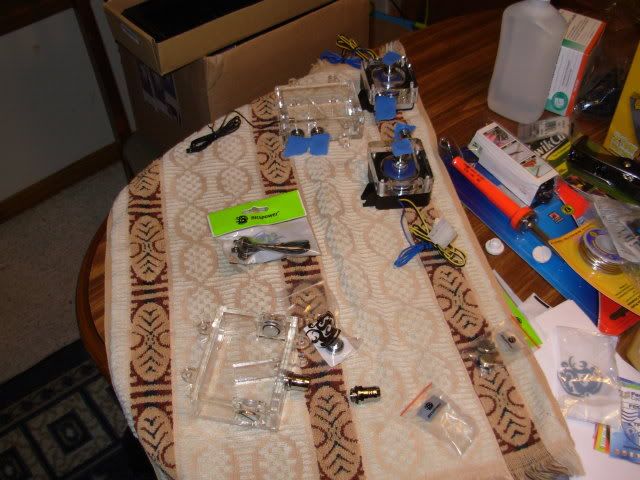
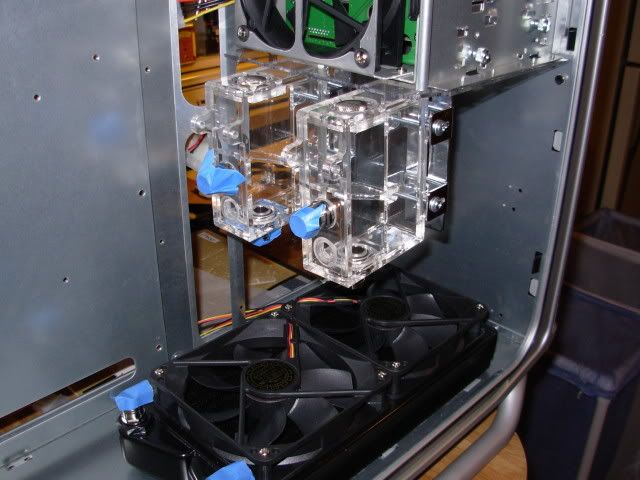
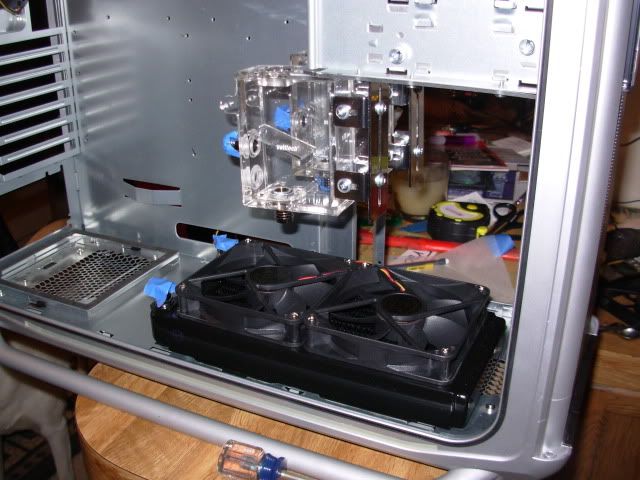
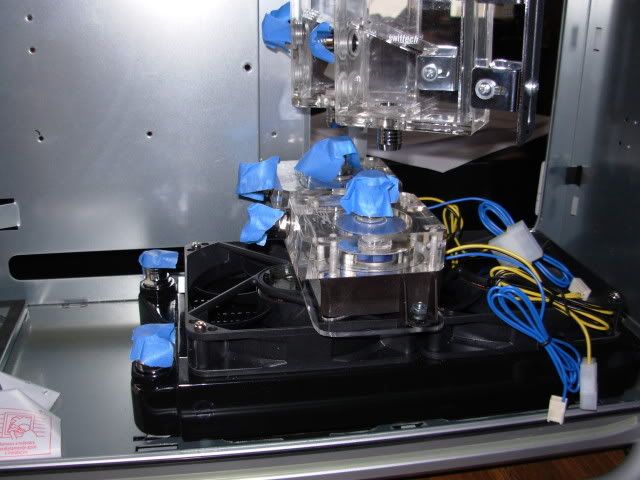
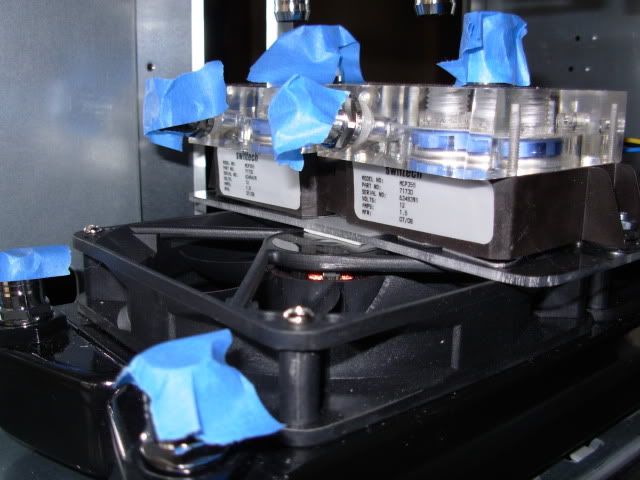
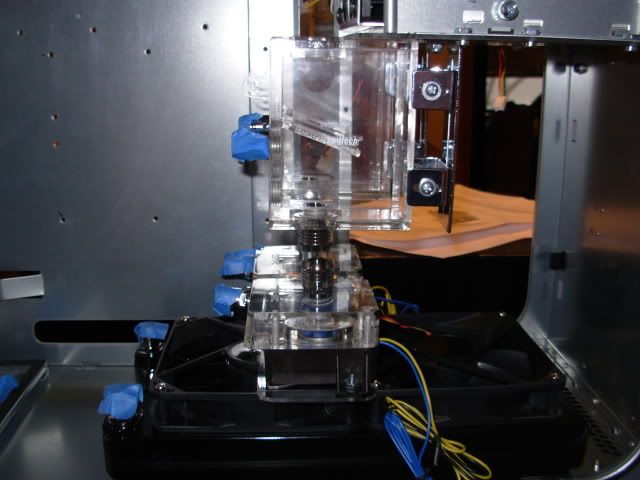
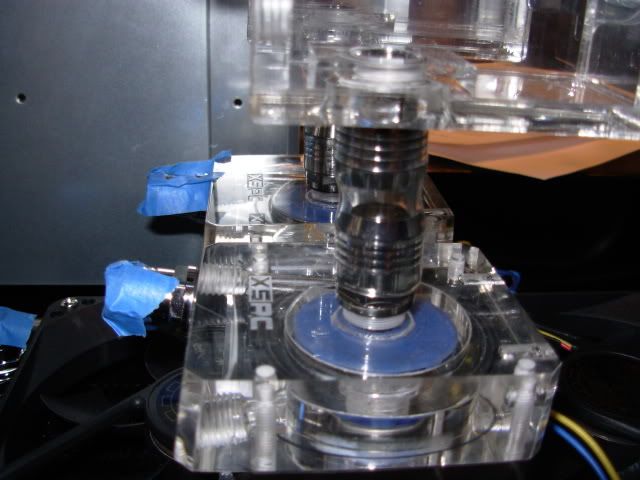
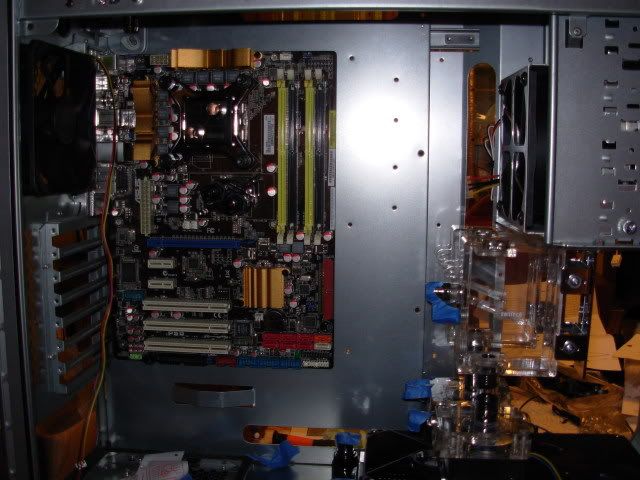
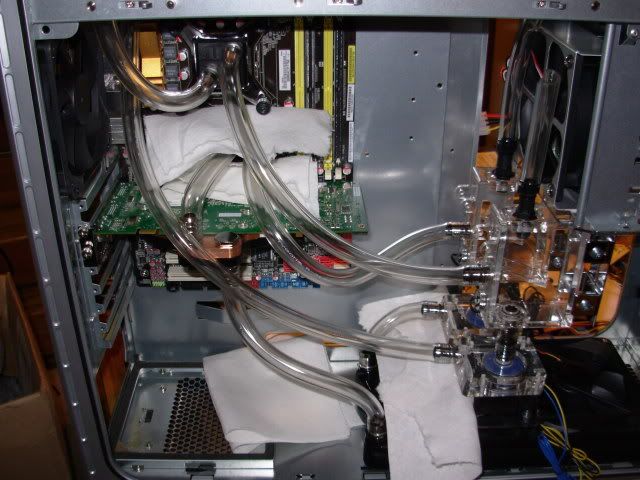
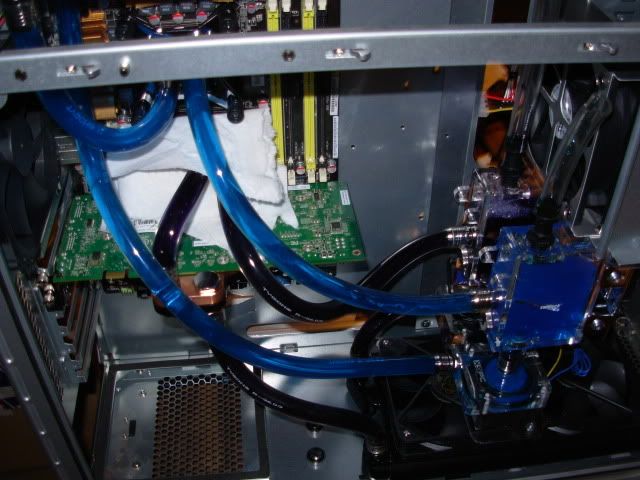
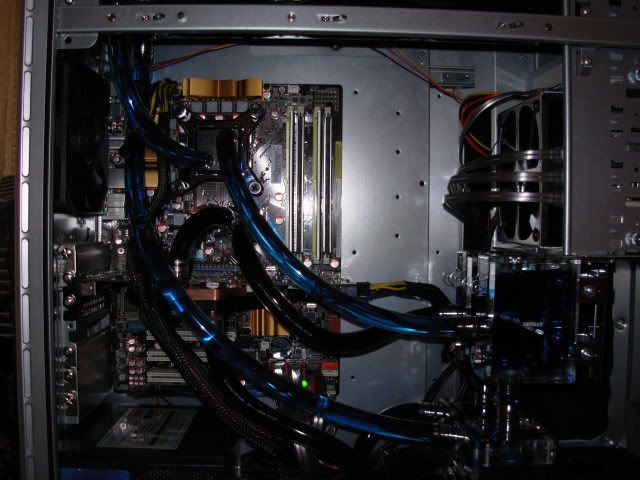
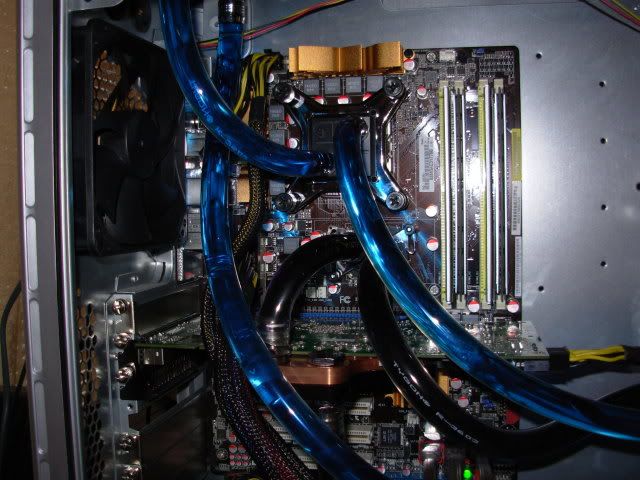
    So I started on my first build about a week ago and just finally got it up and running today. I have to thank you all for all the help! I've been lurking on the forums for the better part of a year looking at everything and deciding on which way to go. Didn't really run into to many problems messed up on the cutting but got that fixed pretty easily and only have one leak (between the res and the pump) because of how the threads of the fittings where reversed. But other then that everything is going great! Time to start playing here are some of the pics.


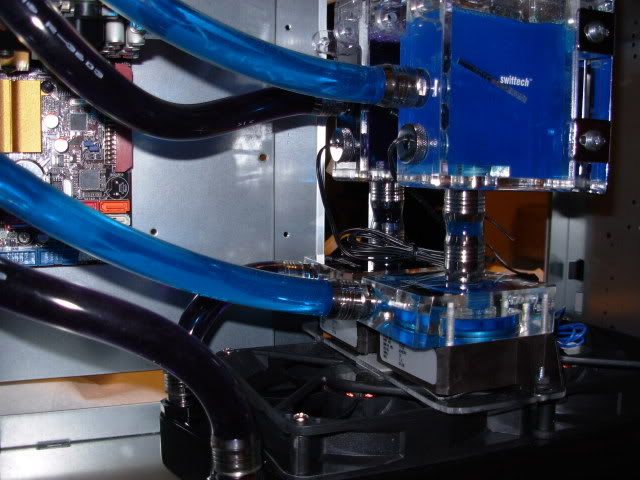
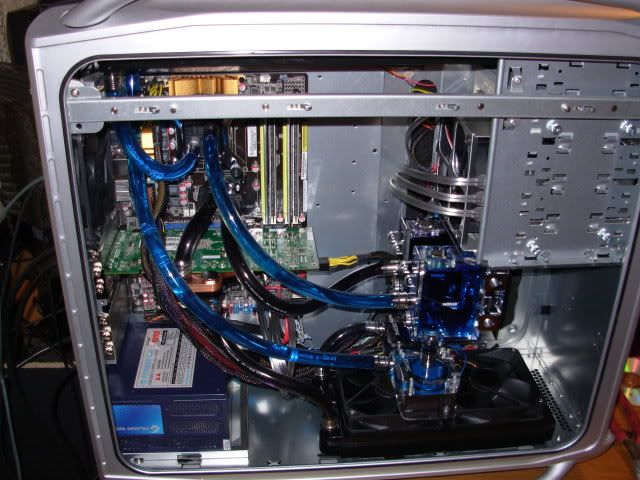
    For now I've got the PC up and running I'm going to continue on with some of the ascetics of it, going to remake the top fan shroud out of acrylic, make a shroud on the bottom to cover/hide wires. And pick up a Aquareo I think with a couple of Fan amps that will go under the hard drive in a Acrylic cage.

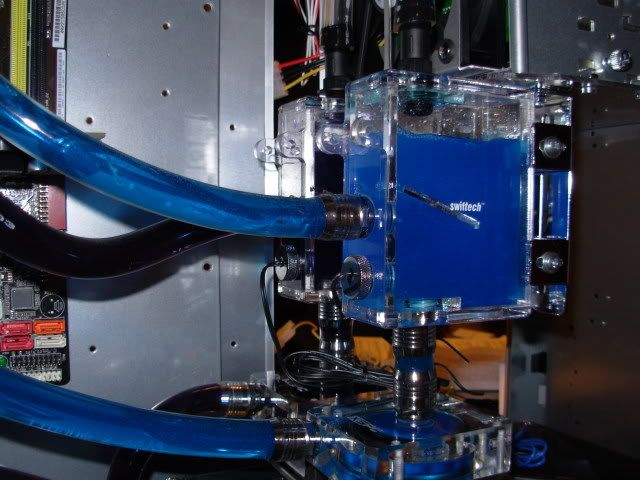
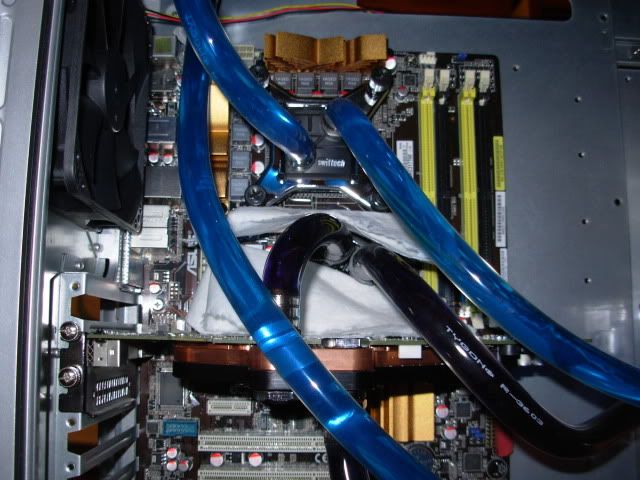
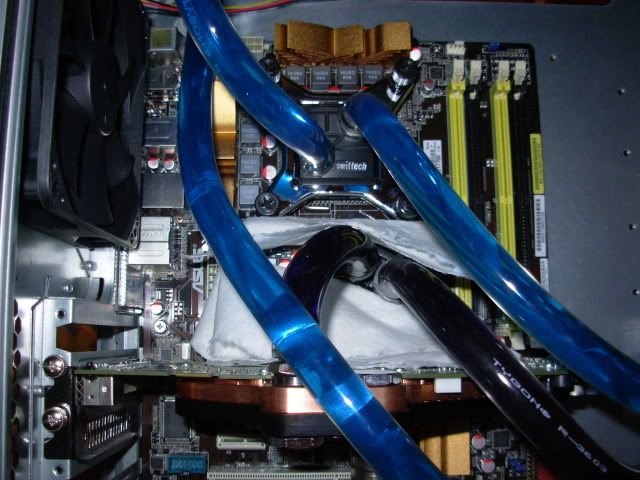
    And Yeah I know I don't have any hose clamps on there, I'm running 5/8 tubing with 1/2 barbs boy was that a pain in the @!! but the ones I ordered don't really fit so ordering some more...Let me know what you think! Next I think I'm gonna do the Xbox 360....

  2. #2
    Xtreme Enthusiast
    Join Date
    Apr 2008
    Location
    Canada, by the mountains
    Posts
    931
    Nice!

    Love the slick rad/pump/reservoir setup
    Time is an illusion. Lunchtime, doubly so. Douglas Adams
    QX9650 @ 3825mhz CoolIT FZone
    2x HD3870X2 @ 845/946mhz air
    Asus Maximus Formula 0907
    2x2048mb OCZ Reaper 8500
    2x Raptor 150G Raid0; 'Cuda 1000G
    1200W Thermaltake
    xFi Extreme Gamer/ Z-5500
    Vista Ult. 64
    Cosmos 1000
    30" NEC

  3. #3
    Xtreme Member
    Join Date
    Mar 2008
    Posts
    118
    Im loving that pump res thing also.Very nice build!

  4. #4
    Moderator
    Join Date
    Aug 2007
    Location
    Back and forth between Florida and Maine
    Posts
    4,097
    Great job. Like the pump/res setup and the nice blue color.

  5. #5
    Xtreme Member
    Join Date
    Feb 2008
    Posts
    216
    Thanks guys that was about two night worth of scratching my head trying to figure out where to stick everything. The area in front was/is reseverd for a LT Aquareos and 4 fan amps so. I'm gonna be picking up a new PSU come the newyear and thats is when i decided I would sleeve all the cables and such I'll also keep you guys updated on the acrylic pieces as I make then..

  6. #6
    Xtreme Member
    Join Date
    Mar 2007
    Posts
    108
    Very nice work, I like what you did!

  7. #7
    Banned
    Join Date
    Sep 2008
    Posts
    336
    If you were gonna do all that, why didnt you just get the XSPC resevoir top instead of their basic top?

  8. #8
    Xtreme Member
    Join Date
    Feb 2008
    Posts
    216
    Because I wanted to use the Bitspower Temp Probes for the Aquaero's. And the Res Top doesn't have the option for one so I went with the new Micro Res.

  9. #9
    Xtreme Mentor
    Join Date
    Nov 2006
    Location
    Florida
    Posts
    2,598
    I love it! Feser blue coolant looks bright, great job there!

  10. #10
    Xtreme Member
    Join Date
    Feb 2008
    Posts
    216
    Trying to find some nice LEDs to light it up Not sure if I really wanna go to UV or not...

  11. #11
    Xtreme Cruncher
    Join Date
    Aug 2007
    Location
    Perth, Western Australia
    Posts
    1,343
    Awesome build!

    emu

  12. #12
    Xtreme Enthusiast
    Join Date
    Sep 2008
    Location
    Down the rabbit hole
    Posts
    552
    wow for a first try you definitely went all out! major s
    Ba da dum dum dum.

  13. #13
    Registered User
    Join Date
    Oct 2008
    Posts
    40
    Very creative and clean, I like it!

  14. #14
    Xtreme Member
    Join Date
    Aug 2008
    Location
    Singapore
    Posts
    404
    nice and clean build Demthios!
    very interesting pump mount!
    i hope you don't mind sharing more pics of the pump mount?

  15. #15
    Xtreme Mentor
    Join Date
    Sep 2007
    Location
    Dallas
    Posts
    4,467
    looks sweet!!!
    CPUID http://valid.canardpc.com/show_oc.php?id=484051
    http://valid.canardpc.com/show_oc.php?id=484051
    http://valid.canardpc.com/show_oc.php?id=554982
    New DO Stepping http://valid.canardpc.com/show_oc.php?id=555012
    4.8Ghz - http://valid.canardpc.com/show_oc.php?id=794165

    Desk Build
    FX8120 @ 4.6Ghz 24/7 / Asus Crosshair V /HD7970/ 8Gb (4x2Gb) Gskill 2133Mhz / Intel 320 160Gb OS Drive, WD 256GB Game Storage

    W/C System
    (CPU) Swiftech HD (GPU) EK HD7970 with backplate (RAM) MIPS Ram block (Rad/Pump) 3 x Thermochill 120.3 triple rads and Dual MCP355's with Heatkiller dual top and Cyberdruid Prism res / B*P/Koolance Compression Fittings and Quick Disconnects.

  16. #16
    Registered User
    Join Date
    Aug 2008
    Posts
    2
    OMG, that's very nice! Im jealous..

  17. #17
    Banned
    Join Date
    Oct 2008
    Location
    Dartmouth NS Canada
    Posts
    414
    Nice job for your first time dude!

  18. #18
    Xtreme Member
    Join Date
    Feb 2008
    Posts
    216
    Thanks for the words of encouragement guys!! Makes it worth while LOL Temps are running nice and low too, Haven't really seen anything get over 40 degrees yet...But then agian I haven't stressed tested it yet.. I'll see if I have some more pics of the pump mount. But basically its a .085 sheet of lexan that I cut out on the scroll saw. I also cut out the area under the pumps as much as possible to still allow the air flow to escape and as a second bonus cool of the two MCP355's since I've heard that they do tend to run kinda warm.

Bookmarks

Bookmarks

Posting Permissions

  • You may not post new threads
  • You may not post replies
  • You may not post attachments
  • You may not edit your posts
  •