


Well after a few requests on OCAU I put together a rough guide to cable sleeving - now before you get too critical I did say rough.
PLEASE NOTE that you do this at your own risk - I take no responsibility for burnt out psu's, mobos etc
Now before we get started there is one thing I MUST point out and that is that most power type cables tend to inter-twine - in other words the cable that is in the left most hole at one end may not be in the same position at the other end. I HIGHLY recommend that you take your time and do each cable one at a time (if you are grouping cables make sure you label them accordingly so you do not forget their order) because if you get the order incorrect when you go to power up the next time there is a very good chance you will see the magical black cloud!!
Recently the guys over at MurderMod have release two sleeving kits that I believe are the absolute Cats Pajamas of sleeving. Nothing comes close to the quality of the MDPC-X sleeving and they have made it so easy for the end user to get all the various sizes you need for you to sleeve and entire system. There are two different packs that contain various lengths of sleeve with the Psychopack being the better of the two.
MurderMod Sleeving Kits
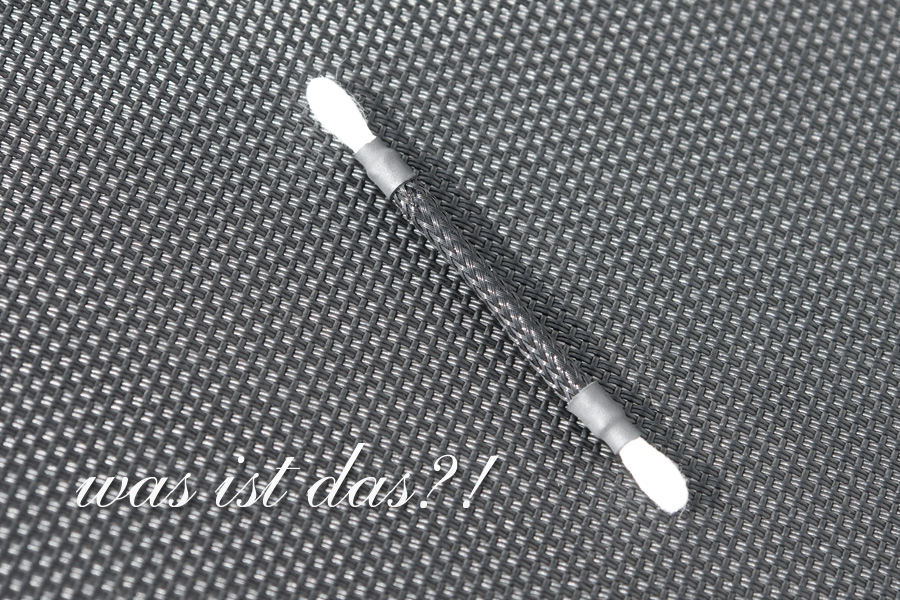
However I should mention that the sleeving used in this guide is all 1/8" Techflex PET like this (due to having done this all a few months before the MurderMod sleeving was available)
http://www.performance-pcs.com/catal...roducts_id=122
or for the Aussies
http://www.gammods.com.au/store/inde...ath=7_20_18_28
The majority of the heatshrink was 1/8" as well.
http://www.performance-pcs.com/catal...roducts_id=206
again for the Aussies
http://www.gammods.com.au/store/inde...ath=7_20_21_51
First thing first and that is you need to decide what exactly do you want to sleeve. Are you going to just do the 24 pin cable? Or are you going to do the pcie, fan, molex and the whole shebang. Next step is to work out if you are going to be doing them individually or in groups. This then helps you work out what size sleeving is going to suit your needs. For individual power cable sleeving and fan sleeving I find that 1/8" sleeving is perfect. But once you start moving into groups it all comes down to how many per sleeve you are trying to do.
Now there are many different types of sleeving out there as well as kits that give you different lengths/sizes with their appropriate sized heatshrinks as well. These are good but you may end up only using one size and the rest will just sit there. The other option is to buy it in the size that you want and the desired quantity. For sleeving in Aus its hard to go past gammods as they have a large range of sleeving in all sorts of sizes and colours as well as the heatshrink to go with it. Or the more expensive (but oh so worth it) option has arrived with the launch of the MurderMod site which now sells the mdpx sleeving (of Million Dollar PC fame). This sleeving is slightly thicker and is less likely to show the colour of the cable it is hiding. Again as mentioned previously there is no better sleeving available on the market at this time (My Opinion).
Now that you have selected your sleeving size/colour options you are going to need some tools to remove the pins from the various plugs.
For all non molex type plugs you can use tools like the ACRyan one below but I found that they have a tendency to break fairly easily. Actually the easiest thing to use is some standard staples....yes staples
I find that two together once bent into shape are a perfect fit for removing those pesky plugs and if you break them...simply get a couple more:thumbup:
What you do is simply place either the pin remover or staples in the end of the plug like so
and then push them in as far as they go (this is where you are likely to break the tools) and then pull on the cable. You shouldn't need too much force but some are a little harder to remove than others.
example of two removers one broken
Just pull on the appropriate cable
To demonstrate your goal at this step Moogle drew up the below diagram to better help explain the process (image courtesy of Moogle @ Hexus.net)
At this point you can measure up and cut the sleeving to cover the length of the cable - NOTE - that you will need to allow slightly more sleeving than what appears to be needed as when you slide the sleeving over the cable it looses some length as it expands to fit the sleeving.
The next step from this point is you take some heatshrink cut to an appropriate length so that when you heat it up it will cover both the end of the sleeving but a section of cable as well. You take this and slide it onto the cable followed by the sleeving.
Once you have moved the sleeving almost to one end guide the heatshrink over the end of the sleeving so that there are no stray wires sticking out.
Now this part will require some nimble fingers and patience if you are using 1/8" heatshrink with 1/8" sleeving as it takes a little bit to get the heatshrink on. But once it is on there it is less likely to come off than if you had used a larger size that doesnt shrink enough to get a firm grip.
Once you have done this end you can either use a heatgun or the missus hair dryerto heat the shrink up so that it keeps the sleeving in place. Do the same at the other end and once that cable is done simply click it back into place within the plug like so.
Now trust me when I say that at first you will probably find it a little difficult and you will probably get frustrated. But if you persist you can get some excellent results.
Here are some quick examples of some I have done recently.....


 Reply With Quote


 )
)


Bookmarks