


Hey all,
I recently bought myself a new rig, consisting of a CM-690 (I had one of these with my last rig too), and the following hardware:
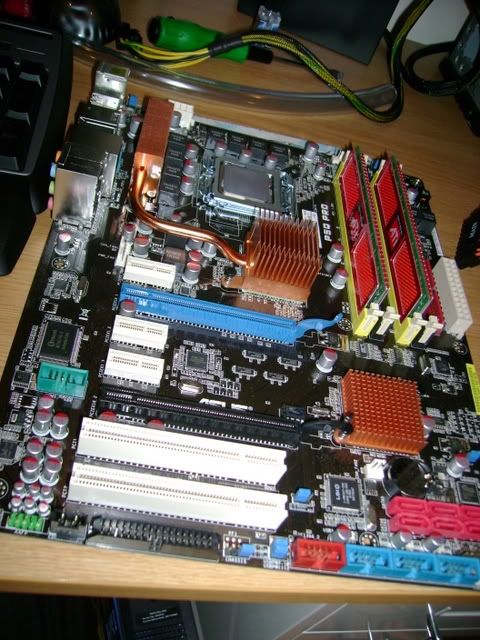
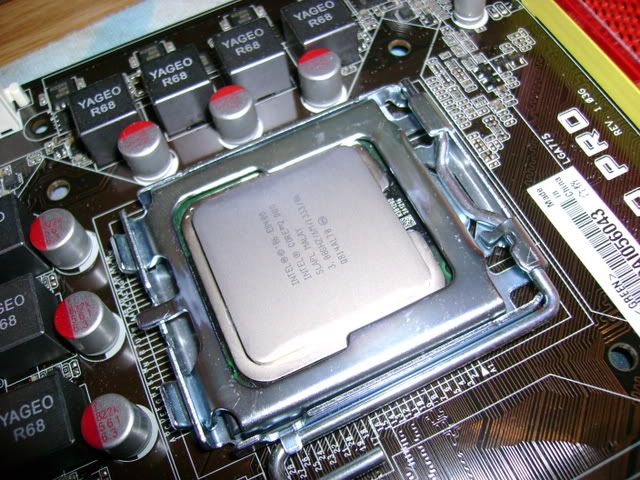
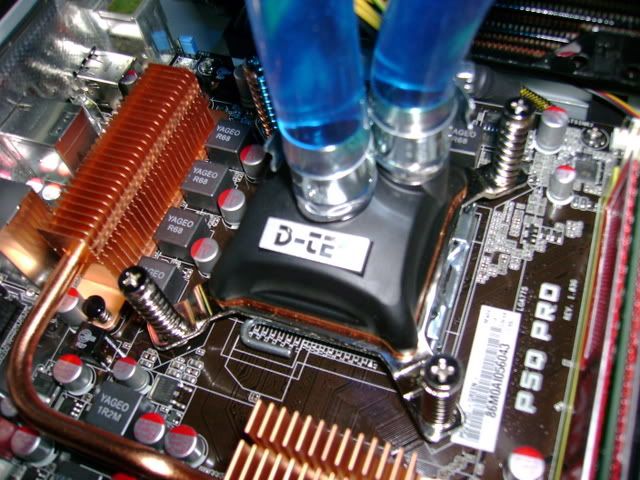
Asus P5Q P45 Pro mobo
Intel E8400 @ 3.6GHz 24/7
OCZ 2GB ATI Heatspreader RAM DDR800 4-4-4-12
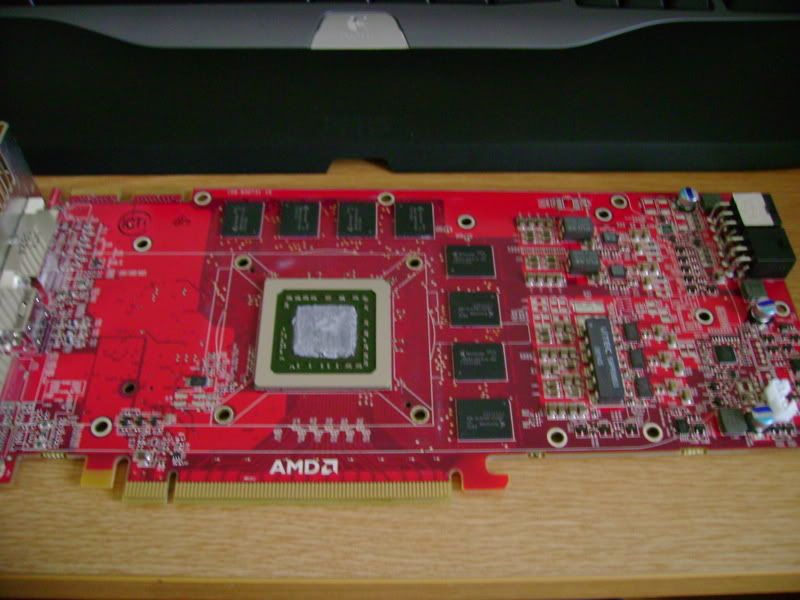
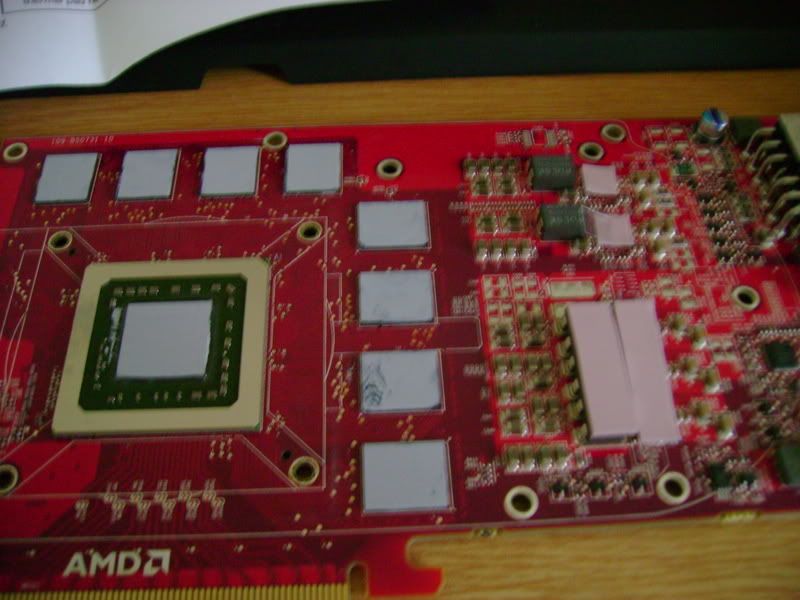
Sapphire HD4870 512MB GDDR5 Graphics card
OCZ GameXstream 600w PSU
Western Digital 750GB SATAII HD
Logitech G15 Keyboard with orange backlighting
Logitech MX518 (4 year old mouse that has travelled the world with me!)
Right, so in my last rig, I had the pre-built CM-690 L-shaped window panel, this came with the chassis when I bought it, so I was pretty lazy and didn't change anything. I also had a Coolermaster Aquagate watercooling unit that fitted in 2 x optical drive bays, which had the pump, radiator, and everything incorporated, cooling my E8200 on the old rig. Temps were not much better than the Zalman 9700LED that I used to have on it, and it was quite messy. I also didn't enjoy the tiny tubing that this unit used, hence my custom kit choice with 1/2" tubing for this project.
I have never built myself a custom watercooling system, so this will be my first. It will also be the first batch of modding I have done in about 10 years! (The last mod I did was on an AMD K6-2 333MHz in an AT case many, many years ago)! Barring some odd LED, and minor case mods here and there.
So for this project, I would like to build a custom kit for my CM-690, cooling the CPU, and after it is all done, I will be adding a waterblock for my HD 4870 (No funds for that right now - 60 quid is a bit much after ordering all this!) I will then also be cutting my CM-690 case panel, and adding an AC Ryan 480x480mm clear plexi window, with C-strip edges, installing AC Ryan White cold cathode lighting, and cleaning up the messy cables, sleeving un-sleeved cables, and heatshrinking them. So to sum up:
- Install Custom watercooling to cool CPU & GPU in loop
- Cut, and install window mod in CM-690 chassis
- Install white cathode lighting, and tidy up cabling
After reading through various forums and posts etc... I have concluded that the best place to buy the kit from is Specialtech. I carefully (I hope) decided on exactly what I would need, and chose based on their stock levels being "in stock" for each item. (I absolutely hate waiting for orders!) I am new to the UK, so I hope I made a good choice here!
[hopeful plead]PS - If anyone from Specialtech reads this, please consider sponsoring me an EK 4870 waterblock for my build! [/hopefull plead]
So here is what I have just ordered, and paid for from Specialtech.
- Products ordered:
- AC Ryan AcrylPanel 3mm - 480x480mm Clear
- AC Ryan Morf SE PSU Modding Kit - Black (MF2209)
Quantity: 1
- AC Ryan UV Black Complete Cable Sleeve Kit (FK3800)
Quantity: 1
- AC Ryan TWIN30 CCFL Light - 2 x 30cm White / White (CC3053)
Quantity: 1- Black Ice® GTS-Lite 360 Black
Quantity: 1- Scythe Kaze Jyu SLIM 120mm Case/HDD Fan, 2000RPM (12mm height)
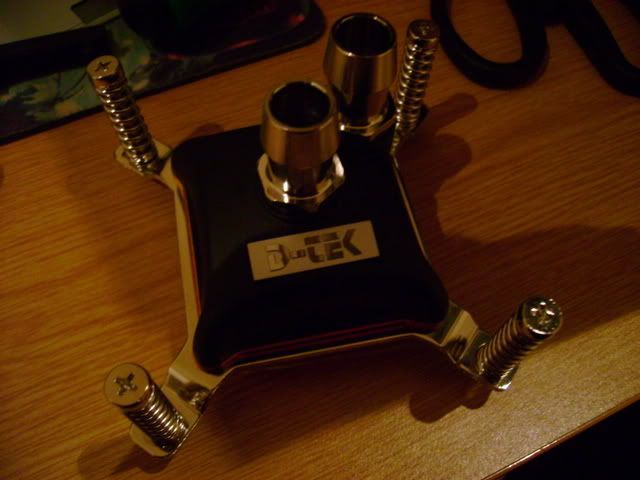
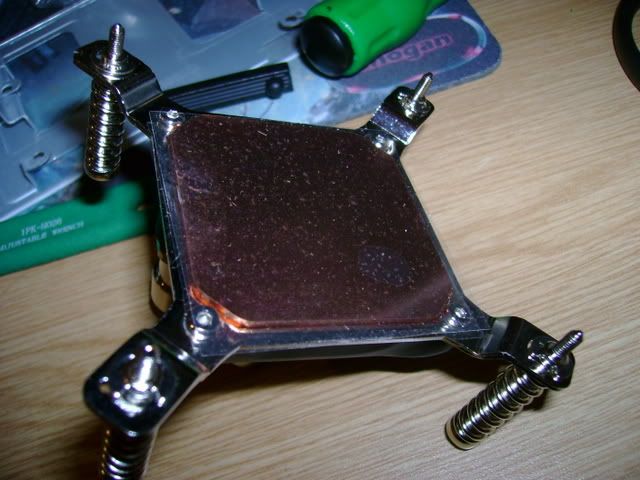
Quantity: 2- D-Tek FuZion V2 CPU Block
Quantity: 1
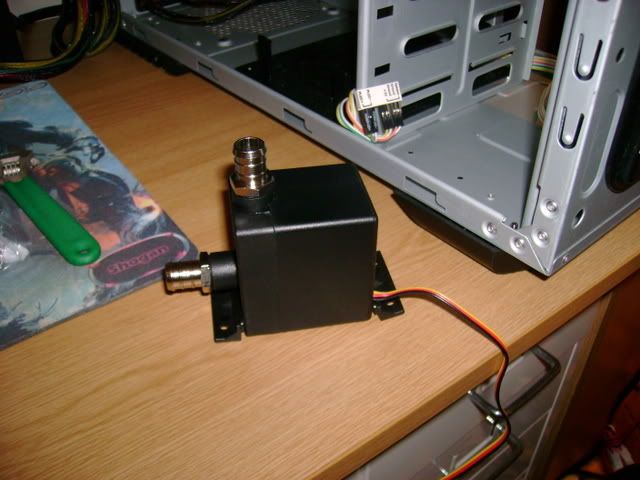
Selected options: Fittings: 1/2" Barb- D-TEK DB-1 Compact 12v Pump
Quantity: 1- EK Multioption RES 100 Rev.2
Quantity: 1
Selected options: Fittings: 1/2" Barb- Feser One UV Blue / Blue Coolant 1Lt
Quantity: 1- ClearFlex 60 1/2" tubing
Quantity: 2- Zinc Plated Worm Drive Hose Clip for 1/2" Tubing
Quantity: 10- 1/4" EK High Flow Barb for 1/2" Tubing
Quantity: 2- Zalman ZM-STG1 Super Thermal Grease, 3.5 g
Quantity: 1- Alphacool Plastic Funnel
Quantity: 1- Alphacool Spacers for Black Ice Radiators (14539)
Quantity: 1- G1/4 plug with O-ring
Quantity: 1
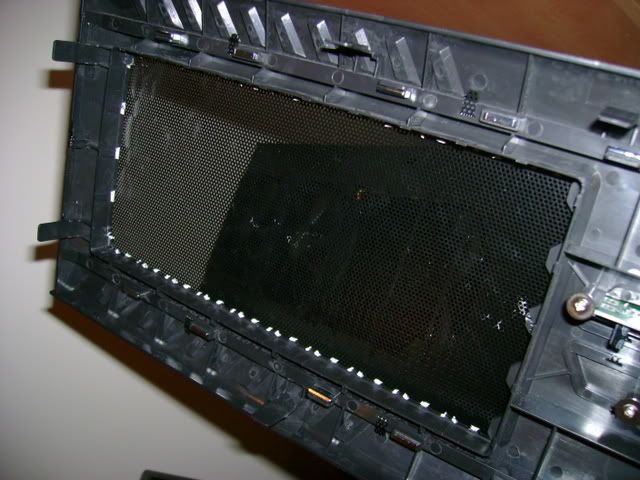
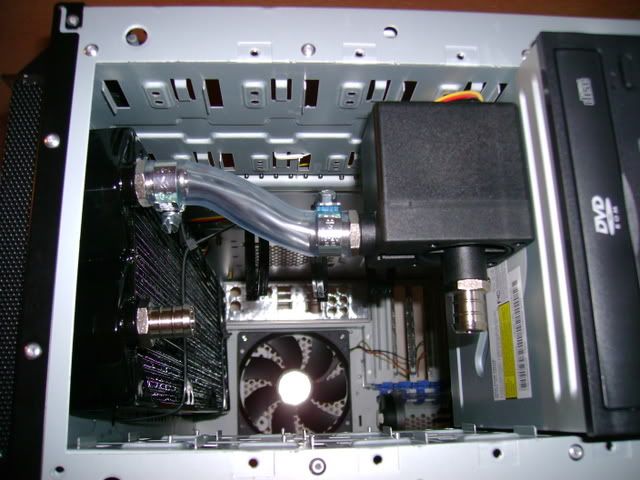
I will be attempting to fit the radiator at the top of the chassis, on the inside, but have ordered some spacers, just for testing purposes if I need to mount the radiator somewhere before cutting the chassis. The Scythe 120mm fans were specifically selected for their low profile. 12mm in height is perfect for this case, as from what I have read, there is not much room in the top of the mesh. These should fit perfectly!
At first the loop will only be cooling the CPU (Until I can get my hands on a waterblock for the 4870). I have the BlackIce GTS360 lite radiator, EK 100 resevoir, pump, and Fuzion rev.2 waterblock that will be in use at first.
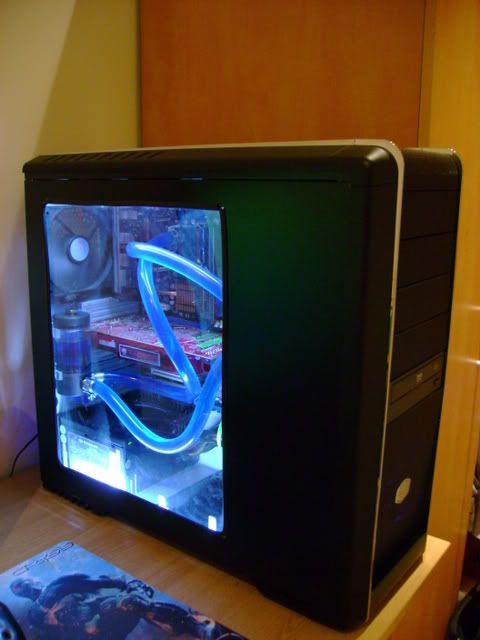
Now I need some suggestions as to what loop I should run, and placements of my other components - i.e. res, pump, and tubing routing. I'd like a nice clean look, with a good view of the resevoir from the side window.
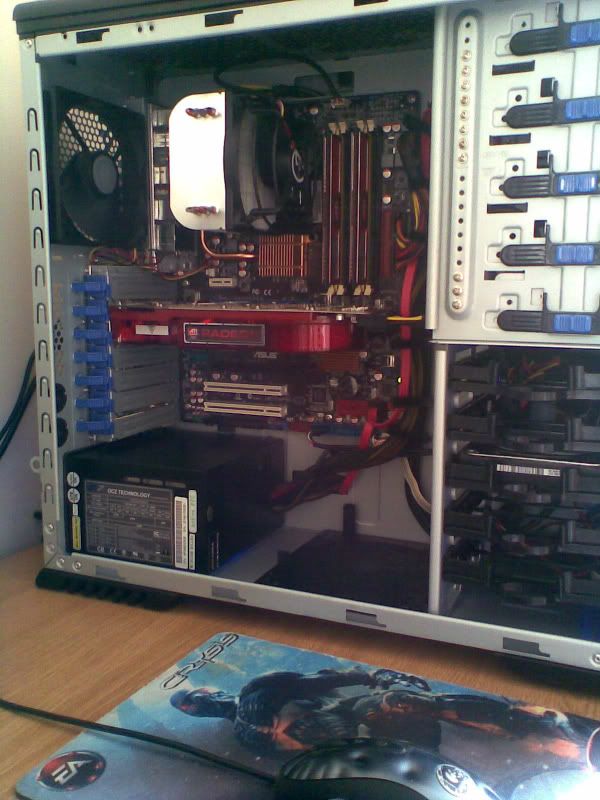
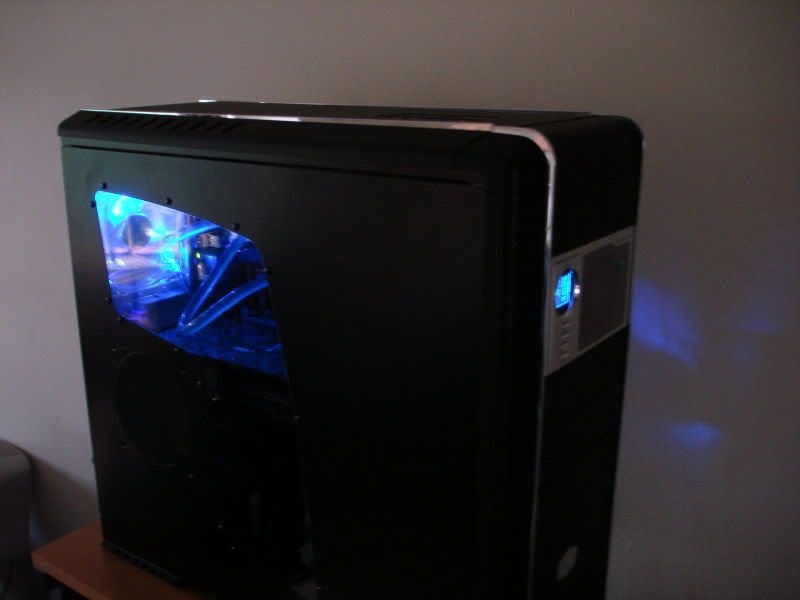
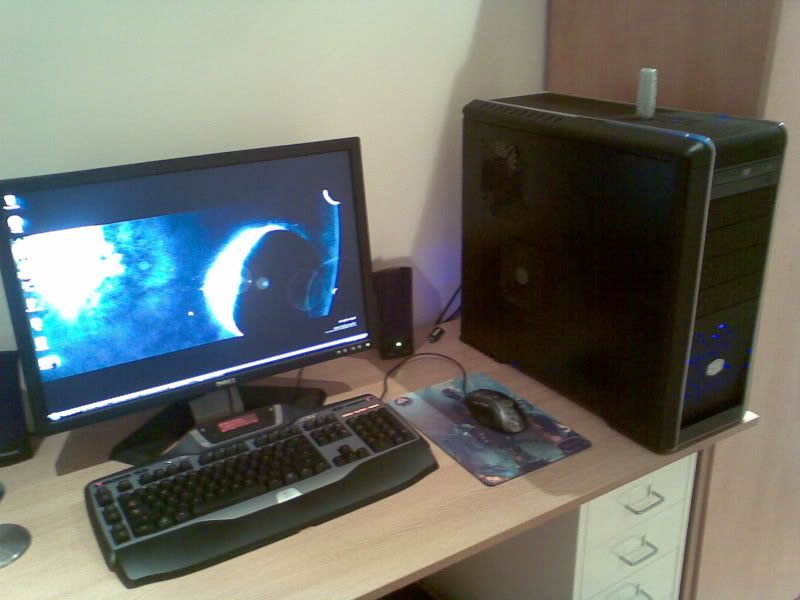
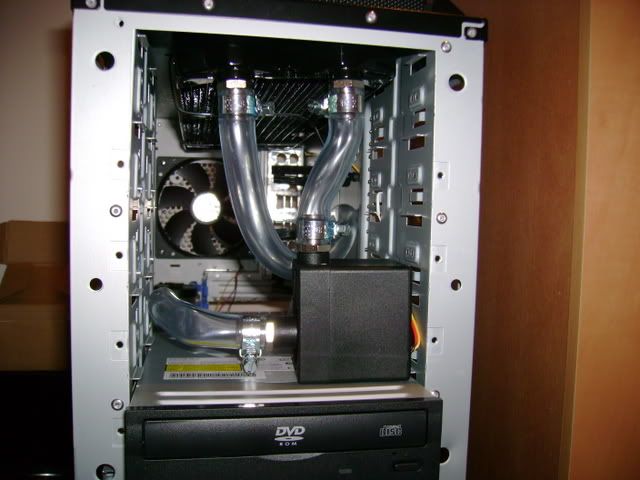
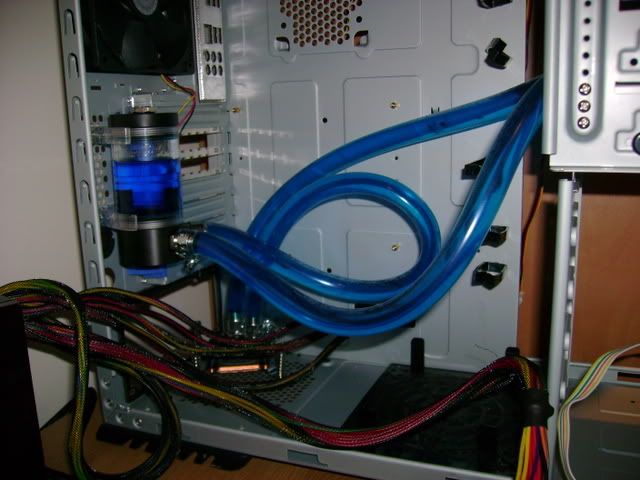
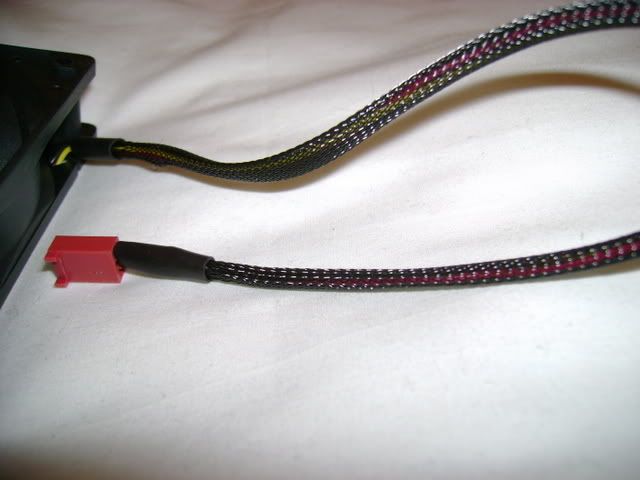
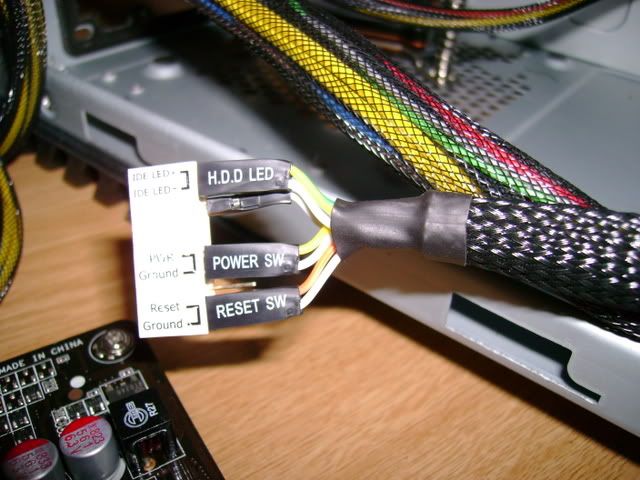
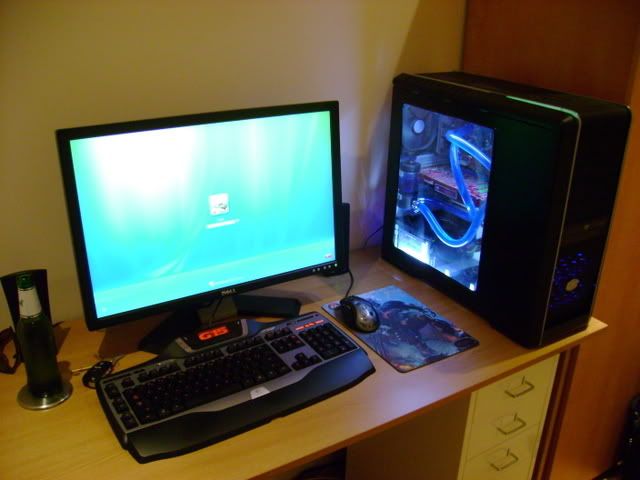
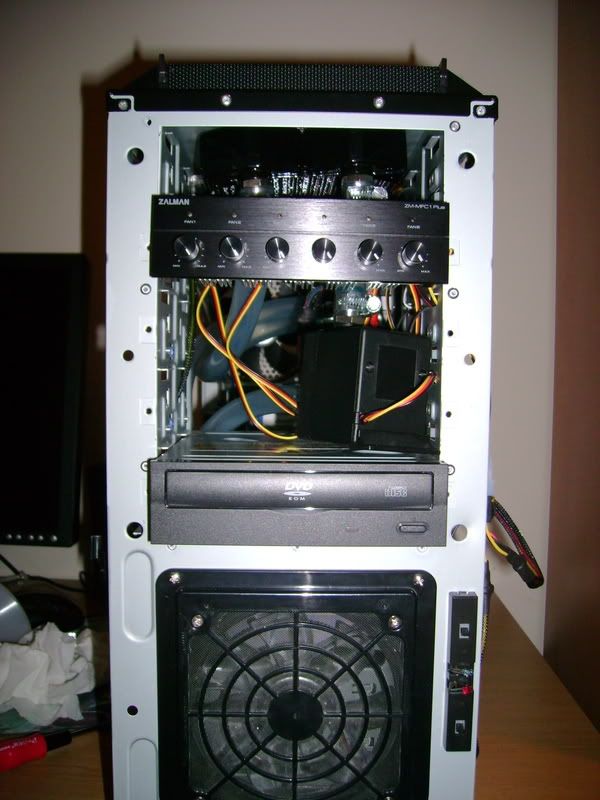
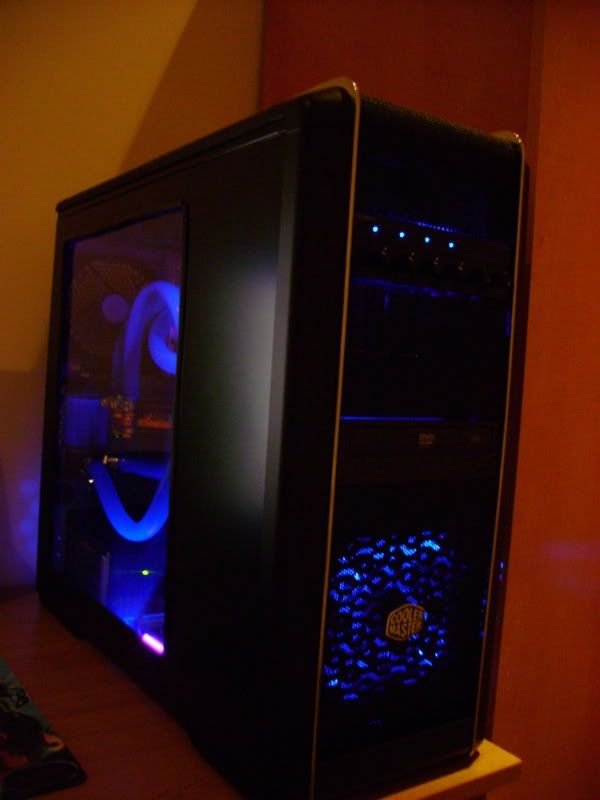
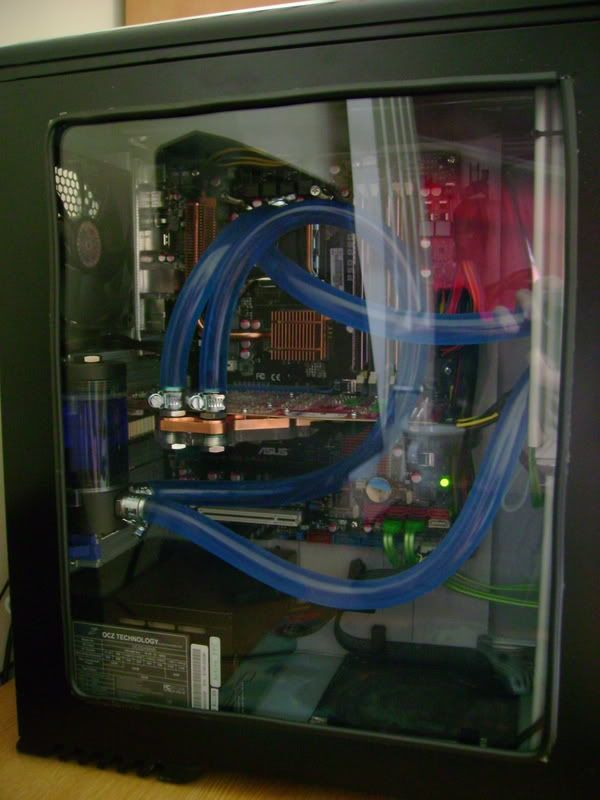
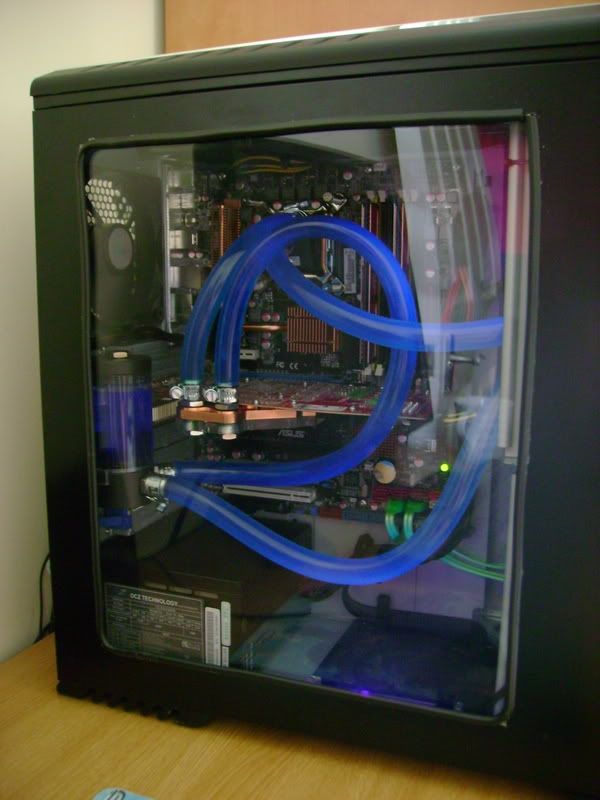
Here are some pics of the case and PC as is, before starting. (Excuse the bad quality - using my crappy Nokia 2.0 megapixel phone cam). More pics and progress will be added as I receive the parts, and begin work! For now, lets just discuss possible options / provide comments / feedback etc...) Also if you feel I left out anything on my order, let me know, so I can update the order before Monday
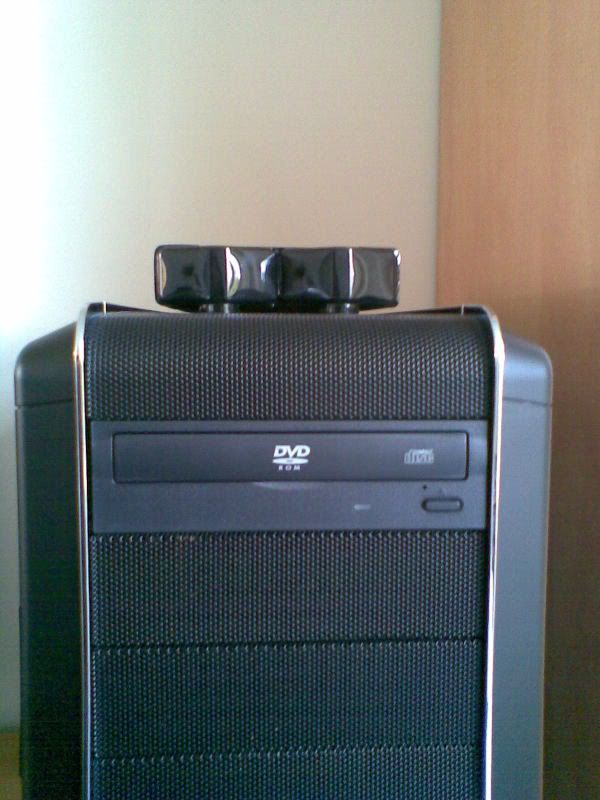
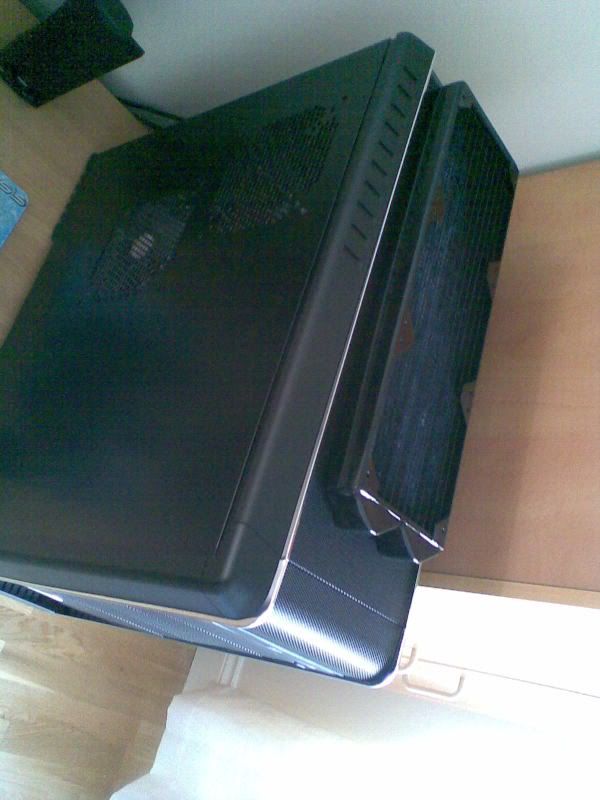
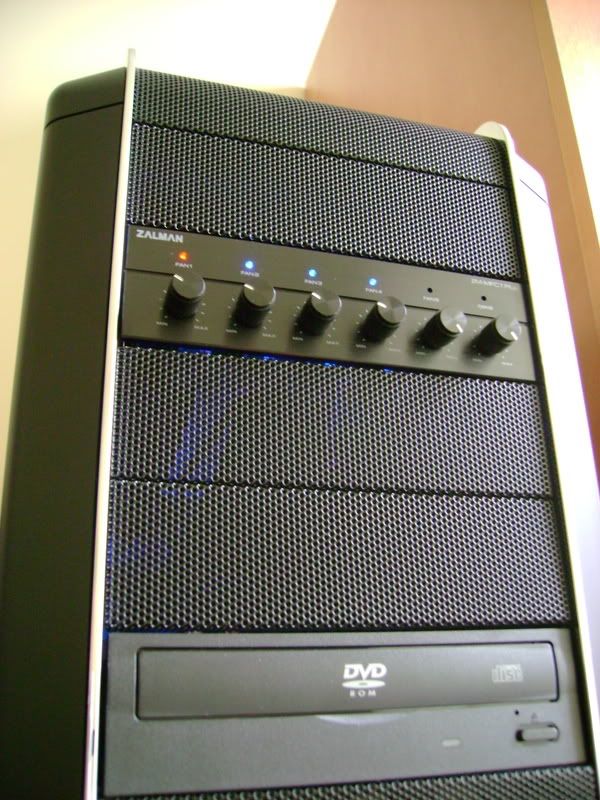
The original CM-690 -
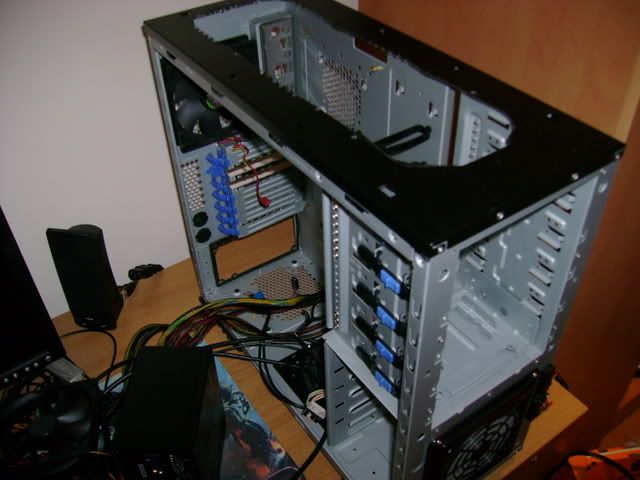
Empty chassis before new build:
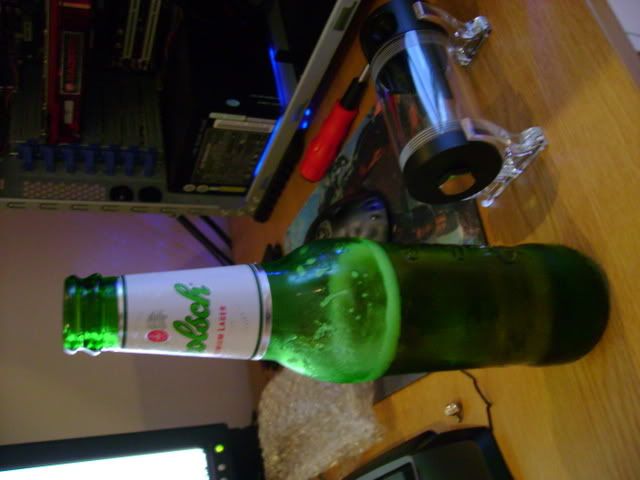
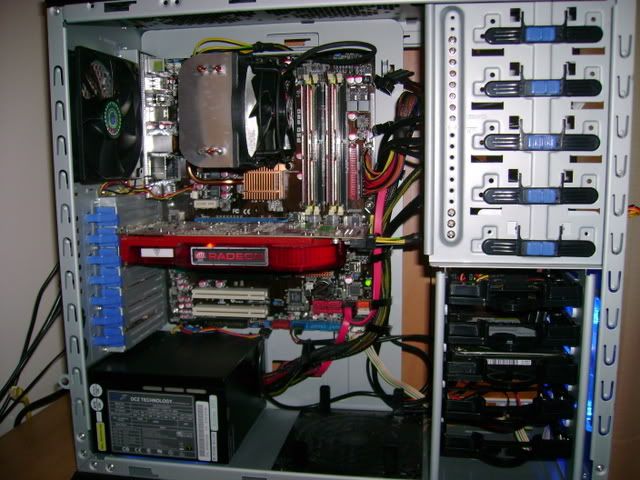
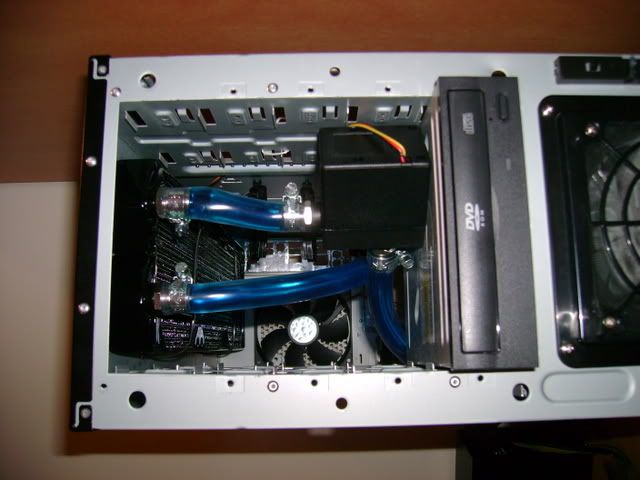
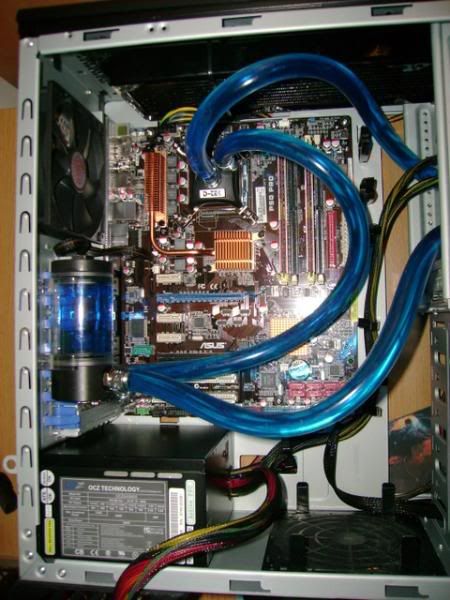
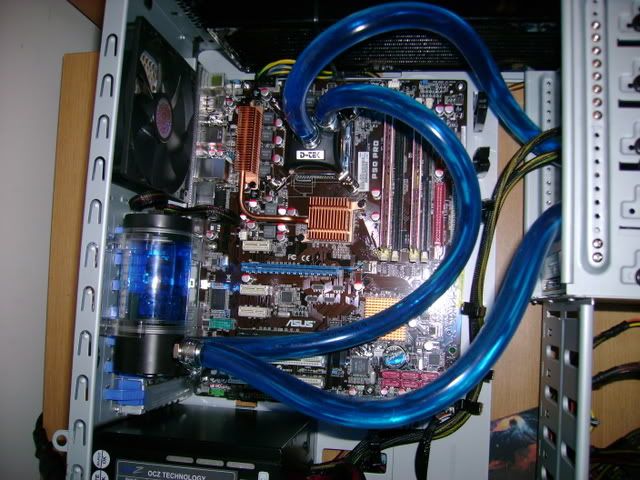
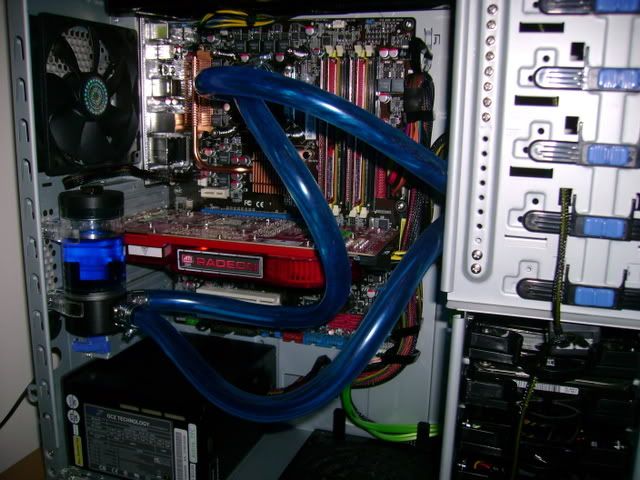
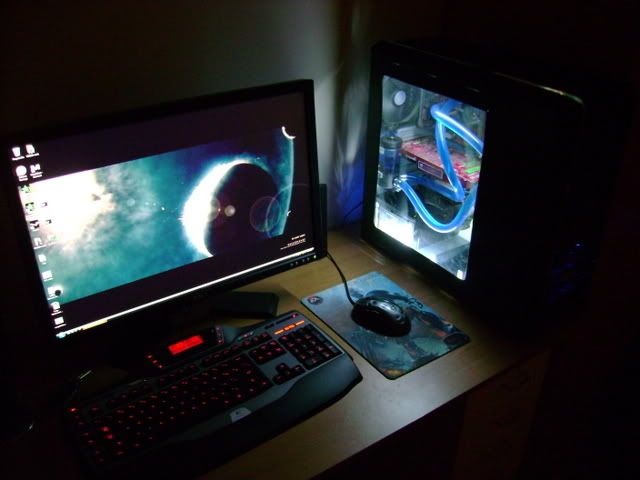
PC setup:
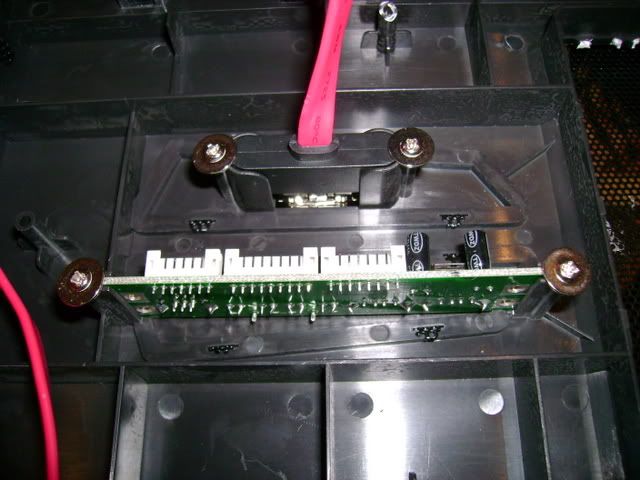
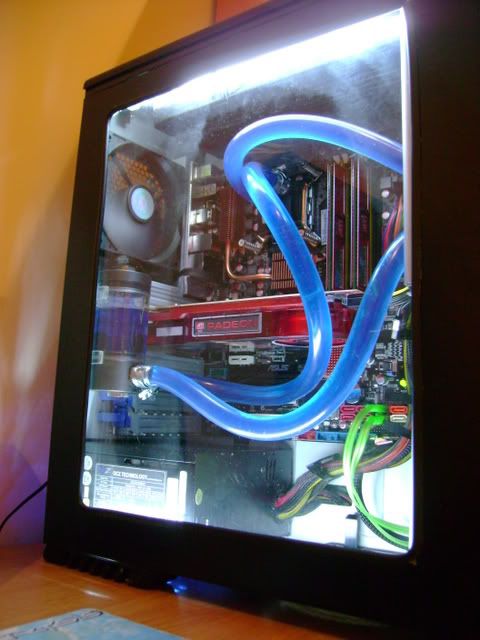
Inside view:


 Reply With Quote
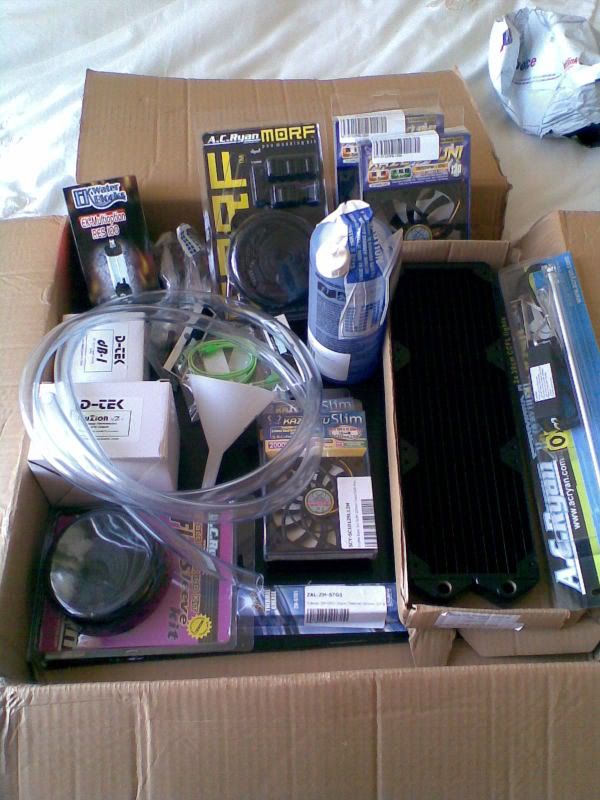


 I'll just buy another piece and redo it at a later stage though.
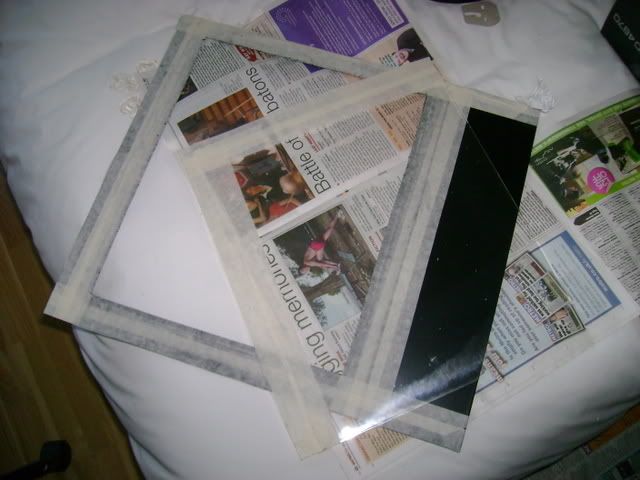


Bookmarks