


This thread is intended to be a knowledge base and save people from hours of searching through the original thread on the Maximus Formula! Thank you to L.oco for starting the thread, I only hope that in time this one can be as informative and helpful!
Board Revisions
There are 2 known revisions of the Maximus Formula, the Special Edition, or SE, is the 1.02g revision, and the Non-SE version is the 1.03g revision. This is the only known difference, just a revision change to signify the difference in the package.
Asus Master FTP
ftp://ftp.asus.com/pub/ASUS/mb/socke...ximus_Formula/
Bios Versions
LATEST BIOS REVISION - MF1102
Most of the released Bios' for the Maximus Formula...
MF0401.zip
MF0504.zip
MF0505.zip
MF0602.zip
MF0701.zip
MF0702.rar
MF0802.zip
MF0901.zip
MF0902.zip
MF0903.zip
MF0907.zip
MF1003.zip
MF1004.zip
MF1006.zip
MF1102.rar
MF1201.rar
Direct Link to Maximus Formula Drivers / Software / Manuals
http://support.asus.com/download/download.aspx?SLanguage=en-us&model=Maximus%20Formula
Latest OCCT for Stabity Testing
http://www.ocbase.com/download.php?fileext=beta
AsusUpdate that allows downgrading from the 09xx series
Confirmed to work on both XP x86 and XP x64 by Nuckin_Futs.
Please ONLY flash using Asus Update with STOCK CLOCKS and settings, flashing with an overclock is not advised and will lead to a bricked board when Asus Update inevitably crashes.
The prefered method of flashing is detailed below in the MAXIMUS to RAMPAGE section. Using AFUDOS is safer and faster than Asus Update.
AsusUpdate v6
Select 'Options', tick the downgrade box and the flash with bios of choice.
Bios settings and what they do
Page 1
Page 2
Page 3
Bios Straps and Getting Them to Work!!!
400 strap set to enabled relax level 0
333 strap set to disable relax level 0
You may need to set Dram Static to Auto
If you get the DET RAM hang its usally just a matter of finding the right Trans Booster setting
No need to clear cmos and certainly no need to power down and wait the bios.
Bios Setup Template - Please use this when Listing Settings used.
Code:Extreme Tweaker Ai Overclock Tuner : Manual OC From CPU Level Up : AUTO CPU Ratio Control : Manual - Ratio CMOS Setting : FSB Frequency : FSB Strap to North Bridge : PCI-E Frequency: DRAM Frequency: DDR2- DRAM Command Rate : DRAM Timing Control: Manual CAS# Latency : RAS# to CAS# Delay : RAS# Precharge : RAS# ActivateTime : RAS# to RAS# Delay : Row Refresh Cycle Time : Write Recovery Time : Read to Precharge Time : Read to Write Delay (S/D) : Write to Read Delay (S) : Write to Read Delay (D) : Read to Read Delay (S) : Read to Read Delay (D) : Write to Write Delay (S) : Write to Write Delay (D) : DRAM Static Read Control: Ai Clock Twister : Transaction Booster : CPU Voltage : CPU PLL Voltage : North Bridge Voltage : DRAM Voltage : FSB Termination Voltage : South Bridge Voltage : Loadline Calibration : CPU GTL Reference : North Bridge GTL Reference : DDR2 Channel A REF Voltage : DDR2 Channel B REF Voltage : DDR2 Controller REF Voltage : SB 1.5V Voltage : NB LED Selection : NB Volt SB LED Selection : SB Volt CPU LED Selection : CPU VOlt Voltiminder LED : CPU Spread Spectrum : Disabled PCIE Spread Spectrum : Disabled Advanced CPU Configuration CPU Ratio Control : Manual - Ratio CMOS Setting : C1E Suppport : Disabled CPU TM Function : Disabled Vanderpool Technology : Disabled Execute Disable Bit : Disabled Max CPUID Value Limit : Disabled USB Configuration USB Functions: Enabled Legacy USB Support : Disabled
vDroop Mod / vCore Mod / EPU Mod
Use a HB / 3B / 4B pencil, 2 or 3 strokes only.
Bios to Actual vDroop listing
This is the Anandtech setup for 450MHz FSB and 8x Mulitplier. It's a very good starting point for anyone attempting to overclock the board.
These settings are for 450MHz with a Quad Core, when using a Dual Core these same settings should be good for at least 480MHz, if not 500MHz (ram permitting).
450FSB Quad-Core BIOS Settings
CPU Feature
Ai Overclock Tuner [Manual]
OC From CPU Level Up [Auto]
CPU Ratio Control [Manual]
Ratio CMOS Setting: [8]
FSB Frequency [450]
FSB Strap to North Bridge [400MHz] or [Auto]
PCIE Frequency [110]
DRAM Settings
DRAM Frequency [DDR2-1199MHZ] or [800MHz] or [Auto]
DRAM Command Rate [2T]
DRAM Timing Control [Manual]
CAS# Latency [5]
RAS# to CAS Delay [5]
RAS# Precharge [5]
RAS# Active Time [12]
RAS# To Ras# Delay [3]
Row Refresh Cycle Time [42]
Write Recovery Time [6]
Read To Precharge Time [3]
Read To Write Delay(S/D) [8]
Write To Read Delay(S) [3]
Write To Read Delay(D) [5]
Read To Read Delay(S) [4]
Read To Read Delay(D) [6]
Write To Write Delay(S) [4]
Write To Write Delay(D) [6]
DRAM Static Read Control [Disabled]
Ai Clock Twister [Strong]
Transaction Booster [Enabled]
Boost Level [0]
Voltage Settings
CPU Voltage [Whatever your CPU needs for 3.6GHz]
CPU PLL Voltage [Auto]
North Bridge Voltage [1.61v]
DRAM Voltage [2.16v]
FSB Termination Voltage [1.54v]
South Bridge Voltage [Auto]
Loadline Calibration [Enabled]
CPU GTL Reference [0.63x]
North Bridge GTL Reference [0.67x]
DDR2 Channel A REF Voltage [Auto]
DDR2 Channel B REF Voltage [Auto]
DDR2 Controller REF Voltage [DDR2_REF]
SB 1.5V Voltage [Auto]
Bios Strap Settings, as tested by Spyrus
User Settings
Here are several possible configs that could work for you, posted by other Maximus Formula users...
Quad Core
400x9 from Maglin
400x9 from giorgos th.
450x8 from Renegade5399
450x8 from cadaveca
450x8 from Grnfinger
450x8 from ChaosMinionX
450x8 from Zucker2k
425x8 from Grnfinger
400MHz FSB from pphx459
400MHz FSB from arfett (12 Hours Prime Small FFT Stable)
Dual Core
450x9 from Renegade5399
500x7 from Nuckin_Futs
500x7 from eSp!s0
450x8 (Ram @ 1200MHz) from eSp!s0
All have reported varying degrees of success with their specific hardware.
Maximus / P5E to Rampage Conversion.
All credit goes to The Stilt for finding the initial bios mod! And then secondly to the community for their continued support for this bios mod. This thread is intended to just be a tidy version of the work already done.
This bios mod can be performed on both the Asus P5E and the Asus Maximus Formula to turn them part way into an Asus Rampage Formula.
The Guide
1: Download the HP Bootable USB Utility from here:
2: Download the Boot Files from here:
3: Download the bios of your choice:
4: Download AFUDOS Engineering Version here:
5: Run the HP Bootable USB Utility and tick the "Create a DOS Startup Disk" option. Now navigate to the Boot Files (extract them first) and select the Folder you extracted them to.
6: Click "Start" within the HP Bootable USB Utility and it will make your USB Stick bootable.
7: Extract the AFUDOS of your choice (I personally used v2.29ES) to the USB Stick along with the bios you wish to flash and a backup bios for your board (located on the Asus Support site) so you can flash back if the need arises.
8: Reboot your system and press F8 when the splash screen appears to select the boot menu. Once the boot menu has loaded navigate to the USB Stick and hit Enter.
9: Once the DOS Prompt is ready, type the following to flash to the Rampage Bios (Example uses Bios 0219):
To flash any other bios, or even back to a Maximus / P5E bios just use the following:Code:AFUDOS /iRF0219.rom /pbnc /n
Please note the "/i" that comes before the bios filename, this is required for any flash with AFUDOS. And also please note the extension on the bios file in use, you'll need to use this too.Code:AFUDOS /i**INSERT*BIOS*FILENAME*HERE** /pbnc /n
This will erase, flash and verify the bios for you. Once it has completed you can reboot and be greeted by your new Rampage splash screen.
P5E Users Only
10: Disable the Second Gigabit LAN and the "OPT SENSOR" #1, #2 and #3 to stop the errors from appearing.
The Rampage Formula uses the same drivers as both the P5E and the Maximus Formula so you shouldn't need to reinstall anything but some users have experienced a better result with a fresh install of Windows after the flash.
For those of you suffering with voltage ripples, try this, as demostrated by Grnfinger
Originally Posted by Grnfinger

Some Quad overclocking advise for this board from Nuckin_Futs
For the Quads in general, leave memory and graphics out of it till you get the CPU/mobo where you like and stable in 1:1. So for best stability, leave strap and RAM frequency to Auto, Disable both speed spectrum settings, Disable RAM Booster an drelax to 0 (1~3 as needed for stability, when stable again), Set Ai Clock Twister to Auto or light (for now, avoid "strong", as it will add stress to memory system and become unstable, destracting OC test), Enable Static Read Control. Getting higher FSB out of a quad is gonna need some more PLL and FSBT thgen in my core 2 OC. Matbe PLL up to 1.712v and FSTB to 1.504v is a good refference point.
Try this and use overvolting as little as needed for low temps and stability.
Some thoughts offered by cadavega, on PLL voltage
I wanted to mention the importance of cpuPLL voltage. It is definately important to increase this votlage when going over 400mhz FSB with a quad. There is no specifics...each cpu will differ. For example, my B3 quad doesn't care for it...increase too much and stability was quickly lost. My G0, tho, was not stabe for 48hr prime without 1.8v...1.7v...33hrs...1.75v...38.5hrs...
Also of note is that my B3 did not need any FSB or PLL voltage change when FSB was increased(or it had negative effects), while my G0 ABSOLUTELY REQUIRED more vFSB and cpuPLL. b3 was happy with 1.2vFSB, 1.5v PLL, as a comparison.
Raid and the Maximus Formula
http://www.xtremesystems.org/forums/...d.php?t=166867
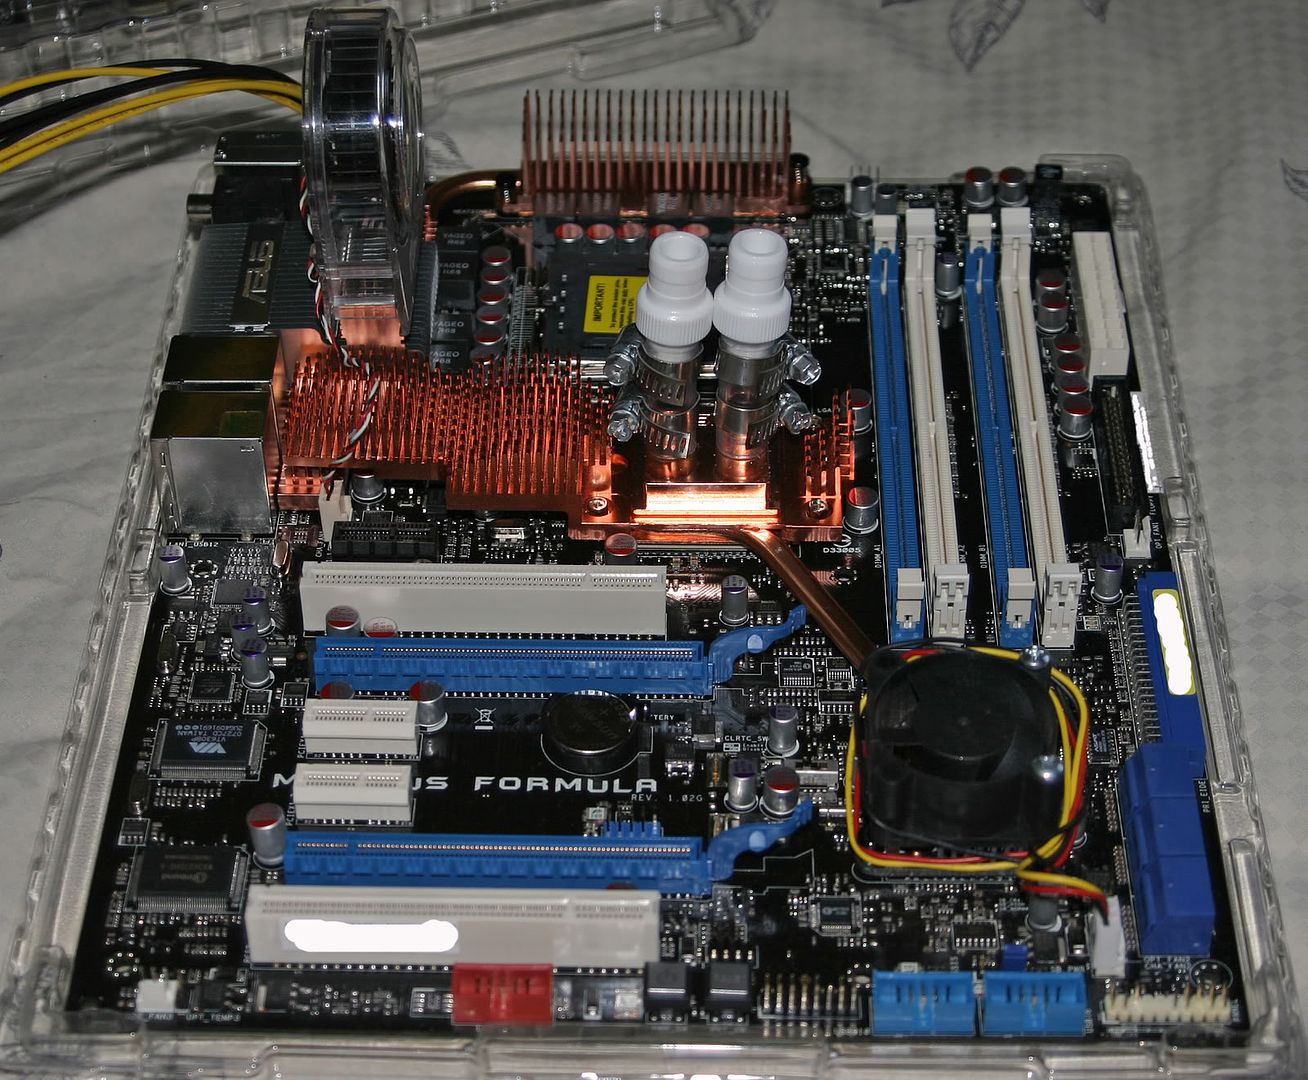
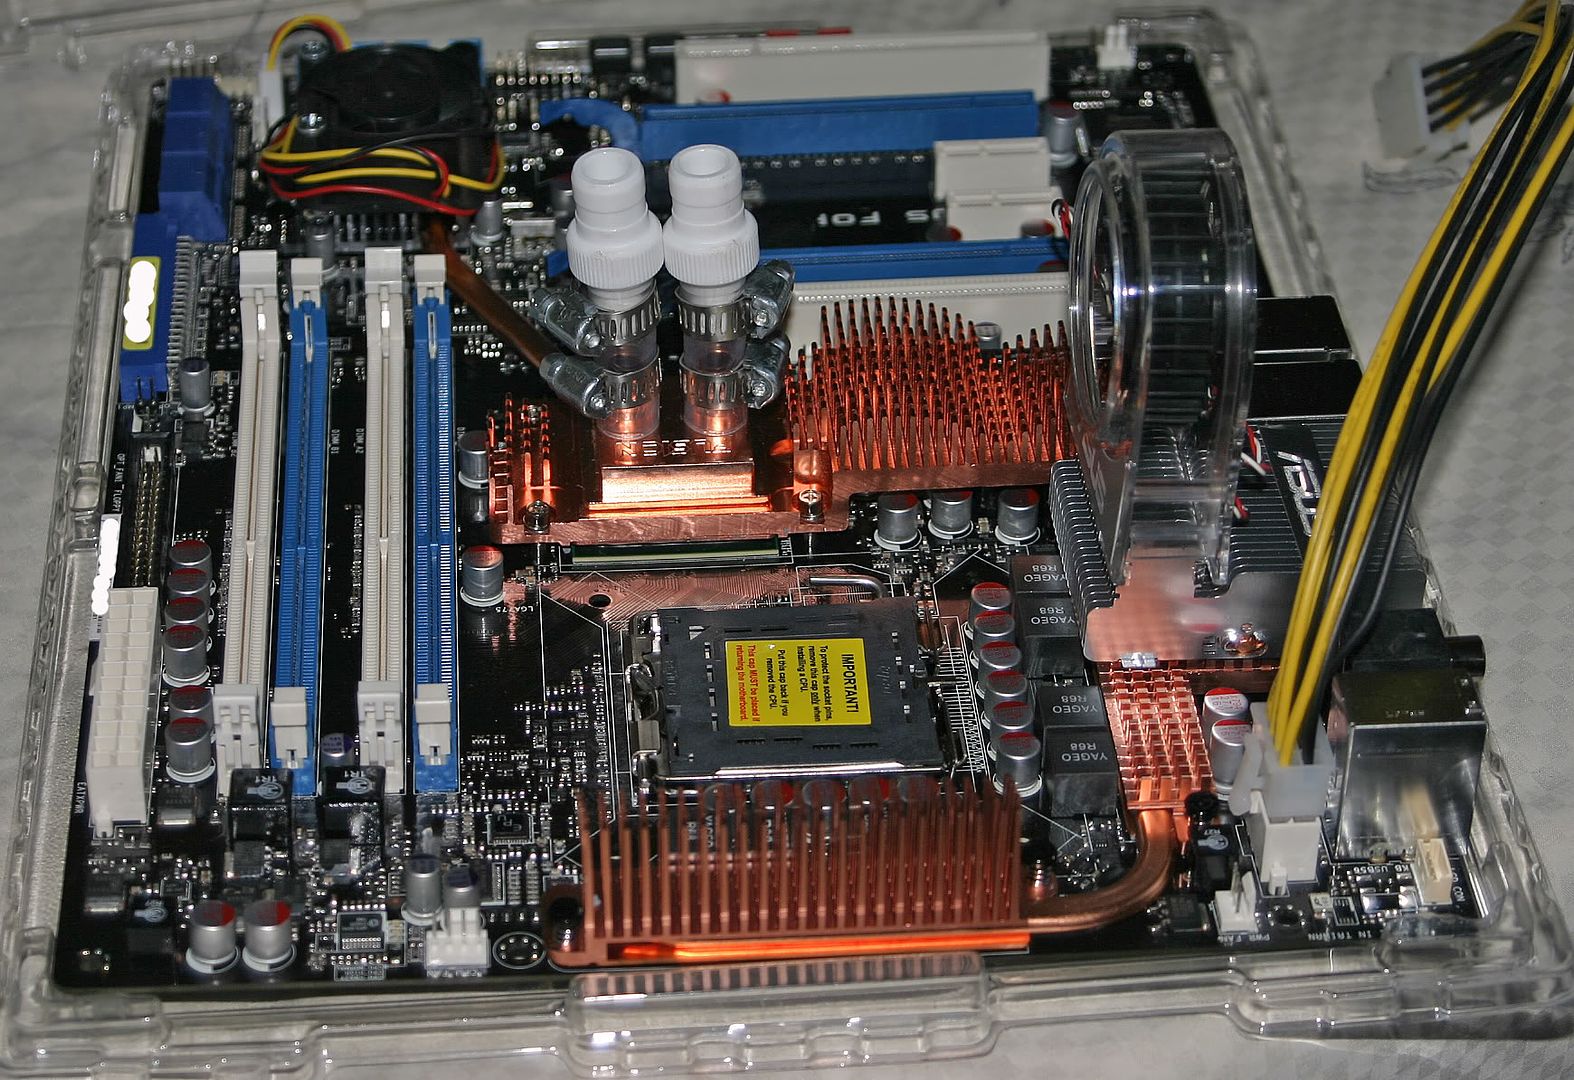
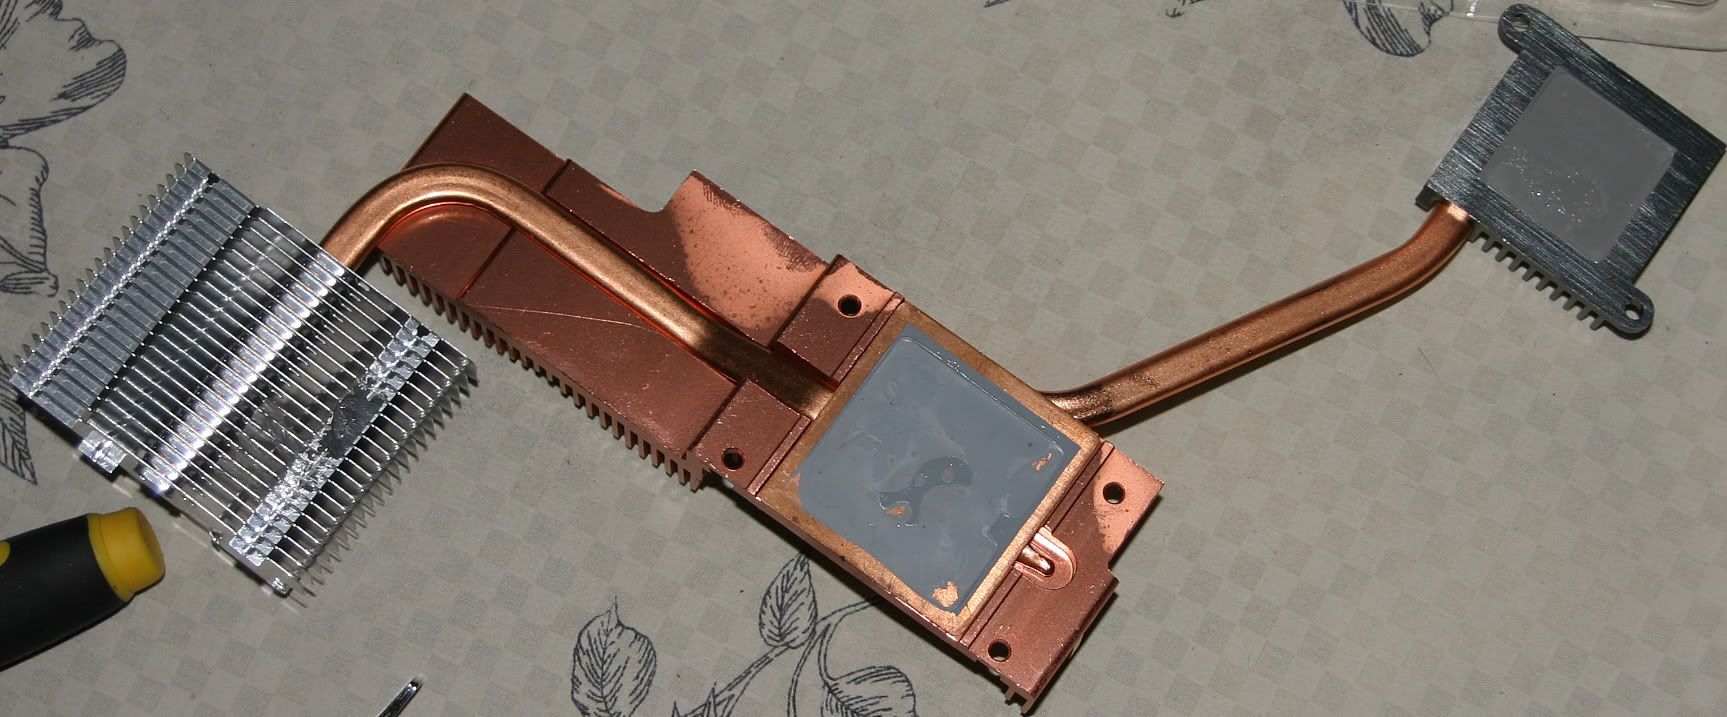
Water Cooling the Maximus Formula
http://www.xtremesystems.org/forums/...d.php?t=162085
http://www.xtremesystems.org/forums/...d.php?t=164610


 Reply With Quote


 Try out some of the settings listed above, for either 400 or 450MHz and see how it goes?


 Intel i9 7900X @ 4.6GHz @ 1.126v
  ASUS X299 TUF MARK 1
  32GB G.Skill DDR4 2800
  2x ZOTAC AMP EXTREME Core GTX1080Ti's in SLi
  Loop 1: Apogee GTZ CPU block, MCR360 rad w/ Scythe fans, Micro-res, Aquaextreme 50Z pump
  U2-UFO case


Bookmarks