


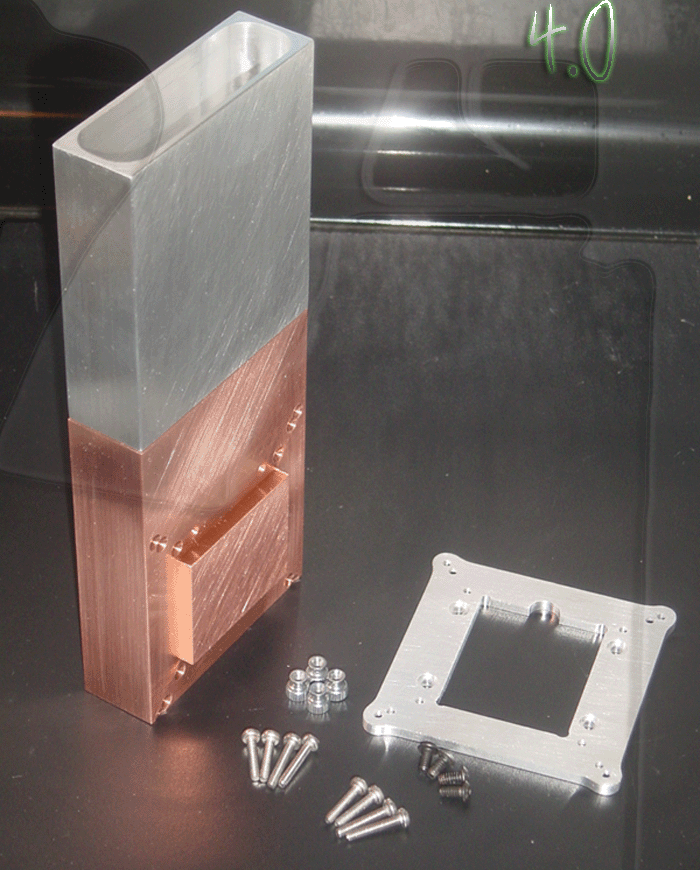
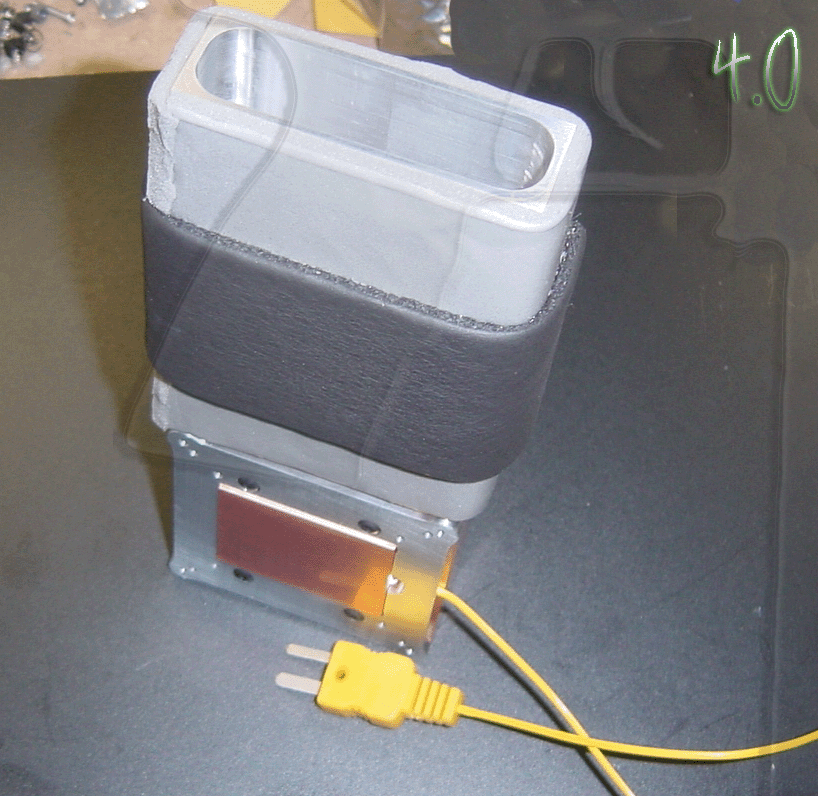
This one deserves a new thread as this container is a bit of a step in a diff direction for me. With the tek9 3.0 and the F1, it was all about getting the tuning right for the loads using diff combinations of mass/surface area respective to what I wanted each container to feel like with NO limits on size/ mass. My 3.0 gpu unit is an awesome unit and this unit is not meant to take it's place. It still very much has a place in my lineup, this new 4.0 Tek unit is my new UNVIERSAL SLIM.
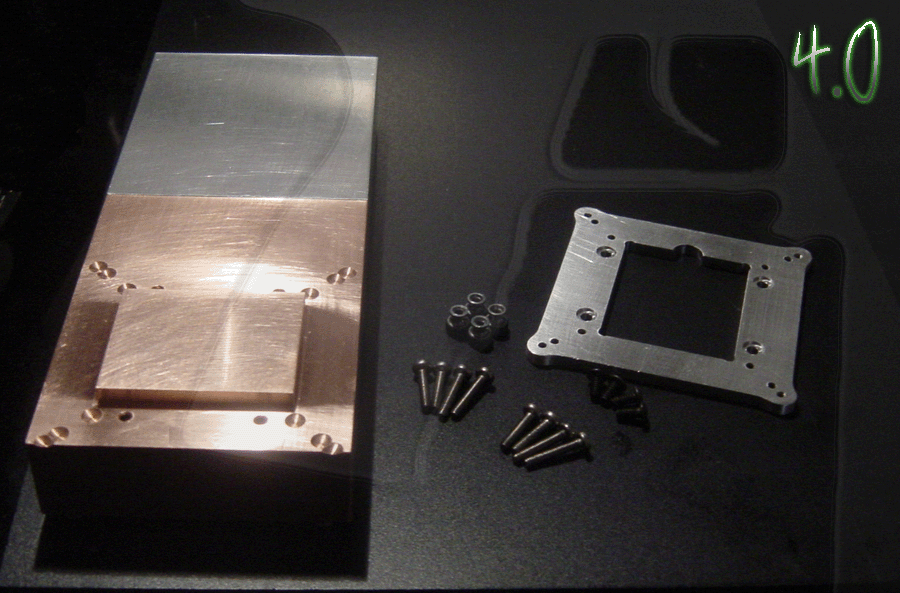
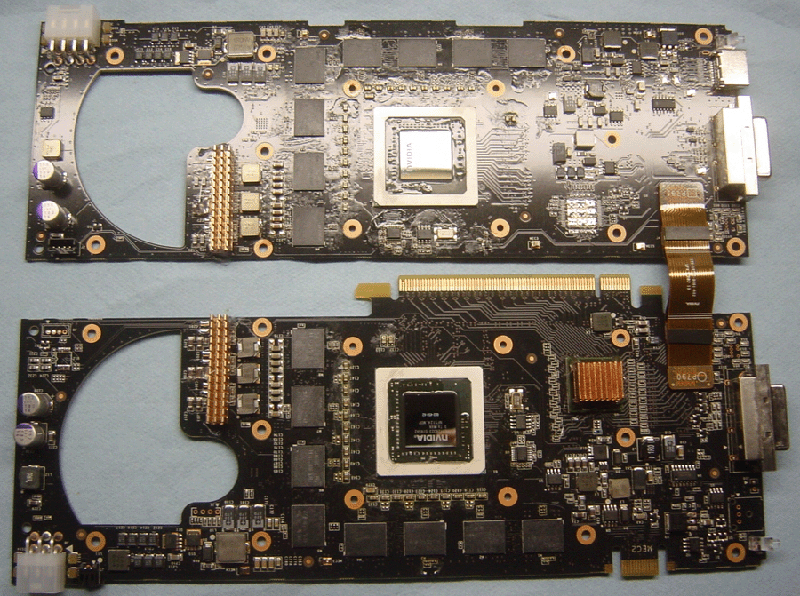
The challenge was to make a new slim gpu unit that not only fits the new 9800GX2 dual pcb card PERFECTLY, but also fit the 3870x2 AND be completely backwards compatible with every other popular high end benching gpu in the past few years. Who wants a unit that will only work on a specific dual core gpu and nothing else right?
What started off as a custom project for just one card has now evolved into the most versatile LN2 GPU unit I could have ever made.
PM for availability..I put together a quick mounting guide with some pics of the unit for the 9800GX2. Couldn't be easier
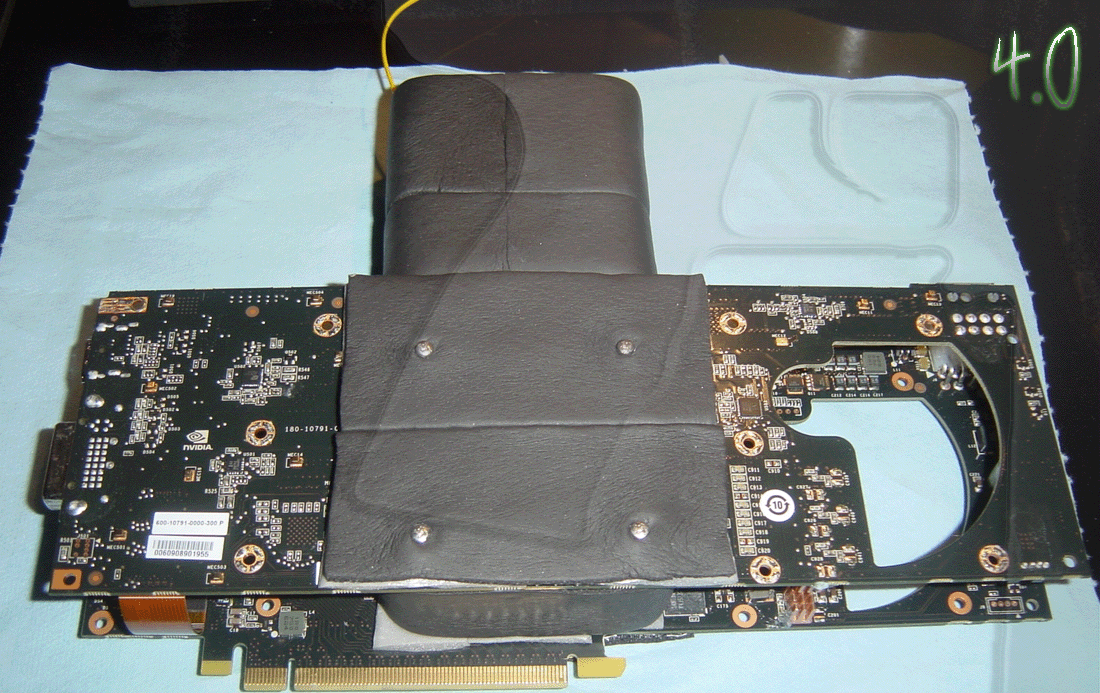
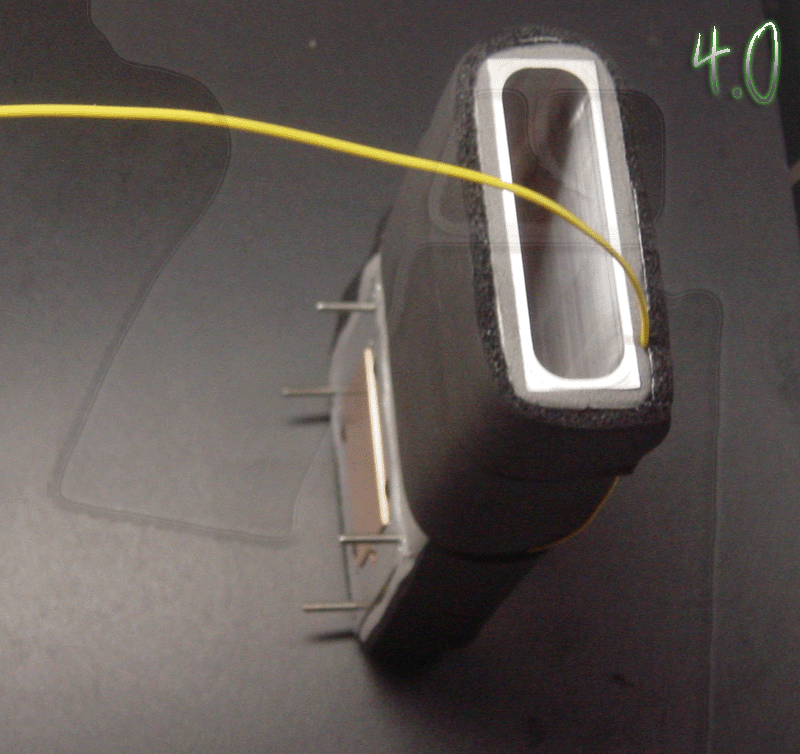
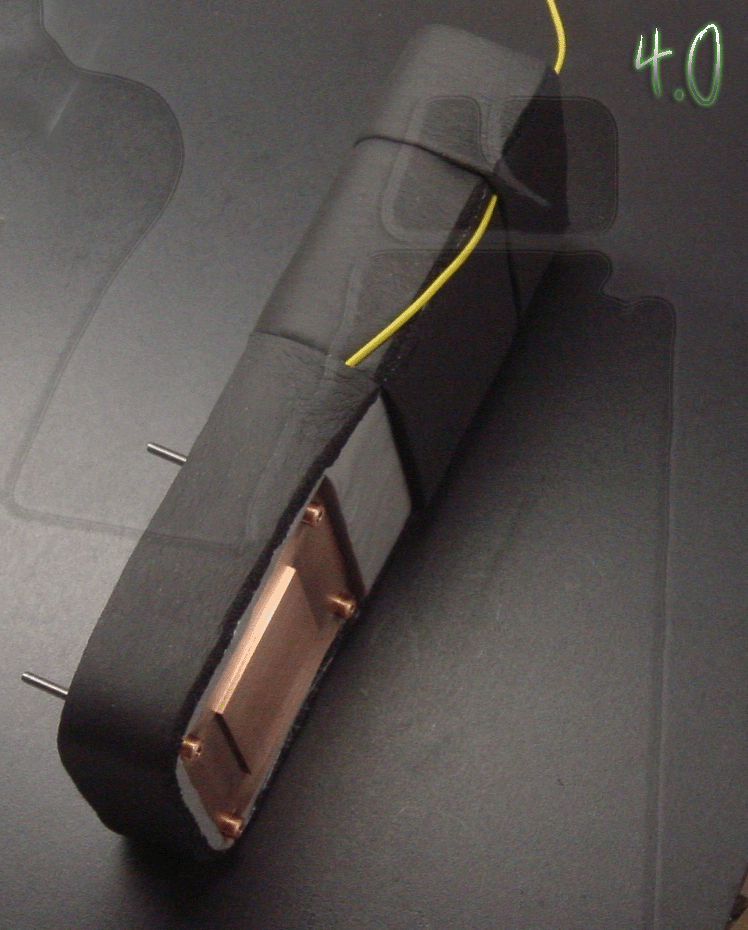
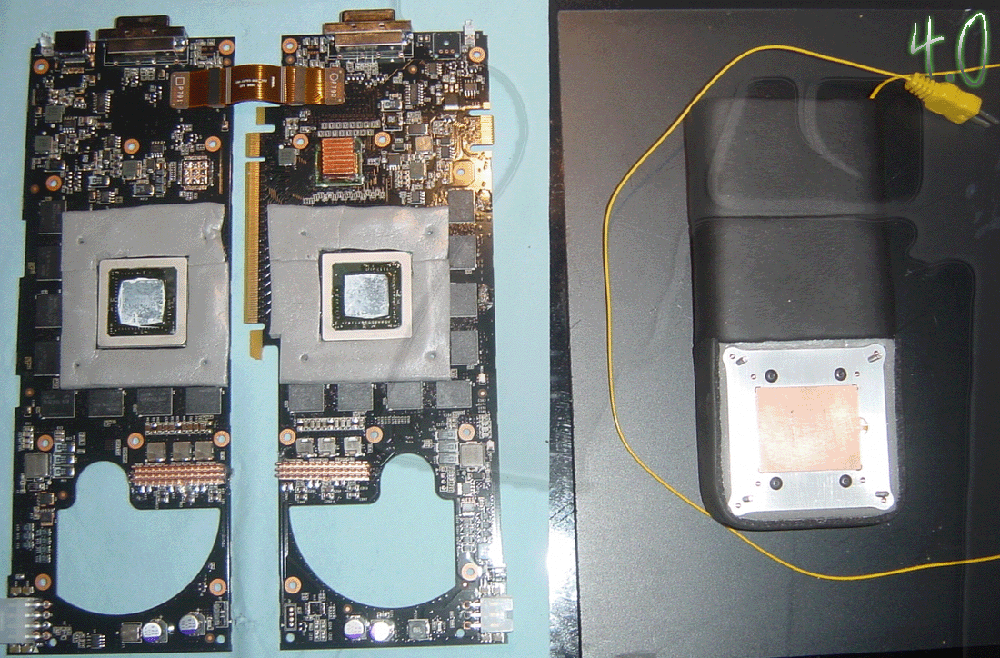
Start by insulating the unit after temp rpobe is installed. I use two layers of insulation tape. Frost king on the first and armaflex on the the second. This way the black foam doesnt trash the unit. The grey stuff comes off clean from the metal.
It was sized to fit two layers perfectly with no issues on gx2
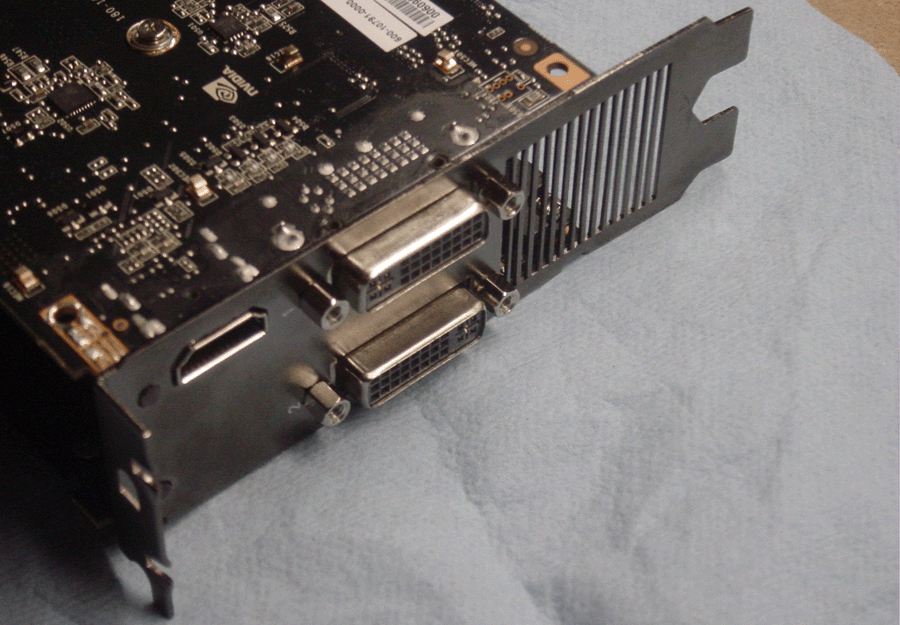
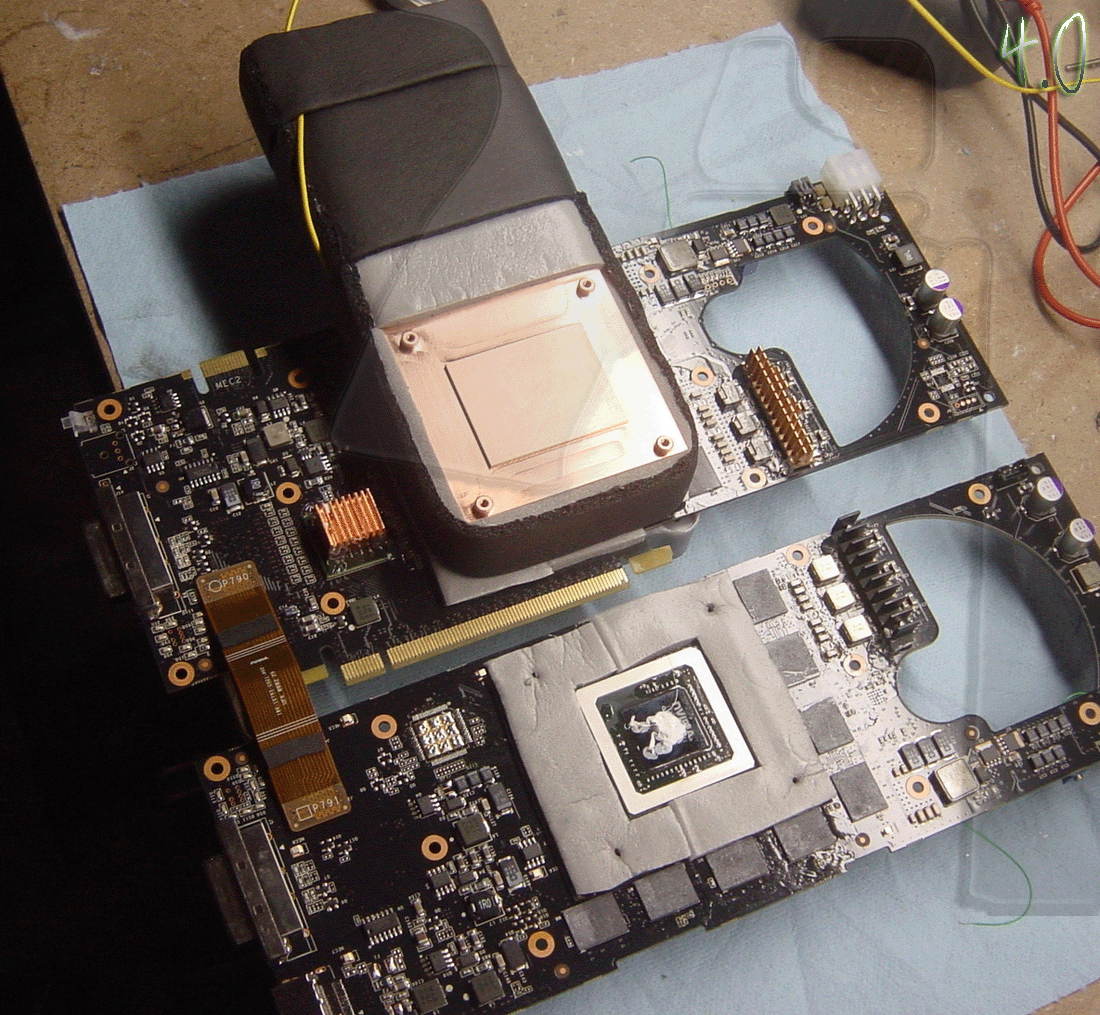
Now that the unit is insualted, time to prep the card. First remove all the heatsink screws then remove this bracket via those bolts on either side of the connectors:
Unfold the card like a pink taco, and be sure to heat-sink the digital vreg chips on each PCB as well as the monitor output chip on other side of gpu.
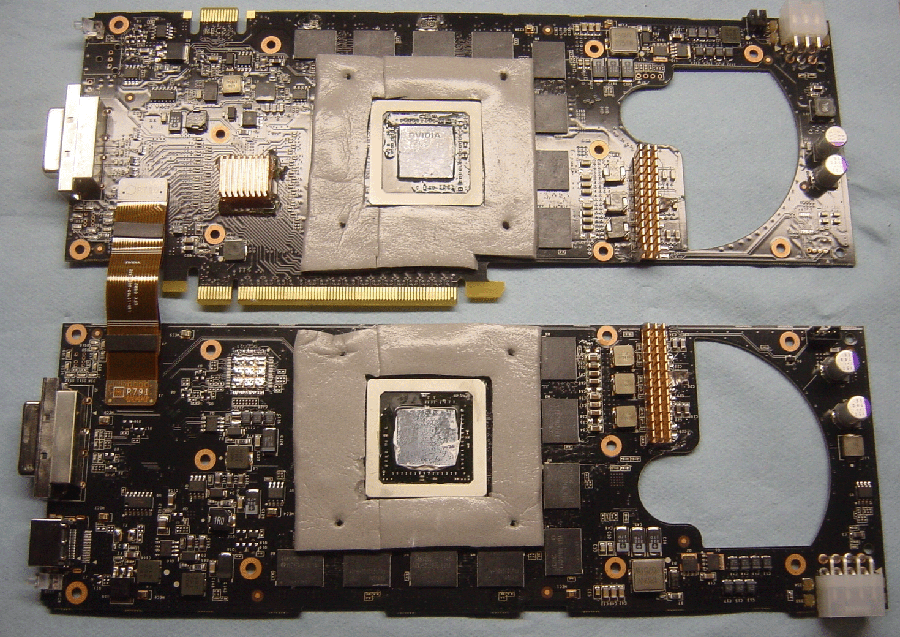
Coat the usual areas around the core and center of the card front and back with protective coating of choice. I use brush on flexible conformal now.
Make one layer core gaskets and stick them directly on the card. Again, I like the grey frostking stuff because it doesn't trash the card when you pull it off.
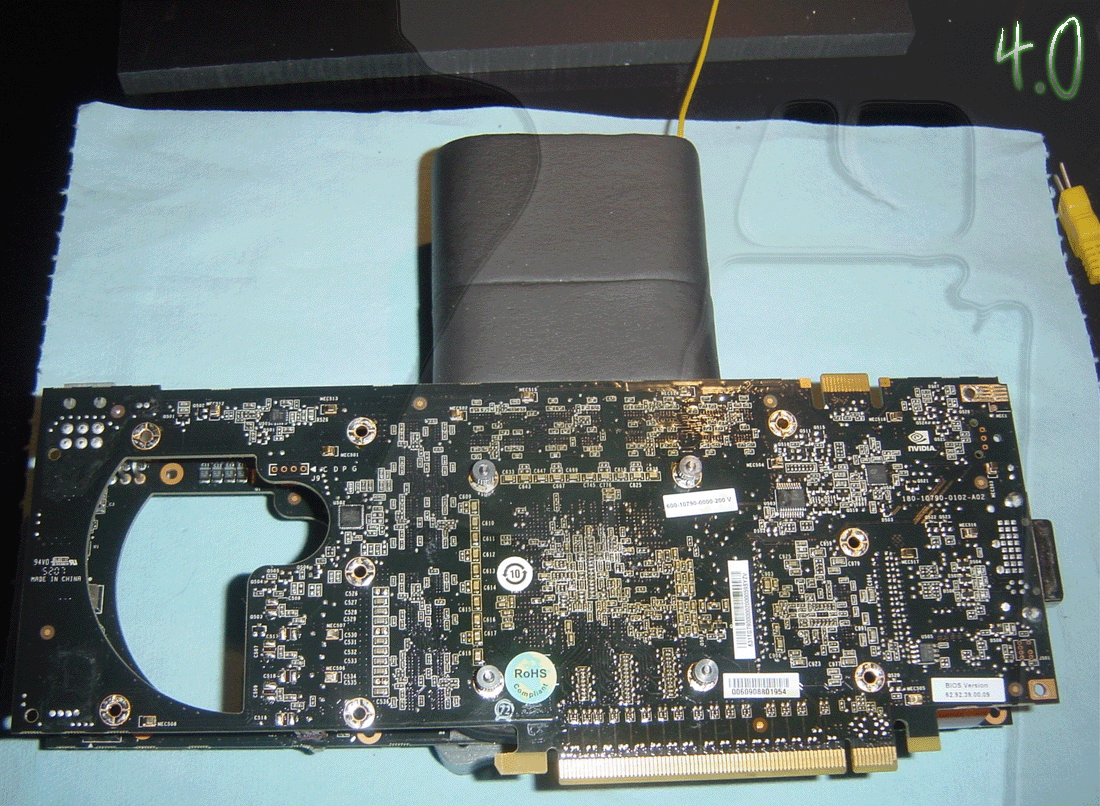
Once bracket and screws on face are installed, ready to mount the unit. .
Elevate both PCB's of the card off of the work surface and mount the bracket side of the unit face down on the card
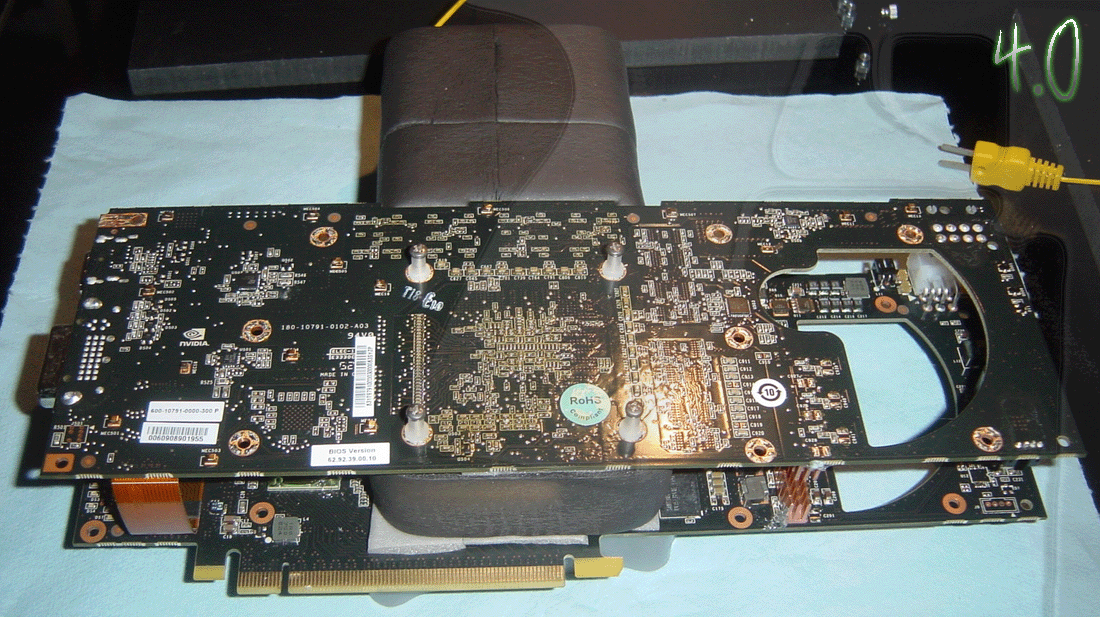
Now flip over the other PCB and bolt down back side with the thumbnuts.
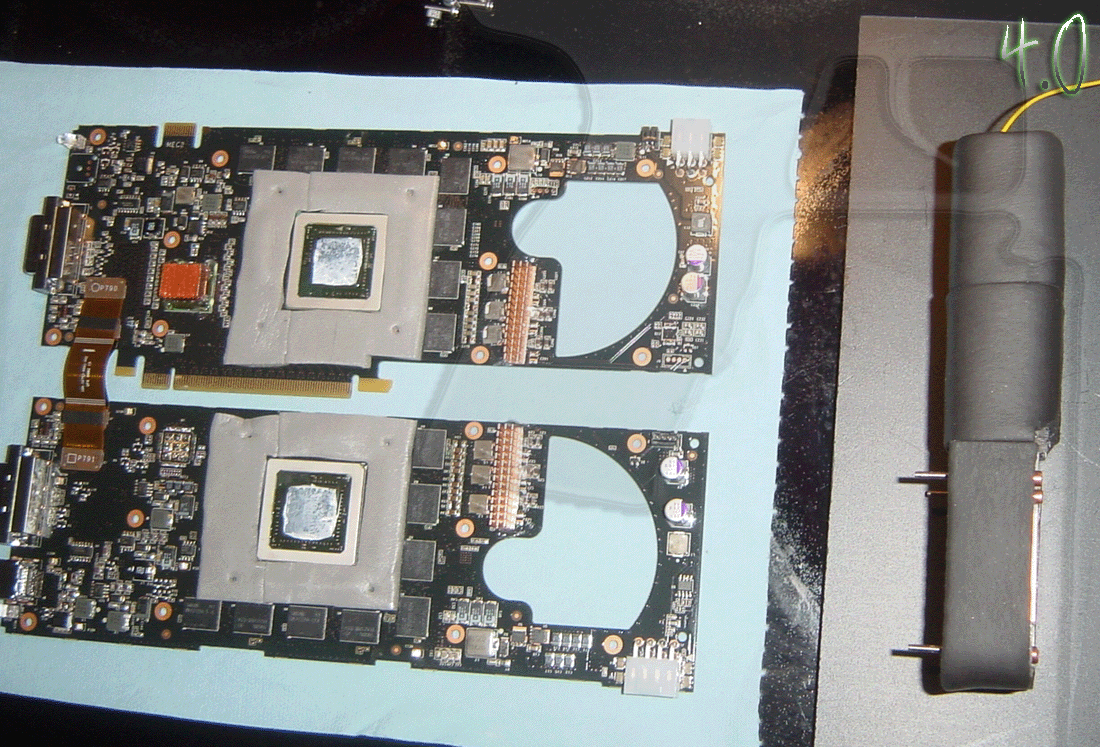
After the back side is tightened down all the way, flip the card over and put the face screws in using the should spacers. These spacer will allow for you to take the screws out without having the remove the insulation and keep the hole lined up from the pad to the card
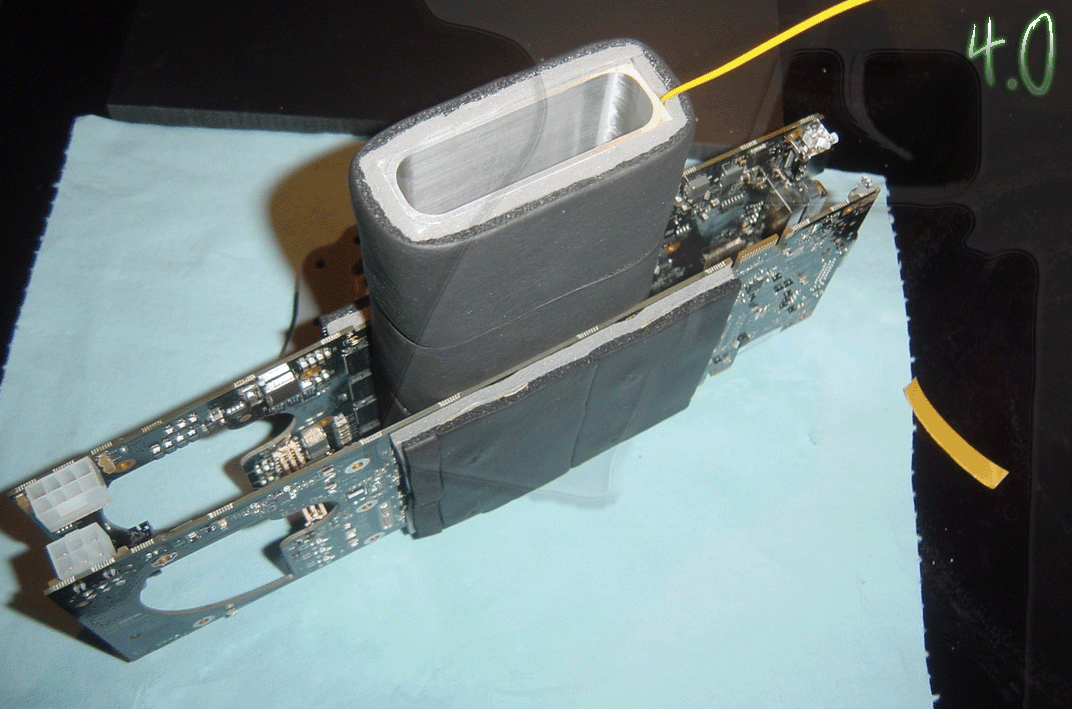
Now just add two layer square gaskets made of foam tape to both outersides of the gpu and it's party time with the fastest GPU on the planet
Don't forget your paper towel....


 Reply With Quote

Bookmarks